


3 years ago
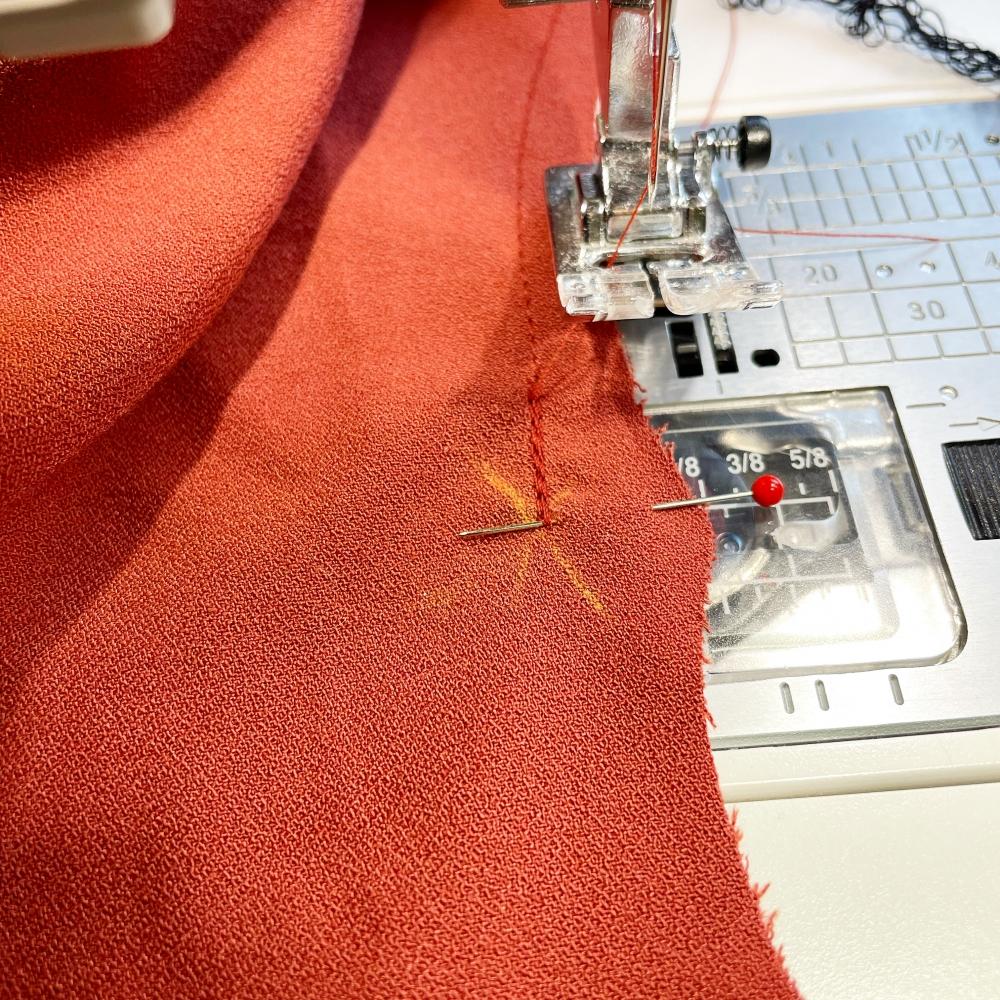
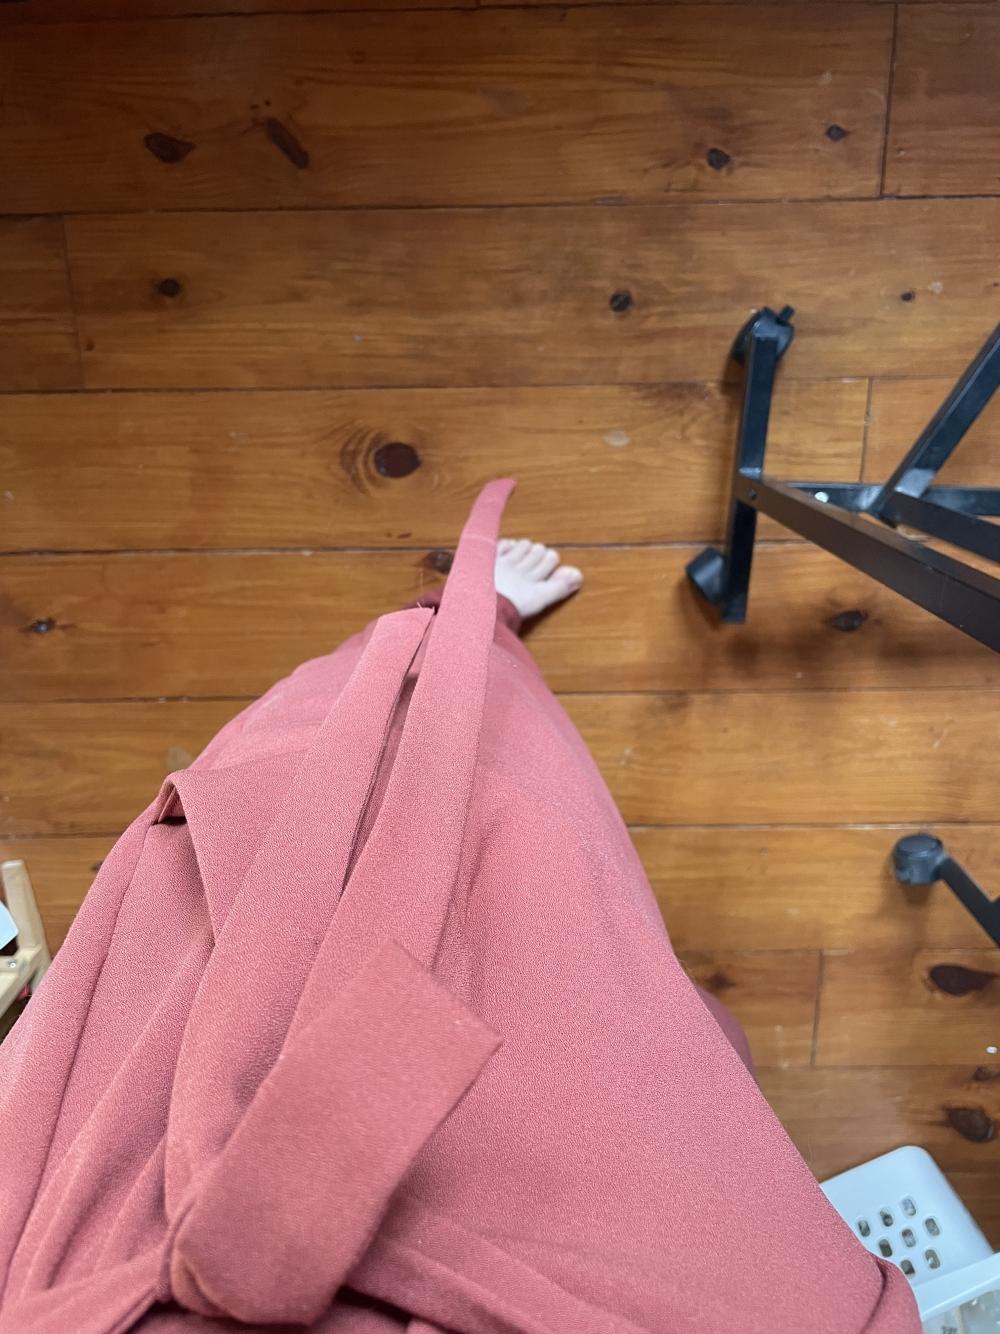
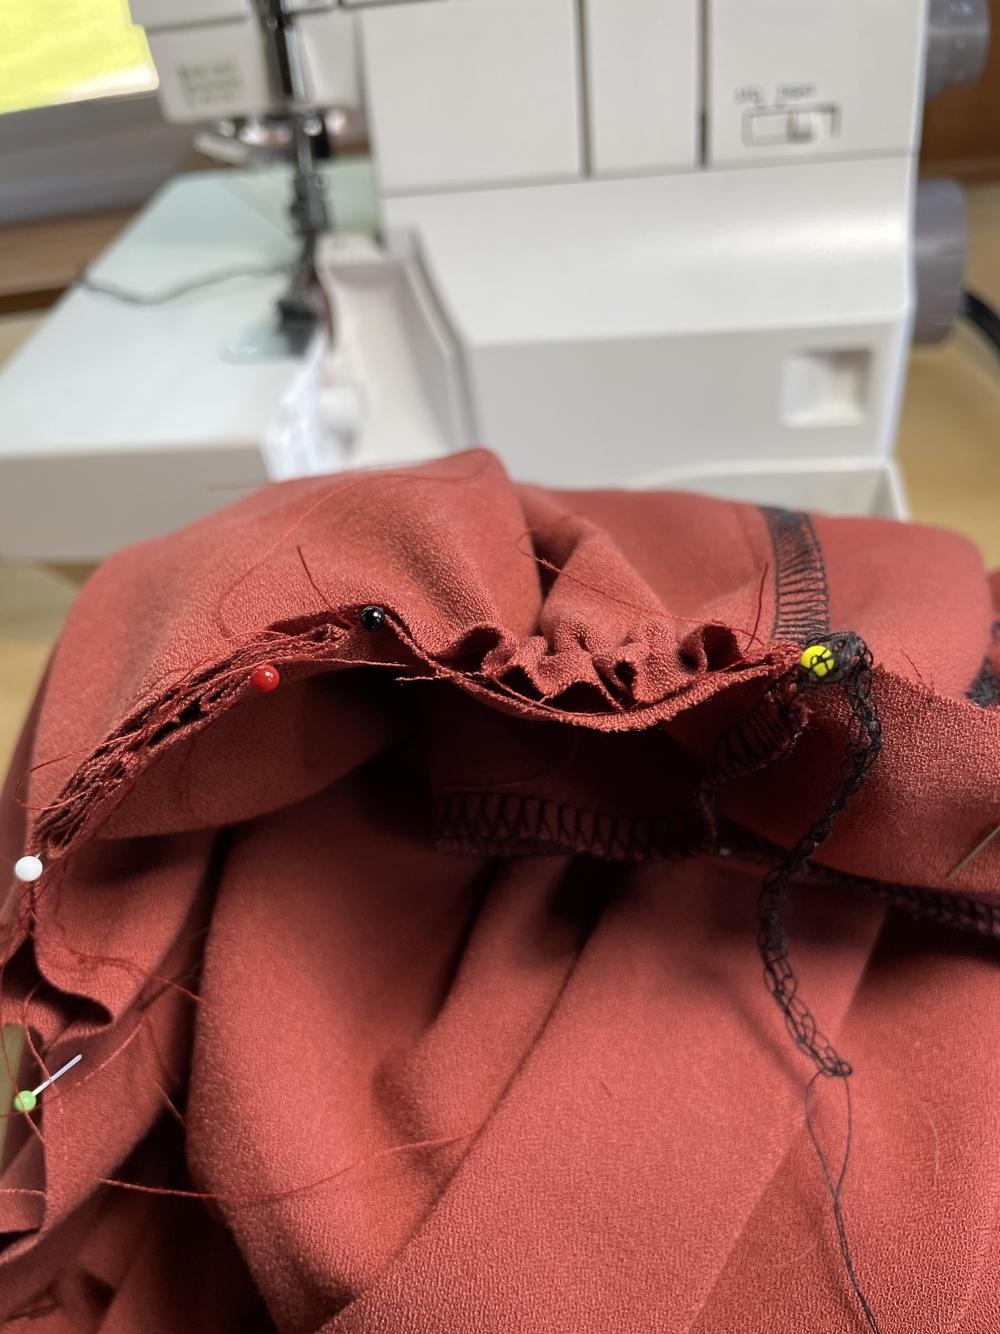
Hello! I am very excited to share with you about the making another Zadie jumpsuit. I’ve been wanting to re-make patterns that I love with different fabrics (or Tried and True patterns, TNTs). I’m calling the Zadie jumpsuit a tried and true pattern for me as I’m making it again.
This version will be “fall inspired” that I can wear through the fall, winter, and spring. I absolutely loved the modifications that I made to the pattern in my last version, a Linen\viscose Minerva Exclusive fabric with more details here: https://www.minerva.com/posts/1194879
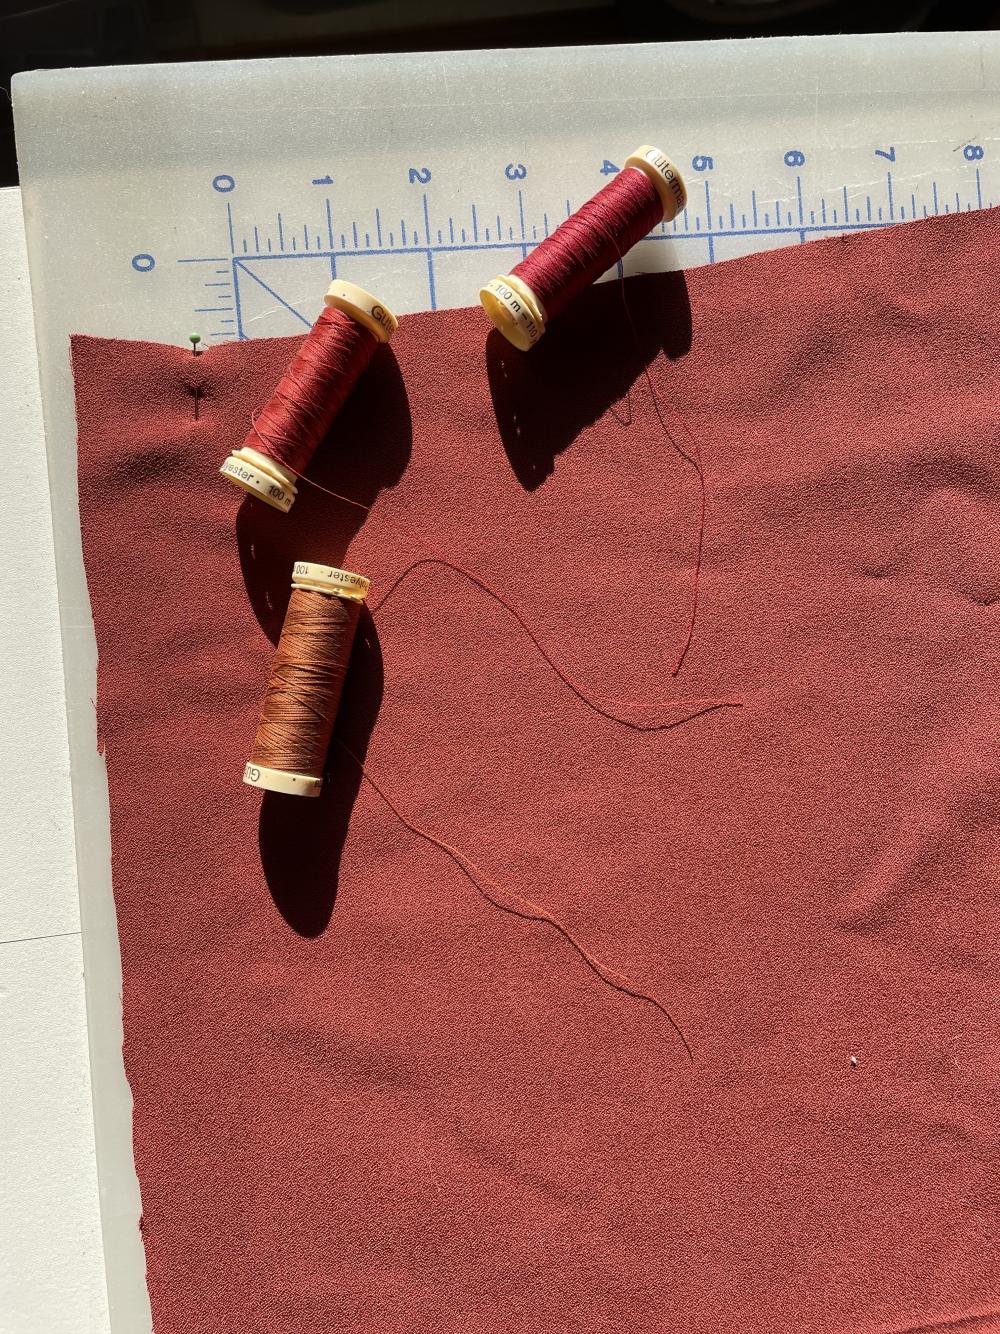
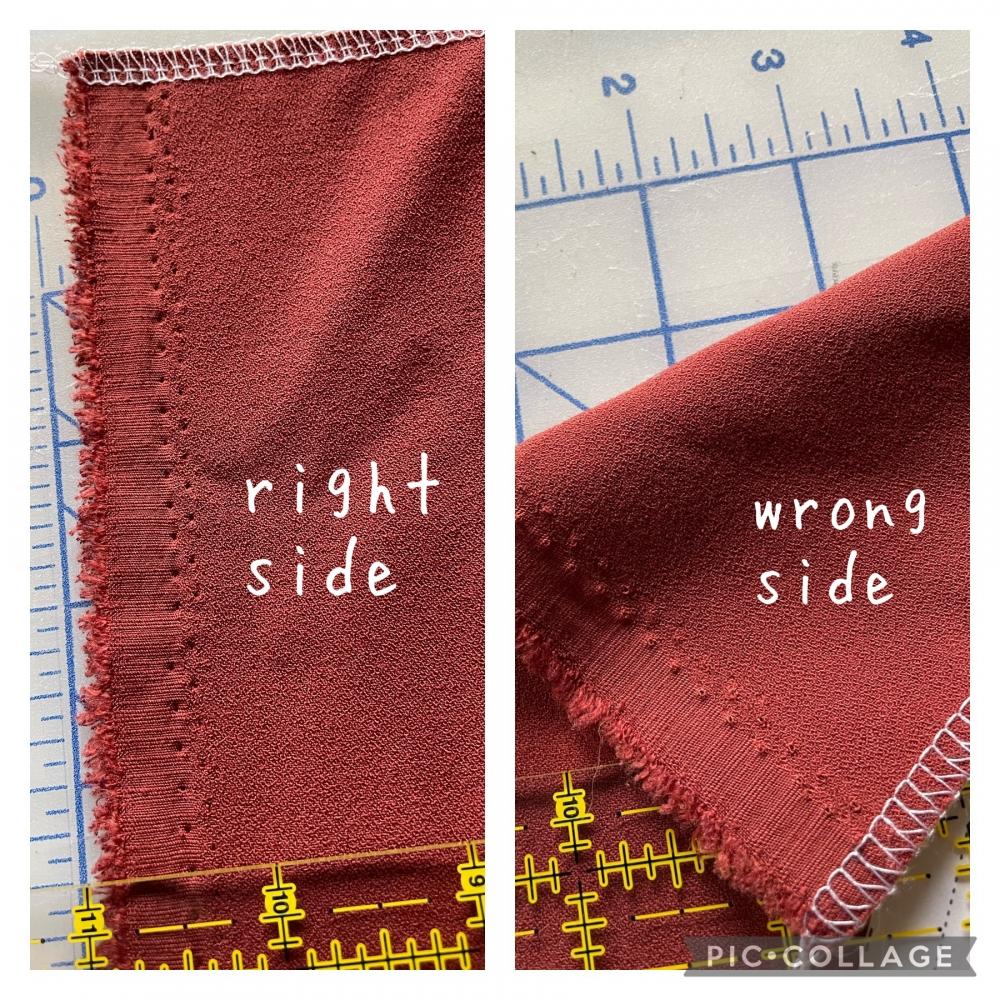
This time, I’ll use be using a rust toned crepe stretch fabric. Crepe has become a new favorite of mine. I started noticing commercial garments that I wear a lot and crepe has been a theme for me in those fabric. I really love the texture and drape in this fabric.
I’ll recap first the mods that I made in the last Zadie (that I’m carrying over for this one):
Size: 8 on the top and a 10 on the bottom (graded at the waist down at the pants). Short sleeve
Mods
Front body (2 pieces, left and right):
Added 0.5” along the center chest crossover detail (for a little more coverage at the chest).
Removed 1” at the lengthen/shorten line.
Back body:
Removed the center back seam, cut out the pattern piece on the fold.
Removed 1” at the lengthen/shorten line. Graded under the arms with the lengthen\shorten line.
Front leg:
Added 8” to the length.
Removed 3” at the lengthen/shorten line.
Left the crotch curve as is, including the lengthen/shorten line.
Back leg:
Added 8” to the length.
Removed 2” at the lengthen/shorten line.
Graded the crotch curve as is, including the lengthen/shorten line.
A mod that I wanted to make in this version is to try narrowing the legs. The pattern, as designed, includes a wide leg fit.
I did some research on narrowing the legs of the Zadie. I’ve seen lots of people have many different approaches for how they go about this. For me, I wanted to go with a method that didn’t bring drag lines to the pants (after narrowing). I’ll share a link to a post that gives some great tips. The main idea in this approach is that you have to take in fabric equally on both sides of the leg. Only taking in fabric from one side of the leg will cause draglines as the fabric hangs. This is one blog post that I found helpful in this process:
https://thecreativesewist.com/how-to-taper-pants-quickly-and-easily-like-a-pro/
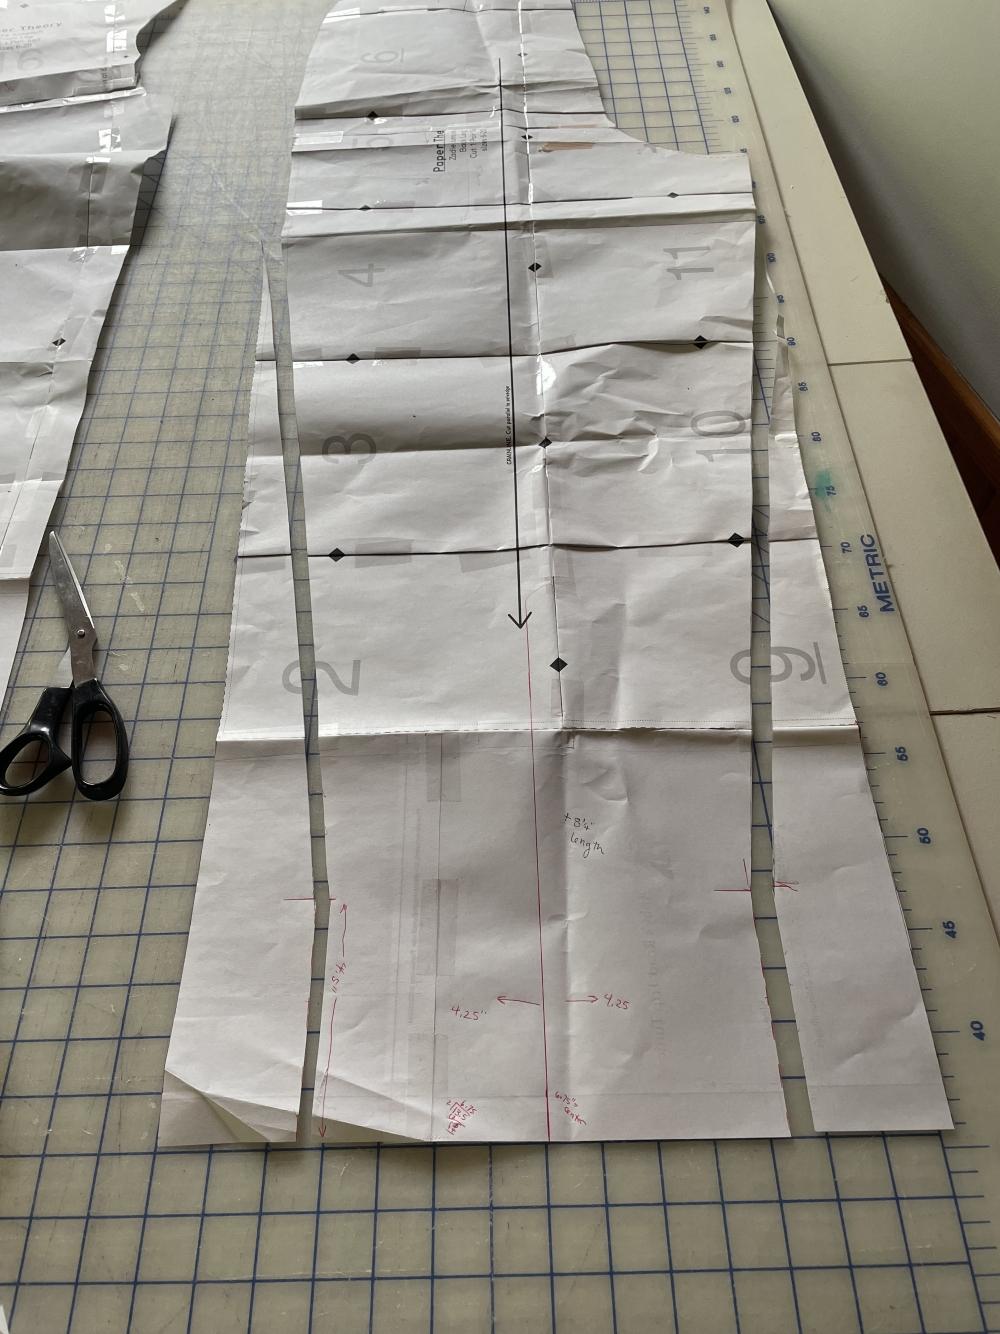
With this approach in mind, I first measured the existing pattern piece (size 10 at the bottom of the legs). I measured the center of my leg pattern piece. I then marked the center line. I decided to reference the bottom circumference of a commercial pair of dress pants that I like (that is not a wide leg). I could have randomly picked a tapered dimension, but I thought it would be less risky to reference current pants in my wardrobe that I like. The pair of pants I measured has an 8.5” circumference at the bottom hem.
The size Zadie that I’m sewing has 13.5” circumference at the bottom hem. I took in 2.5” from each side of the pants. For the taper, I didn’t want to start the taper at the bottom of the pants (as that would prevent me from bringing up the pants with a hem). I marked 4.5” above the bottom pants edge. I started the taper at 4.5” and brought the taper up from there. I then drew a gradual curve down from the crotch to this stopping point. I have decided that my Zadie is my tried-and-true pattern so I’m keeping these “wide leg” pattern pieces so that I can go back to a wide leg for a future garment, if I’d like to (or maybe even make shorts wide leg).
This version will be “fall inspired” that I can wear through the fall, winter, and spring. I absolutely loved the modifications that I made to the pattern in my last version, a Linen\viscose Minerva Exclusive fabric with more details here: https://www.minerva.com/posts/1194879
This time, I’ll use be using a rust toned crepe stretch fabric. Crepe has become a new favorite of mine. I started noticing commercial garments that I wear a lot and crepe has been a theme for me in those fabric. I really love the texture and drape in this fabric.
I’ll recap first the mods that I made in the last Zadie (that I’m carrying over for this one):
Size: 8 on the top and a 10 on the bottom (graded at the waist down at the pants). Short sleeve
Mods
Front body (2 pieces, left and right):
Added 0.5” along the center chest crossover detail (for a little more coverage at the chest).
Removed 1” at the lengthen/shorten line.
Back body:
Removed the center back seam, cut out the pattern piece on the fold.
Removed 1” at the lengthen/shorten line. Graded under the arms with the lengthen\shorten line.
Front leg:
Added 8” to the length.
Removed 3” at the lengthen/shorten line.
Left the crotch curve as is, including the lengthen/shorten line.
Back leg:
Added 8” to the length.
Removed 2” at the lengthen/shorten line.
Graded the crotch curve as is, including the lengthen/shorten line.
A mod that I wanted to make in this version is to try narrowing the legs. The pattern, as designed, includes a wide leg fit.
I did some research on narrowing the legs of the Zadie. I’ve seen lots of people have many different approaches for how they go about this. For me, I wanted to go with a method that didn’t bring drag lines to the pants (after narrowing). I’ll share a link to a post that gives some great tips. The main idea in this approach is that you have to take in fabric equally on both sides of the leg. Only taking in fabric from one side of the leg will cause draglines as the fabric hangs. This is one blog post that I found helpful in this process:
https://thecreativesewist.com/how-to-taper-pants-quickly-and-easily-like-a-pro/
With this approach in mind, I first measured the existing pattern piece (size 10 at the bottom of the legs). I measured the center of my leg pattern piece. I then marked the center line. I decided to reference the bottom circumference of a commercial pair of dress pants that I like (that is not a wide leg). I could have randomly picked a tapered dimension, but I thought it would be less risky to reference current pants in my wardrobe that I like. The pair of pants I measured has an 8.5” circumference at the bottom hem.
The size Zadie that I’m sewing has 13.5” circumference at the bottom hem. I took in 2.5” from each side of the pants. For the taper, I didn’t want to start the taper at the bottom of the pants (as that would prevent me from bringing up the pants with a hem). I marked 4.5” above the bottom pants edge. I started the taper at 4.5” and brought the taper up from there. I then drew a gradual curve down from the crotch to this stopping point. I have decided that my Zadie is my tried-and-true pattern so I’m keeping these “wide leg” pattern pieces so that I can go back to a wide leg for a future garment, if I’d like to (or maybe even make shorts wide leg).
Add all tagged items to your basket