



4 years ago
Hello! I’m very excited to share with you about a jumpsuit pattern hack that I’ve made in some lovely, 100% wool suiting from Minerva. I love jumpsuits! They have been a version of #secretpajamas that have been so cozy to wear. Jumpsuits can be challenging to buy at the store to find one that fits you well from top to bottom. It’s such a treat to make a customized version for yourself. I have a commercial jumpsuit that I love wearing for work so my goal with this project was to make another outfit to wear to work.
I used a wool suiting from Minerva that I also previously made into a Utu skirt. I’ll link that project here in case you’d like to check it out as well:
https://www.minerva.com/posts/1177453
The fabric is medium weight, 100% wool suiting fabric. Although it’s medium weight, it does have some drape to it. Of course being a 100% wool base, it is warm but also breathable. I hand washed the fabric before I cut it out to sew. This will be a garment that I will continue to handwash going forward. I don’t mind handwashing, especially with the luxury of a garment made in 100% wool.
Summarized Pattern mods:
Rose Pants - Long version, Medium (my Stomach, 30”/Hips, 40”)
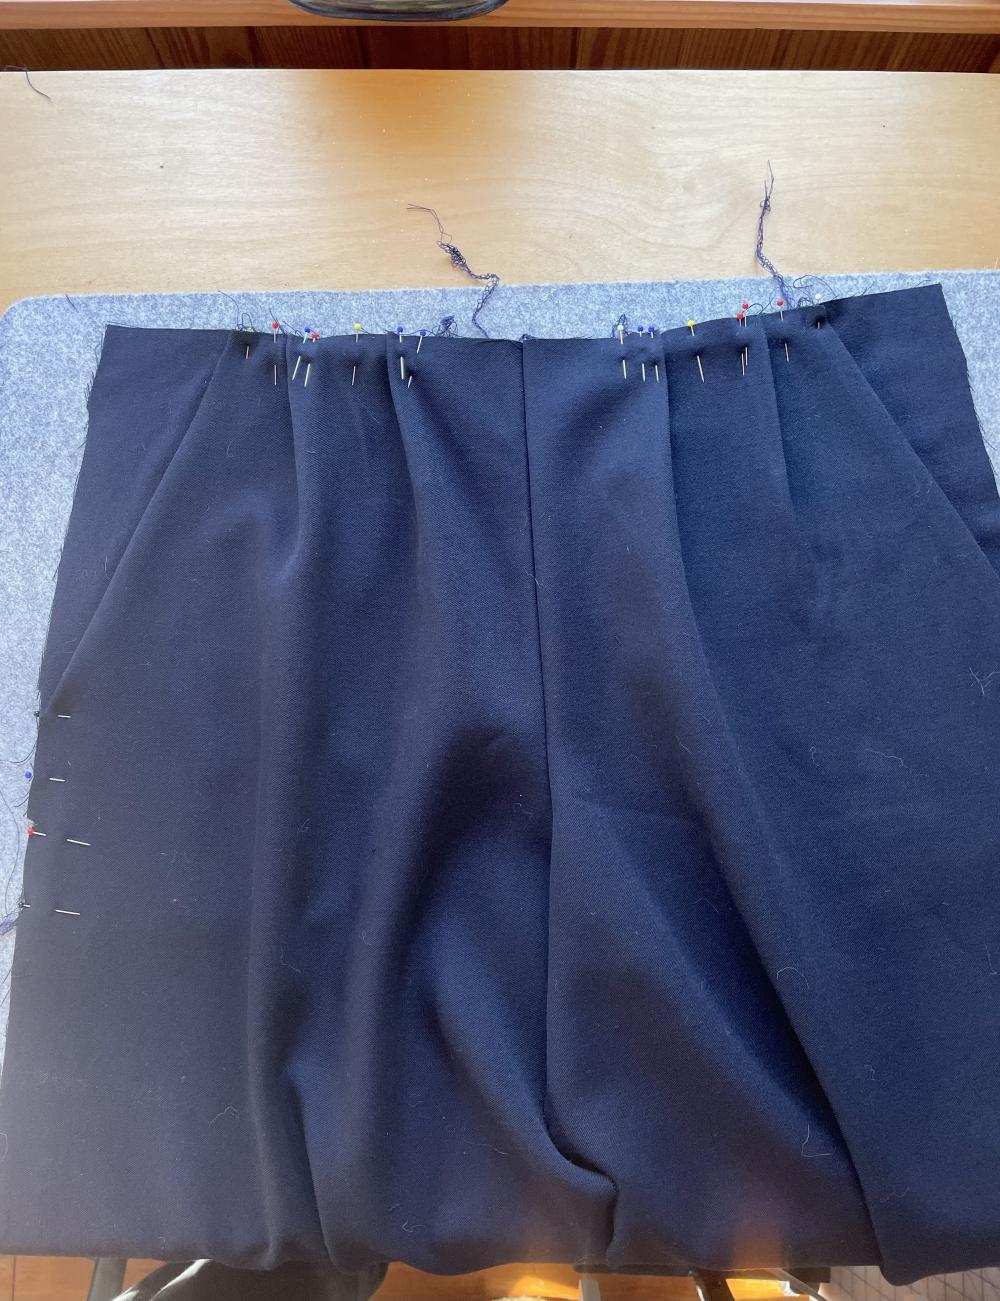
4 Pleats, as mentioned in the pattern instructions
Did not fold up the inside waistband seam, for a seamless finish. Instead, left the edges of the inside waistband flat to incorporate the Remy Raglan top into the inside waistband of the pants (serging the edges to finish).
Remy Raglan - Version 2, size 6 (my Bust, 34”/Stomach, 30”)
Added 2” of length to the top (to the left and right Fronts, and Back pattern pieces)
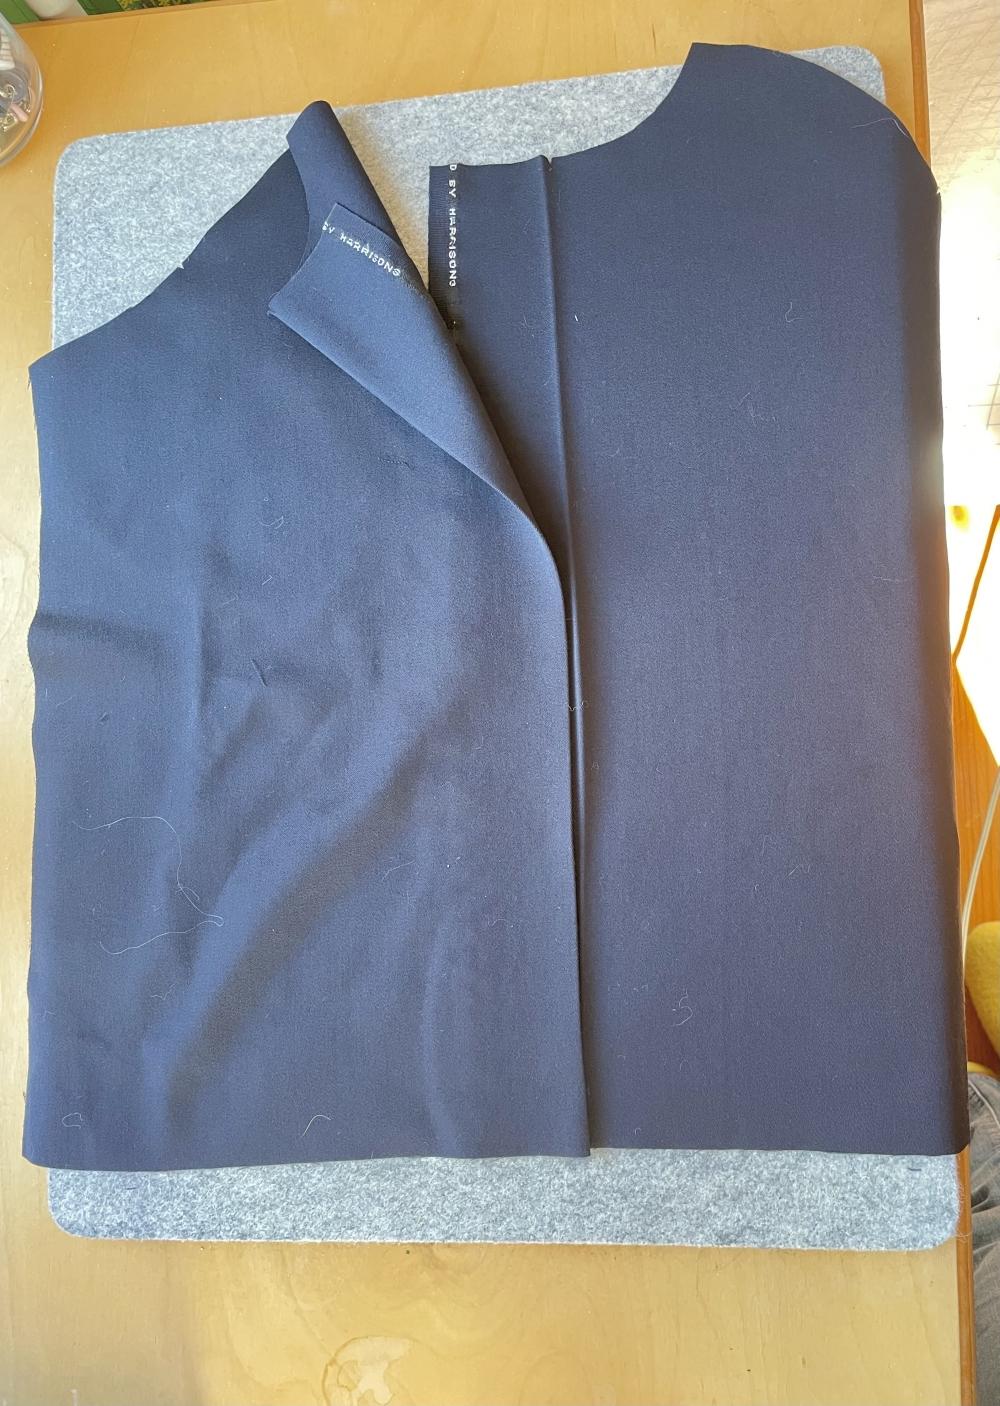
Added 2” of length to the Front, left and right Center edges
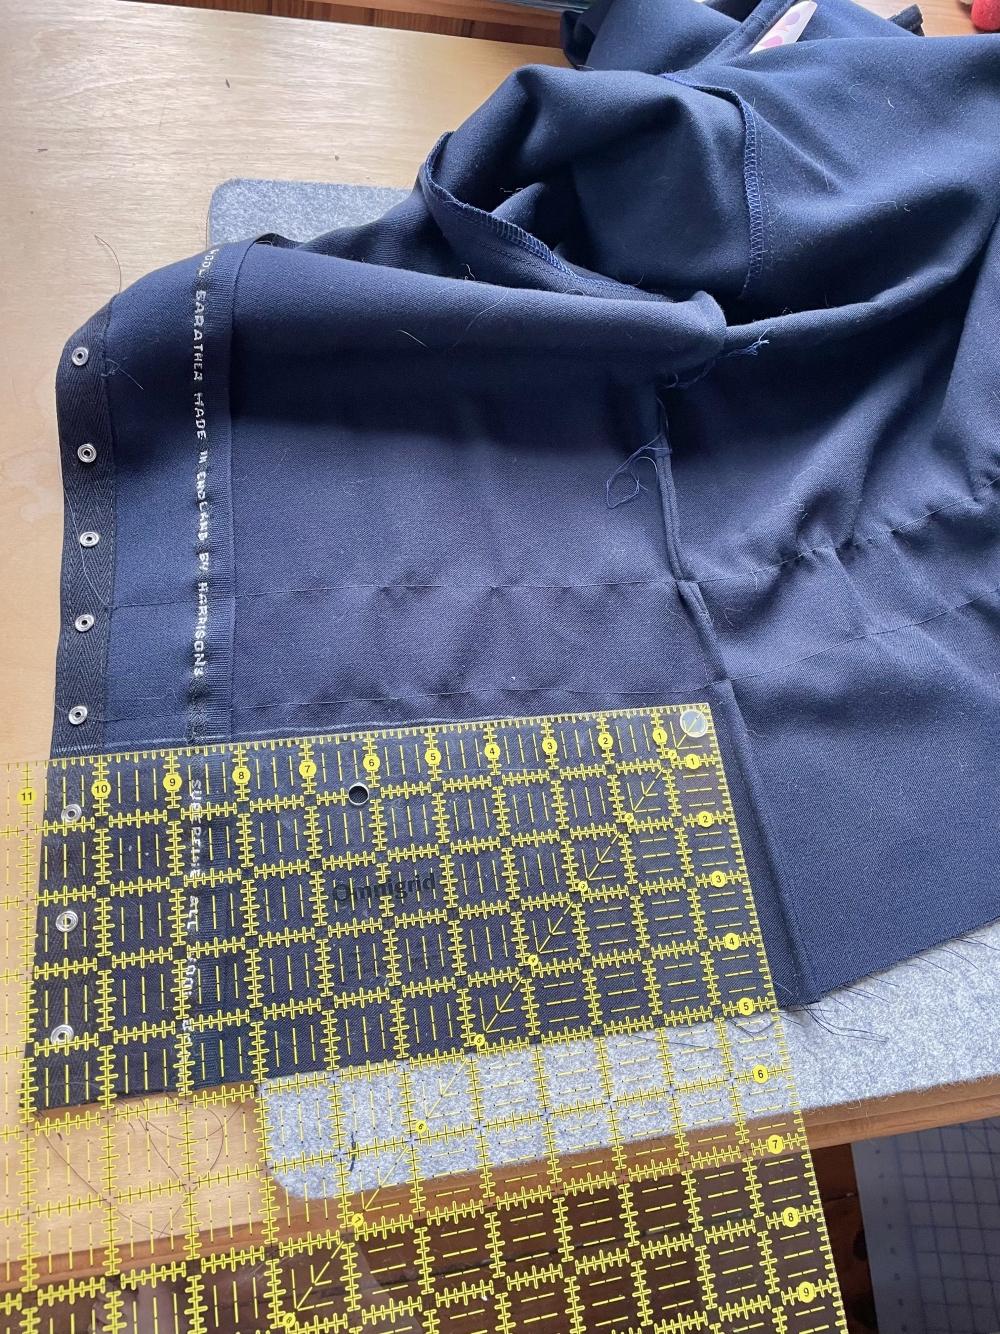
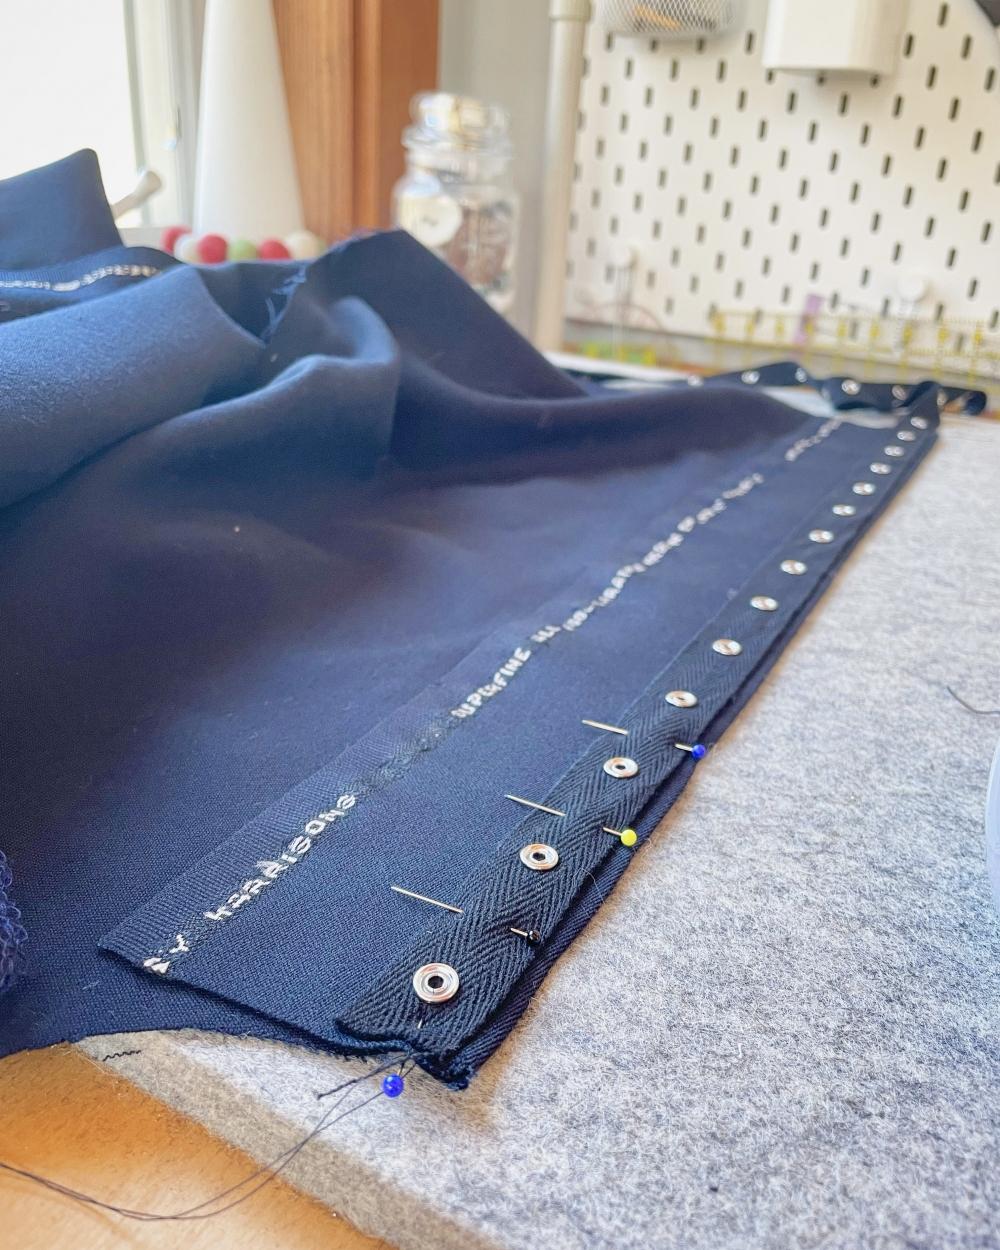
Added Snap tape to the center seam
Added an overlap in the center front seam instead of the recommended traditional seam in the pattern
Skipped the suggested, Front button detail and added a large, hidden snap instead
Cut 2 pieces of the fabric bias tape instead of 1
Gathered the Top along the bottom with two rows of gathers to bring it in to the pants waistband
Kept French seams at the sleeves (for the exposed seam that is seen when the sleeves are folded up)
For the jumpsuit, I decided that I wanted to do a #patternhack. I wanted to combine two existing top and bottom sewing patterns, together. I decided to combine the Rose pants from Made by Rae with the Remy Raglan top from Sew House Seven. I’ve made both patterns multiple times so the combination was a quicker option for me.
I decided not to combine the paper pattern pieces together. A lot of times when people make a jumpsuit, they will tape the pattern pieces together to cut out the full-length jumpsuit in the fabric. I cut out and sewed the pants first (as is) and then cut out and sewed the top (and put them together inside the pants waistband seam). I went this route because I really like the look of the separate waistband in the Rose pants. I love the look of the flat front with the gathered elastic back.
A different route I could have gone would have been to make these two garments as a separates and then wear them together (for the “look” of a jumpsuit). I didn’t go this route as I love the feel of wearing a jumpsuit. I’ve learned that it bugs me to keep a top tucked in. I will wear separates BUT I find dresses or jumpsuits are my favorites to wear. They’re an all-in-one piece that is less fussy (as I don’t need to keep the top portion tucked in when wearing a dress or jumpsuit).
Between these two patterns, the garment that involved more changes was the Remy raglan top. This top is also a lovely pattern. If you haven’t made it yet, I highly recommend it! I went with the ¾ length, roll up sleeves (included in the pattern). I needed to add a different option in my #patternhack to be able to get the jumpsuit on and off.
I picked Version 2 of the Remy Raglan which has a seam along the center front. The original pattern has a button and V-detail at the top of the neckline. I decided to add snap tape and add length for an overlapped center front seam. I debated on adding a visible button at the neckline but I decided to add a hidden snap to keep the front flat and seamless.
Remy raglan mods:
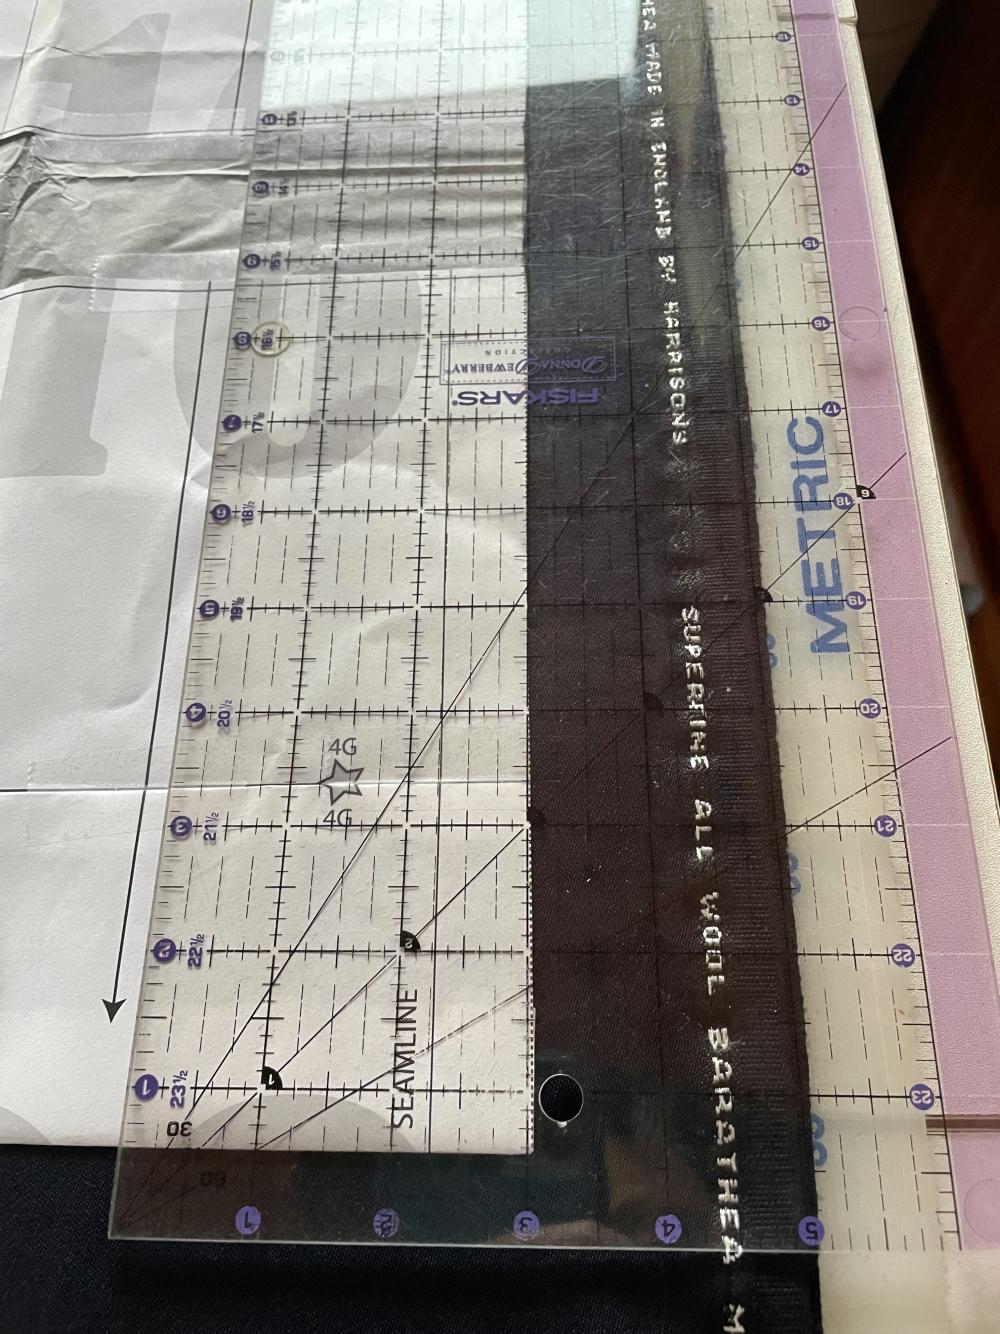
Snap tape - Making Version 2 of the top, I added 2” of length to the left and right center Front edge, pattern pieces (shown in the photo). I did not make a muslin so I was slowly experimenting as I went.
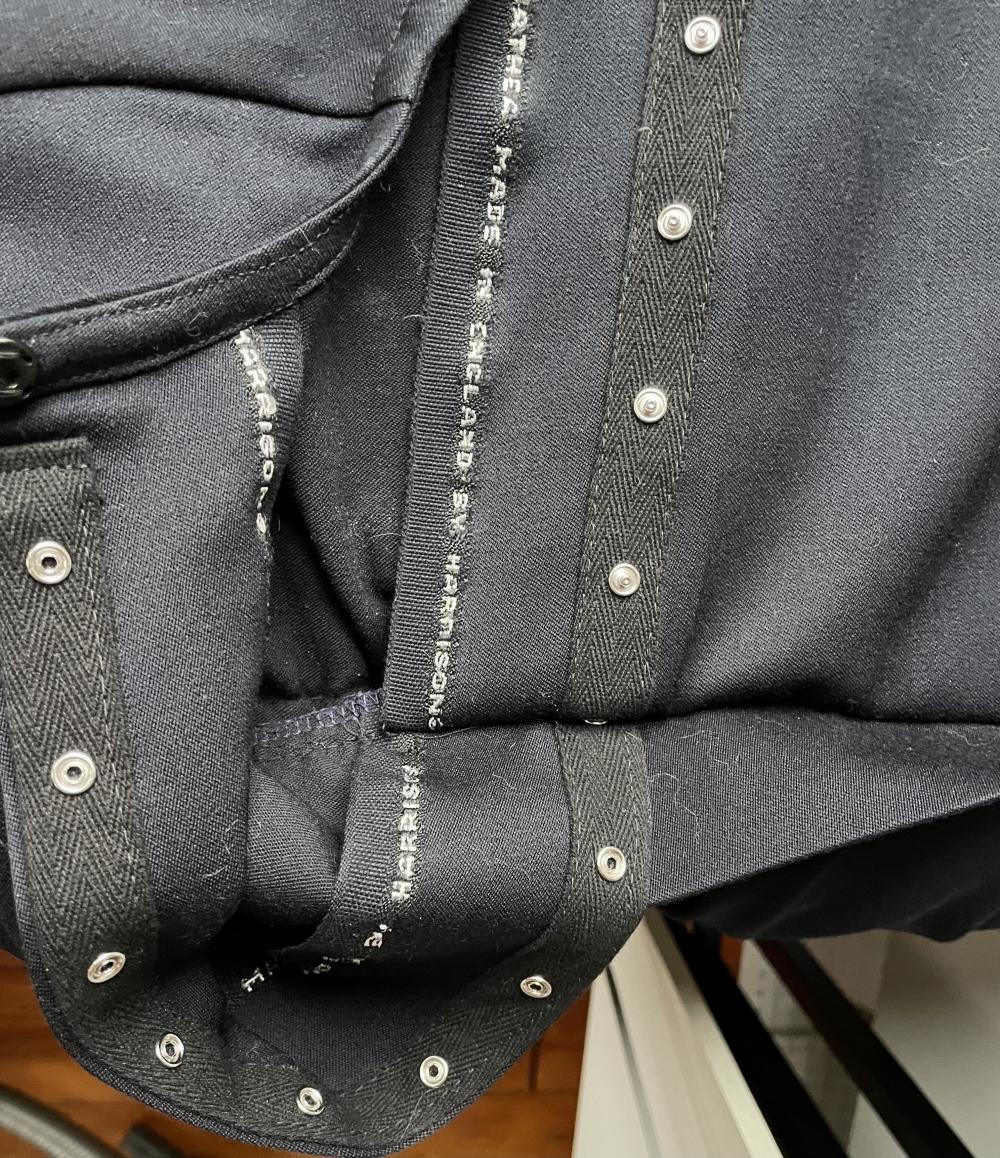
I decided first to iron the front center seams at 2” in from the edge so that I could view the Front seams as was originally designed. I did not sew the center Front seams together. I left the 2” of length that I added to the center edges to have a overlap within the seam. I decided to go with snap tape as I liked how it can be a uniform, quick option for an accessible seam. I went with a black, cotton twill snap tape.
I basted the snap tape in place first to test out the placement and assembly. I ended up unpicking and adjusting the snap tape a few times to take my time with the process. The base of the snap tape is a cotton twill tape which you can accidentally stretch, if you’re not careful. I had to baste, unpick, and baste a few times to get the snap tape placement just right.
I also had to be careful to not sew over a metal snap as I stitched. I also had to think about snap placement. I wanted to roll under and stitch down the top and bottom edges of the tape to finish. I had to adjust where I cut the snap tape.
Bias tape - For the bias tape that is cut out in the same fabric, I needed a longer length. I added 4” of length to the neckline with the new front center flaps. I cut out two pieces of the bias tape so that the length would be long enough for the new neckline circumference. I sewed the two pieces of bias tape together and put the new bias tape seam in the center back of the neckline. I trimmed off what I didn’t need at the center fronts, including length to fold under the ends of the bias tape, to finish. I will sew the seams of bias tape with a sewing machine but I prefer to hand stitch the center front edges closed, by hand, with a needle and thread. I added a woven Minerva label in the center back of the top for a fun pop of color. The back side of the label includes the hashtag #minervamaker for a fun little detail.
Bottom of the top - I reference this previous version of the Remy raglan top that I made with Minerva:
https://www.minerva.com/posts/1155925
Before cutting out the Remy Raglan, I added 2” of length to the top (so I could decide later how long I wanted the top to be, within the jumpsuit).
After sewing the top, I sewed two rows of basting stitches to gather the bottom of the top in (at 5 ¾” and 7 ¾” above the bottom edge of the top). This helped me to gather in the bottom of the top around the waist band.
I did have to be careful, however, with the back of the top as the pants have elastic along the back. I wanted to draw in the top but also allow the top to adjust as I put the pants on and off. As I sewed around the back of the top and pants together, I stretched the elastic so that it was pulled out as far as it could go. This helped include adjustment in the back of the top while the finished assembly looks gathered in the top as well.
I ended up trying on the shirt and pants a lot while the seam was basted together. To test out a new top length before cutting, I marked a seam line on the outside of the top at 5” above the bottom edge. I was able to baste a seam in the top and waistband together to test out a shorter length before cutting off length in the top.
To determine the 5” shorter length, I tried on the top and pants together, with the top tucked in. With chalk, I marked around the right side of the top where the top of the waistband fell on the top. The waistband height is around 2” so I measured 2 inches down from there, with a ½” seam allowance. I took a lot of time at the step as I did not want to cut the fabric and find that the length of the top was too short.
I used a wool suiting from Minerva that I also previously made into a Utu skirt. I’ll link that project here in case you’d like to check it out as well:
https://www.minerva.com/posts/1177453
The fabric is medium weight, 100% wool suiting fabric. Although it’s medium weight, it does have some drape to it. Of course being a 100% wool base, it is warm but also breathable. I hand washed the fabric before I cut it out to sew. This will be a garment that I will continue to handwash going forward. I don’t mind handwashing, especially with the luxury of a garment made in 100% wool.
Summarized Pattern mods:
Rose Pants - Long version, Medium (my Stomach, 30”/Hips, 40”)
4 Pleats, as mentioned in the pattern instructions
Did not fold up the inside waistband seam, for a seamless finish. Instead, left the edges of the inside waistband flat to incorporate the Remy Raglan top into the inside waistband of the pants (serging the edges to finish).
Remy Raglan - Version 2, size 6 (my Bust, 34”/Stomach, 30”)
Added 2” of length to the top (to the left and right Fronts, and Back pattern pieces)
Added 2” of length to the Front, left and right Center edges
Added Snap tape to the center seam
Added an overlap in the center front seam instead of the recommended traditional seam in the pattern
Skipped the suggested, Front button detail and added a large, hidden snap instead
Cut 2 pieces of the fabric bias tape instead of 1
Gathered the Top along the bottom with two rows of gathers to bring it in to the pants waistband
Kept French seams at the sleeves (for the exposed seam that is seen when the sleeves are folded up)
For the jumpsuit, I decided that I wanted to do a #patternhack. I wanted to combine two existing top and bottom sewing patterns, together. I decided to combine the Rose pants from Made by Rae with the Remy Raglan top from Sew House Seven. I’ve made both patterns multiple times so the combination was a quicker option for me.
I decided not to combine the paper pattern pieces together. A lot of times when people make a jumpsuit, they will tape the pattern pieces together to cut out the full-length jumpsuit in the fabric. I cut out and sewed the pants first (as is) and then cut out and sewed the top (and put them together inside the pants waistband seam). I went this route because I really like the look of the separate waistband in the Rose pants. I love the look of the flat front with the gathered elastic back.
A different route I could have gone would have been to make these two garments as a separates and then wear them together (for the “look” of a jumpsuit). I didn’t go this route as I love the feel of wearing a jumpsuit. I’ve learned that it bugs me to keep a top tucked in. I will wear separates BUT I find dresses or jumpsuits are my favorites to wear. They’re an all-in-one piece that is less fussy (as I don’t need to keep the top portion tucked in when wearing a dress or jumpsuit).
Between these two patterns, the garment that involved more changes was the Remy raglan top. This top is also a lovely pattern. If you haven’t made it yet, I highly recommend it! I went with the ¾ length, roll up sleeves (included in the pattern). I needed to add a different option in my #patternhack to be able to get the jumpsuit on and off.
I picked Version 2 of the Remy Raglan which has a seam along the center front. The original pattern has a button and V-detail at the top of the neckline. I decided to add snap tape and add length for an overlapped center front seam. I debated on adding a visible button at the neckline but I decided to add a hidden snap to keep the front flat and seamless.
Remy raglan mods:
Snap tape - Making Version 2 of the top, I added 2” of length to the left and right center Front edge, pattern pieces (shown in the photo). I did not make a muslin so I was slowly experimenting as I went.
I decided first to iron the front center seams at 2” in from the edge so that I could view the Front seams as was originally designed. I did not sew the center Front seams together. I left the 2” of length that I added to the center edges to have a overlap within the seam. I decided to go with snap tape as I liked how it can be a uniform, quick option for an accessible seam. I went with a black, cotton twill snap tape.
I basted the snap tape in place first to test out the placement and assembly. I ended up unpicking and adjusting the snap tape a few times to take my time with the process. The base of the snap tape is a cotton twill tape which you can accidentally stretch, if you’re not careful. I had to baste, unpick, and baste a few times to get the snap tape placement just right.
I also had to be careful to not sew over a metal snap as I stitched. I also had to think about snap placement. I wanted to roll under and stitch down the top and bottom edges of the tape to finish. I had to adjust where I cut the snap tape.
Bias tape - For the bias tape that is cut out in the same fabric, I needed a longer length. I added 4” of length to the neckline with the new front center flaps. I cut out two pieces of the bias tape so that the length would be long enough for the new neckline circumference. I sewed the two pieces of bias tape together and put the new bias tape seam in the center back of the neckline. I trimmed off what I didn’t need at the center fronts, including length to fold under the ends of the bias tape, to finish. I will sew the seams of bias tape with a sewing machine but I prefer to hand stitch the center front edges closed, by hand, with a needle and thread. I added a woven Minerva label in the center back of the top for a fun pop of color. The back side of the label includes the hashtag #minervamaker for a fun little detail.
Bottom of the top - I reference this previous version of the Remy raglan top that I made with Minerva:
https://www.minerva.com/posts/1155925
Before cutting out the Remy Raglan, I added 2” of length to the top (so I could decide later how long I wanted the top to be, within the jumpsuit).
After sewing the top, I sewed two rows of basting stitches to gather the bottom of the top in (at 5 ¾” and 7 ¾” above the bottom edge of the top). This helped me to gather in the bottom of the top around the waist band.
I did have to be careful, however, with the back of the top as the pants have elastic along the back. I wanted to draw in the top but also allow the top to adjust as I put the pants on and off. As I sewed around the back of the top and pants together, I stretched the elastic so that it was pulled out as far as it could go. This helped include adjustment in the back of the top while the finished assembly looks gathered in the top as well.
I ended up trying on the shirt and pants a lot while the seam was basted together. To test out a new top length before cutting, I marked a seam line on the outside of the top at 5” above the bottom edge. I was able to baste a seam in the top and waistband together to test out a shorter length before cutting off length in the top.
To determine the 5” shorter length, I tried on the top and pants together, with the top tucked in. With chalk, I marked around the right side of the top where the top of the waistband fell on the top. The waistband height is around 2” so I measured 2 inches down from there, with a ½” seam allowance. I took a lot of time at the step as I did not want to cut the fabric and find that the length of the top was too short.
Add all tagged items to your basket