


6 years ago
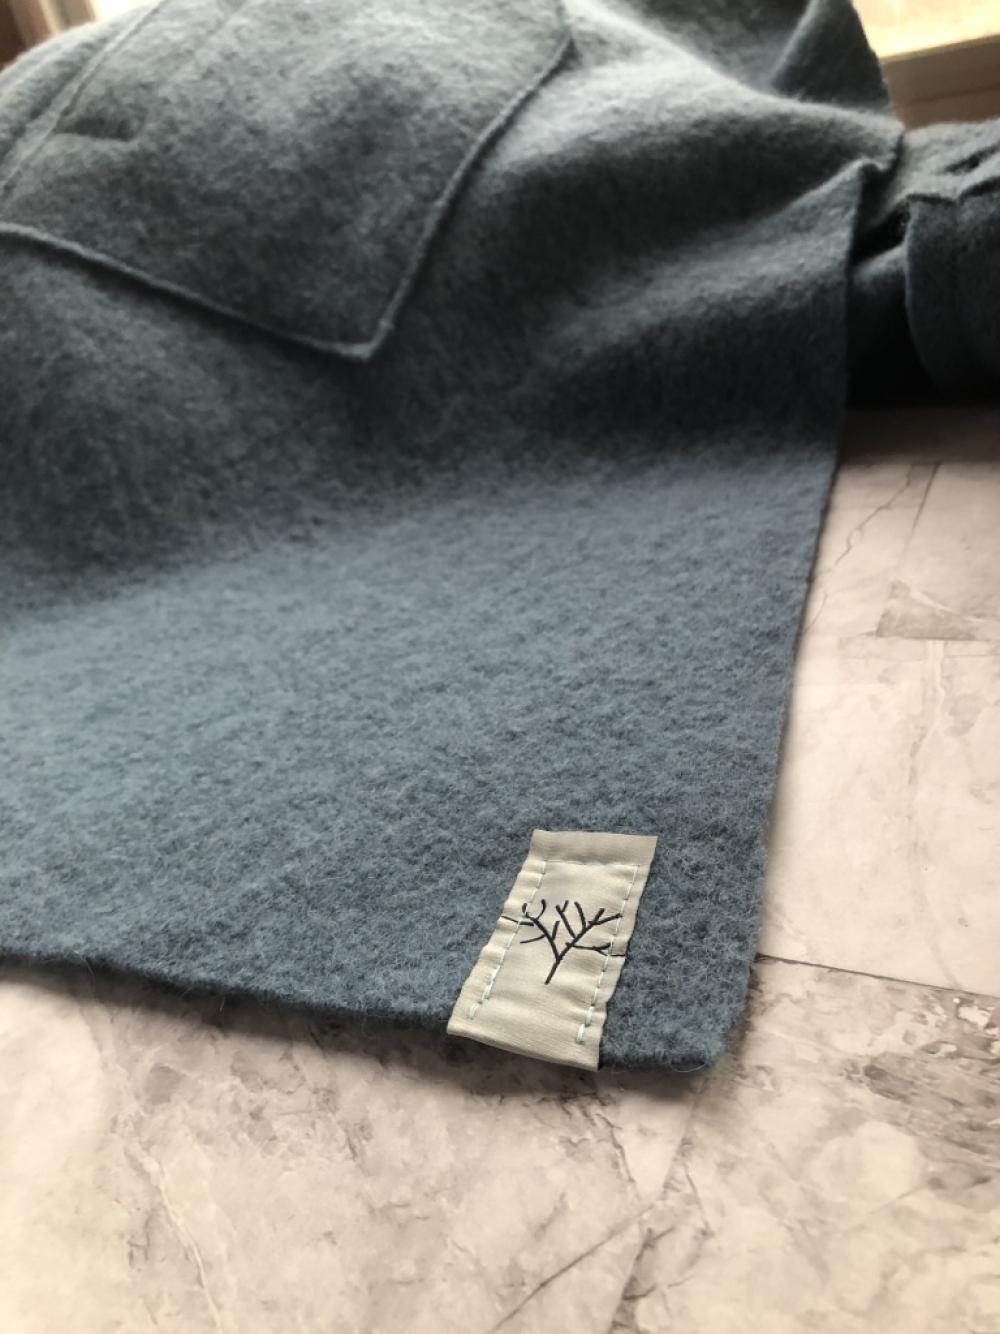
Hello! I’m quite excited to share with you about my first wool coat!! I picked the Brooklyn Coat by Tessuti paired with some lovely boiled wool from Minerva.
I picked the Brooklyn because it’s an unlined coat pattern intended for boiled wool. I LOVE wool and enjoy getting to wear it. With the oversized nature of the pattern and the unlined detail, I felt this is a great pattern to share about for a first coat project.
For the fabric, I used a 100% wool, boiled wool base from Minerva. I was intentionally picked 100% wool as I especially enjoy working with natural fibers. This fabric is a lovely base!
When I got the fabric in, I first hand washed it in our kitchen sink. I have a wool wash that I like to use called Kookaburra. It’s a plant based fiber wash that doesn’t need to be rinsed (you just soak woolens in the wool wash, take them out of the wash water and then let them dry). We have a spin cycle on our washing machine so after the soak, I spun water out of the fabric in the washing machine spin cycle and then let the fabric air dry on a wood drying rack.
Size
I noticed the pattern didn’t have finished measurements so I wrote Tessuti Patterns to inquire about the coat’s finished measurements. They shared the following:
“The finished measurements below are around the bust-hip area. Note that the coat is straight up and down along the bust/waist/hip area and the weight and quality of your boiled wool can affect the finished garment measurement.
For sizes Petite, XXS-XS, S-M, L-XL : 109.5cm (43"), 114.5cm (45"), 124.5cm (49"), 134.5cm (53")
Note that centre front overlap is 10cm (4").”
I found this information REALLY helpful as I was trying to pick a size for me. I didn’t want the coat to be too small but I also didn’t want it so big that it was uncomfortable on me. My dimensions are: Bust-36” Waist-32” Hips-40”. I initially picked an XXS-XS at the shoulder/bust/arms and graded to a S-M at the waist/hips (but I later went back and took out this grading as I felt the grading was too much ease for me.
Fabric Quantity
I selected 1.8m of fabric for this project (and I ran short on fabric). When this happens, I always like to go back and see why. I have a few notes that I wanted to share with what I believe answers this why:
I didn’t account for shrinkage in the fabric with the fabric quantity. The pattern recommends 1.8m of a 55-59” wide fabric. My fabric was 55” wide and I requested 1.8m for this project. Some designers include in their recommended fabric quantities slightly more fabric recommended then they used (10-20% more, sometimes). I don’t believe Tessuti has this buffer included in the recommended fabric amount. I also believe that my fabric had a percentage of shrinkage after washing and air drying that ran me short on fabric. It’s always good to buy slightly more fabric then a pattern recommends, just in case (note to self).
Pattern Changes
I omitted the back pockets. I decided that I only wanted front pockets.
I traced out the following pattern pieces to cut them out on the Flat (instead of on the Fold as the pattern intended). I did this to use less fabric and to improve my accuracy of cutting out the fabric on grain.
- Back
- Sleeve
- Sleeve Cuff
- Collar
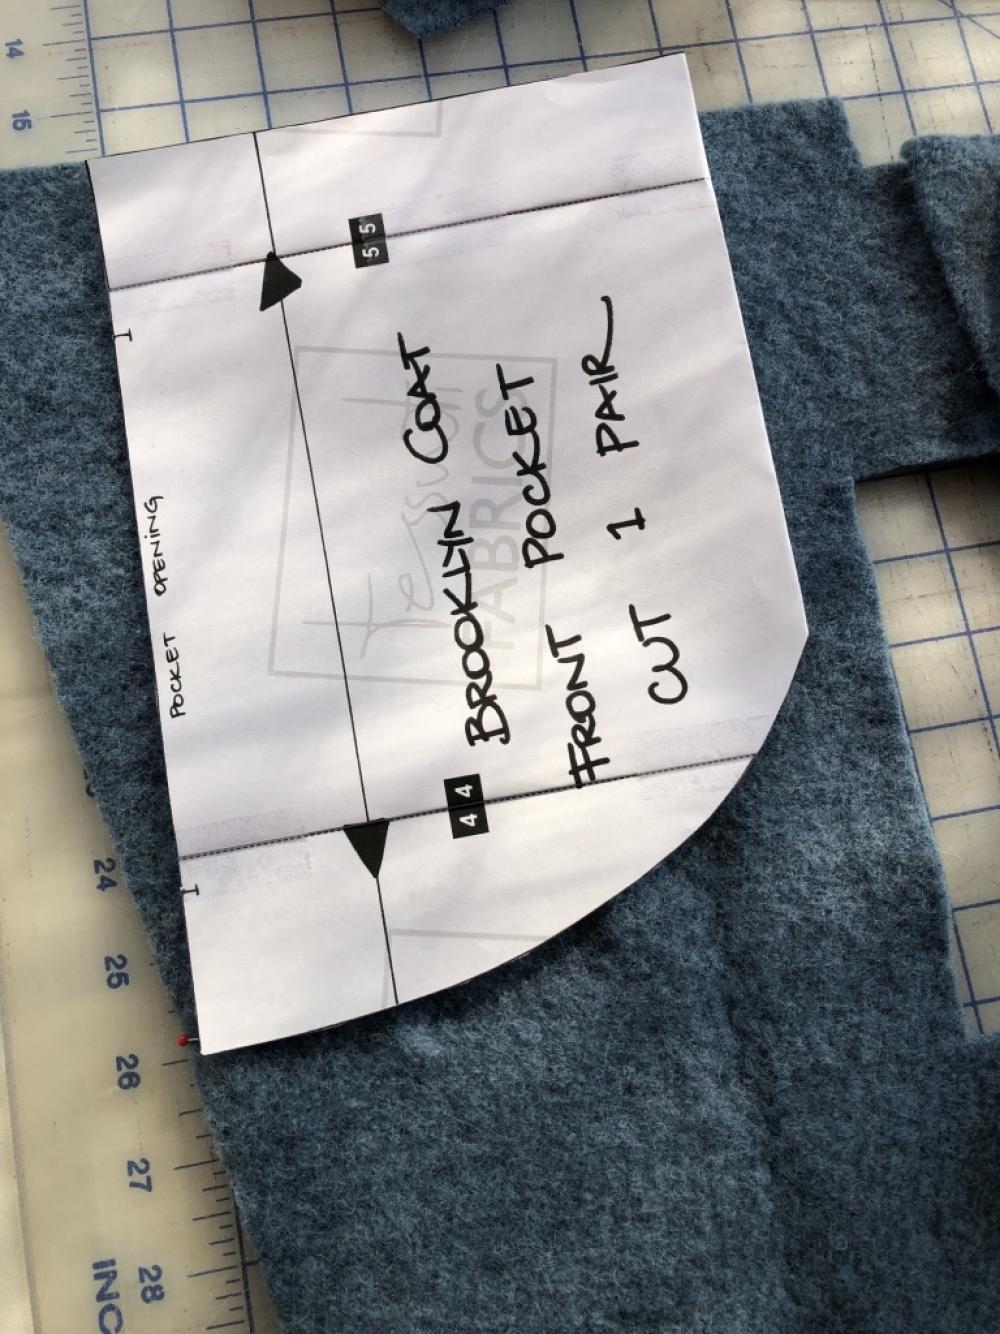
With the fabric shortage mentioned above, I had to get creative with a few aspects of the coat construction. For the front pockets, I folded over 1” of the pocket to fit cutting out two slightly smaller pockets on fabric scraps that I had left.
For the collar, I added a ⅜” overlapped seam allowance and pieced two separate pieces of fabric together (adding a seam at the center of the collar).
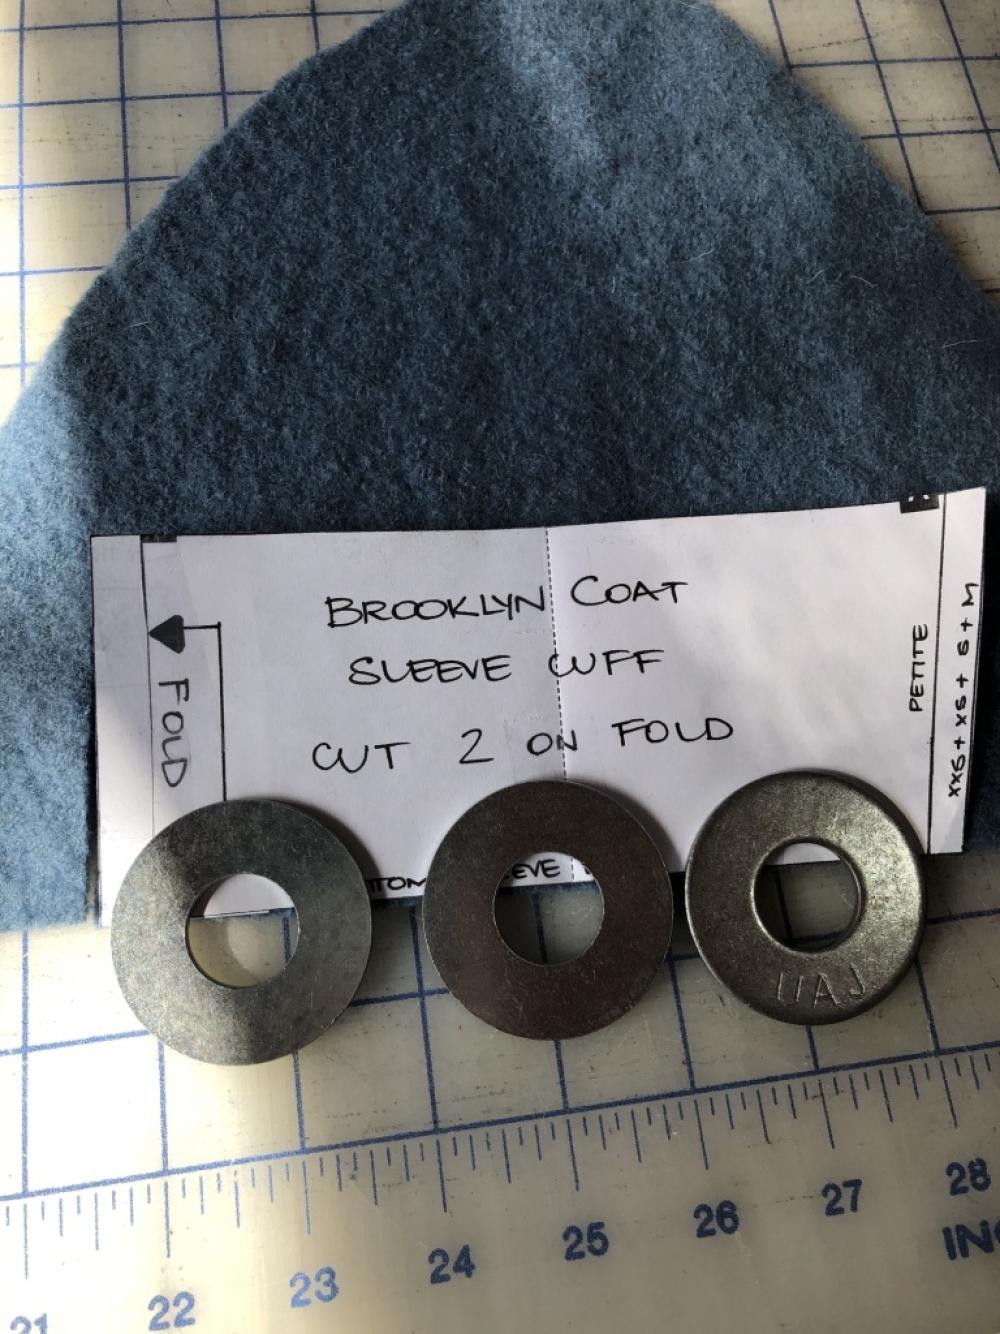
For one of the sleeve cuffs, I added a ⅜” seam allowance and pieced to separate pieces of fabric together (adding a seam to one of the cuffs.
Tailor’s Clapper
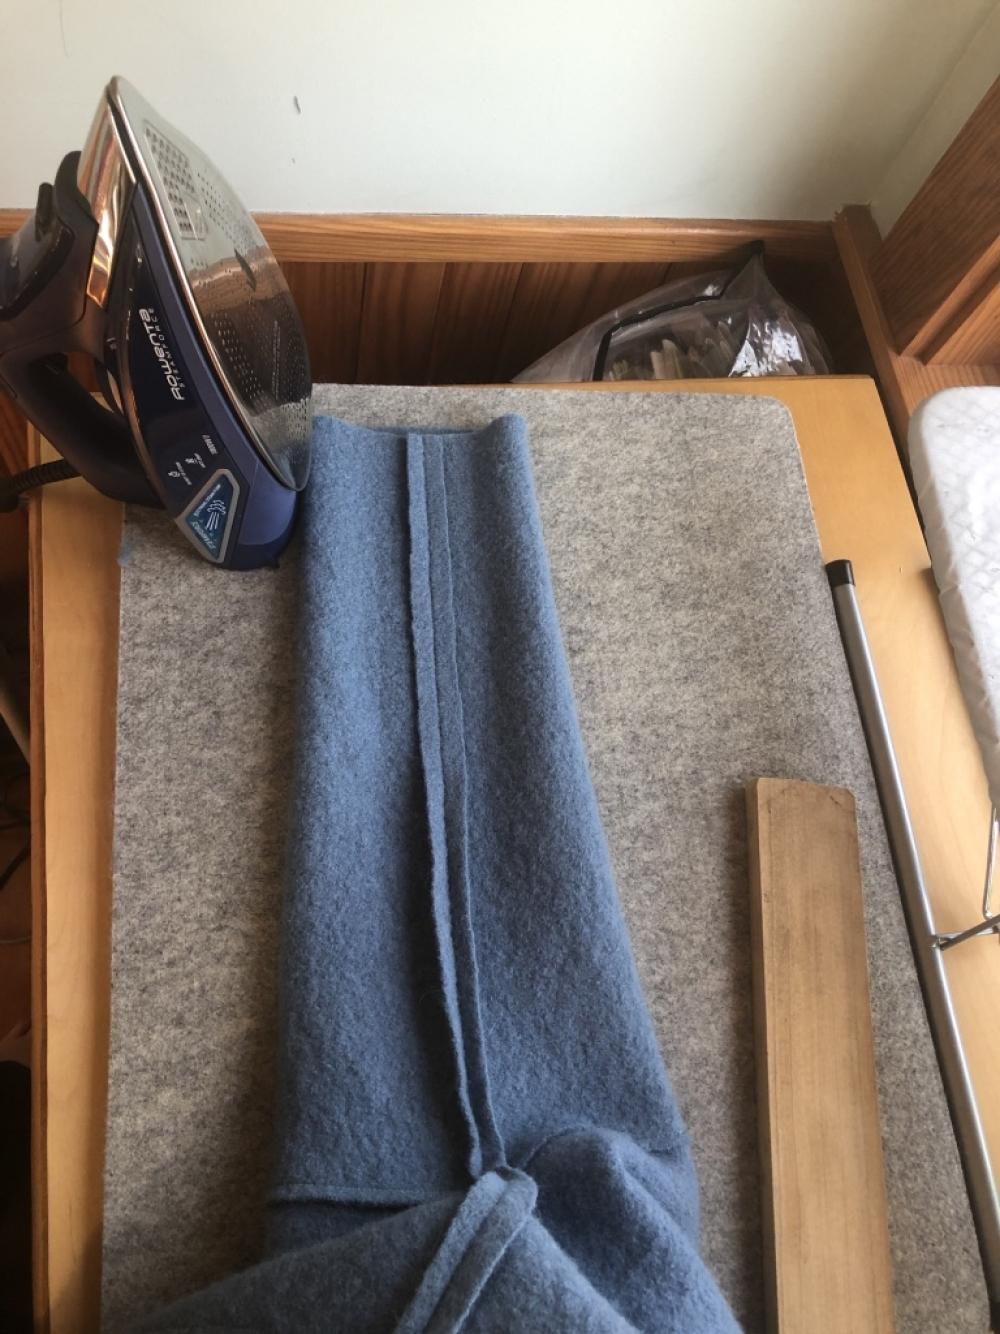
I LOVE using a wooden tailor’s clapper to press when sewing with wool. As you can see from the photo, using a clapper after pressing makes a huge difference to the finished seam with wool fabrics. Technically what I’m using is not a professional Tailor’s Clapper but instead is a piece of Poplar (a hardwood) from a cut/sanded 2x4. The scrap piece that I used for this project was 2.5” x 12”.
Tags
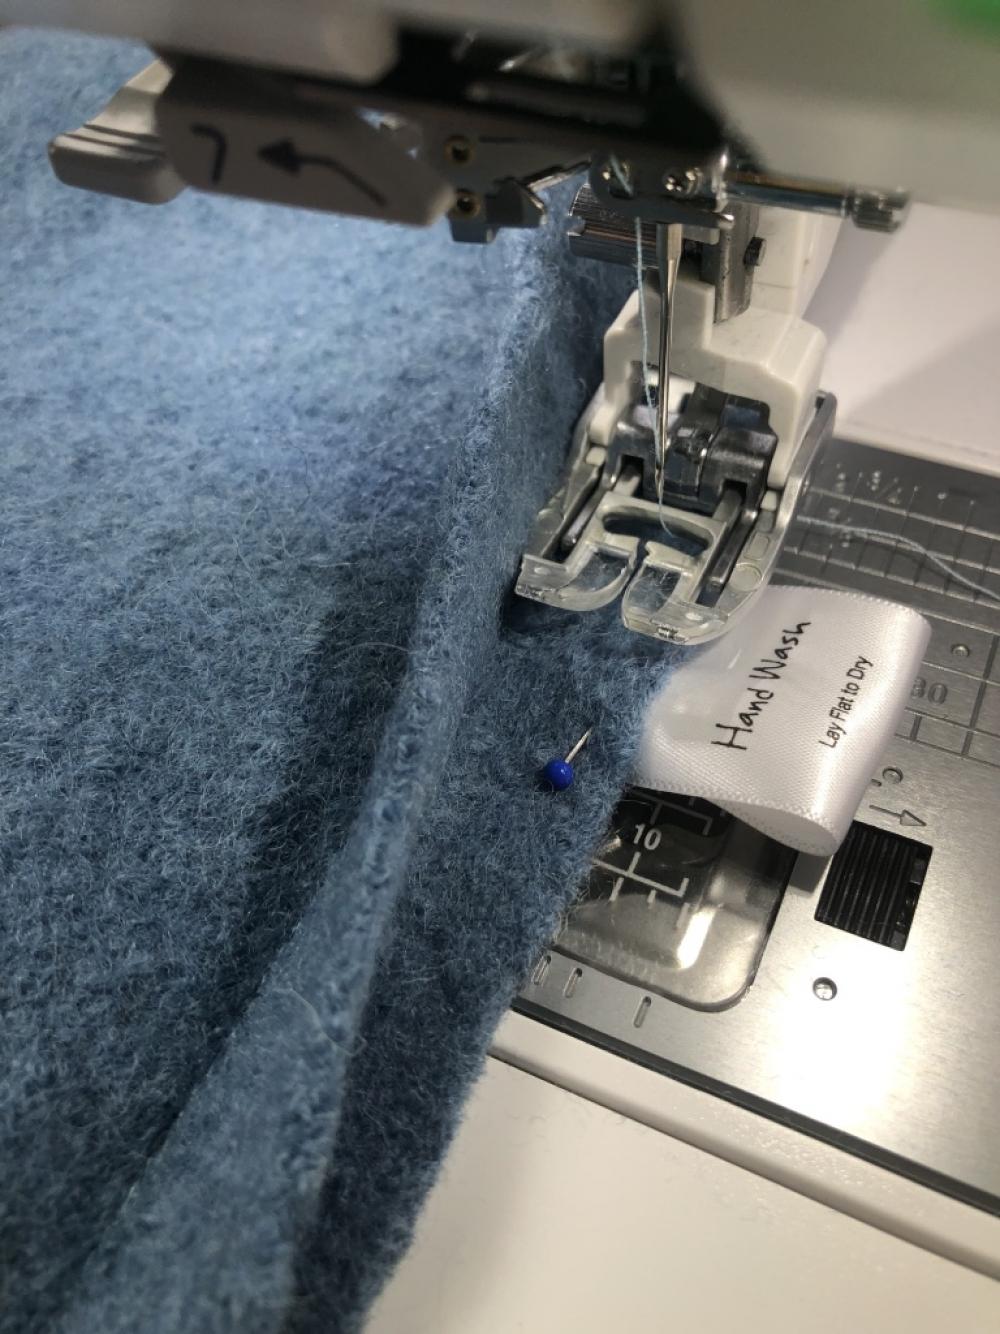
I love adding tags to my handknit garments and accessories so I decided to do the same with this coat! I added the following tags (that I purchased from Dutch Label:
- Size
- Hand Wash/Care tag
- Address/Email tag (in case the coat is left somewhere by accident)
- A tree logo that I made for my brand name, oakbluedesigns (just for fun)
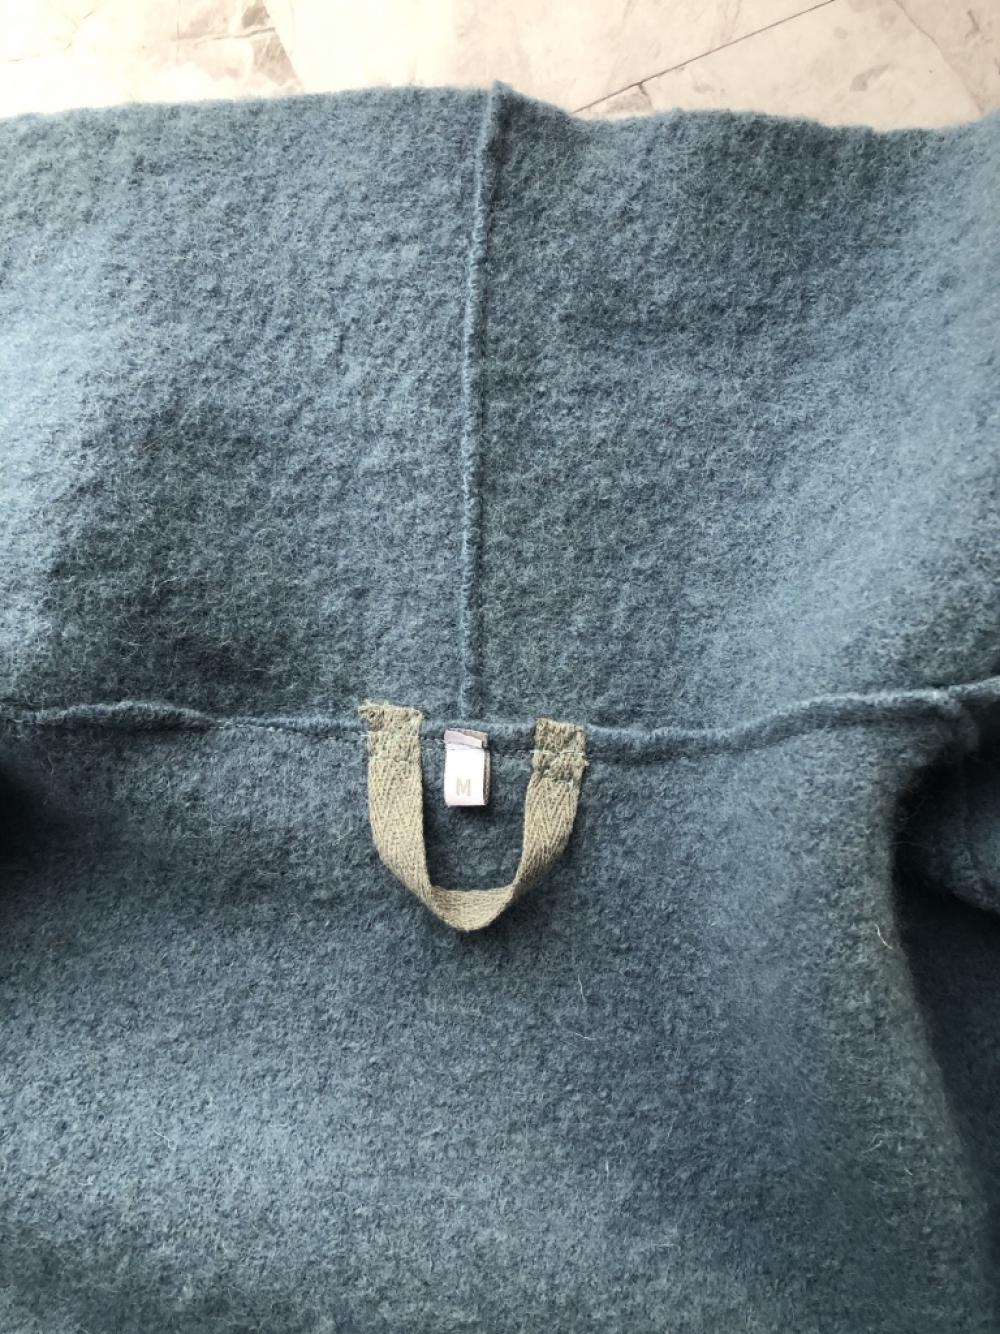
I also stitched a 4” loop of cotton twill tape to use to hang the coat. I saw others that made this coat added this detail and I highly recommend it!
I picked the Brooklyn because it’s an unlined coat pattern intended for boiled wool. I LOVE wool and enjoy getting to wear it. With the oversized nature of the pattern and the unlined detail, I felt this is a great pattern to share about for a first coat project.
For the fabric, I used a 100% wool, boiled wool base from Minerva. I was intentionally picked 100% wool as I especially enjoy working with natural fibers. This fabric is a lovely base!
When I got the fabric in, I first hand washed it in our kitchen sink. I have a wool wash that I like to use called Kookaburra. It’s a plant based fiber wash that doesn’t need to be rinsed (you just soak woolens in the wool wash, take them out of the wash water and then let them dry). We have a spin cycle on our washing machine so after the soak, I spun water out of the fabric in the washing machine spin cycle and then let the fabric air dry on a wood drying rack.
Size
I noticed the pattern didn’t have finished measurements so I wrote Tessuti Patterns to inquire about the coat’s finished measurements. They shared the following:
“The finished measurements below are around the bust-hip area. Note that the coat is straight up and down along the bust/waist/hip area and the weight and quality of your boiled wool can affect the finished garment measurement.
For sizes Petite, XXS-XS, S-M, L-XL : 109.5cm (43"), 114.5cm (45"), 124.5cm (49"), 134.5cm (53")
Note that centre front overlap is 10cm (4").”
I found this information REALLY helpful as I was trying to pick a size for me. I didn’t want the coat to be too small but I also didn’t want it so big that it was uncomfortable on me. My dimensions are: Bust-36” Waist-32” Hips-40”. I initially picked an XXS-XS at the shoulder/bust/arms and graded to a S-M at the waist/hips (but I later went back and took out this grading as I felt the grading was too much ease for me.
Fabric Quantity
I selected 1.8m of fabric for this project (and I ran short on fabric). When this happens, I always like to go back and see why. I have a few notes that I wanted to share with what I believe answers this why:
I didn’t account for shrinkage in the fabric with the fabric quantity. The pattern recommends 1.8m of a 55-59” wide fabric. My fabric was 55” wide and I requested 1.8m for this project. Some designers include in their recommended fabric quantities slightly more fabric recommended then they used (10-20% more, sometimes). I don’t believe Tessuti has this buffer included in the recommended fabric amount. I also believe that my fabric had a percentage of shrinkage after washing and air drying that ran me short on fabric. It’s always good to buy slightly more fabric then a pattern recommends, just in case (note to self).
Pattern Changes
I omitted the back pockets. I decided that I only wanted front pockets.
I traced out the following pattern pieces to cut them out on the Flat (instead of on the Fold as the pattern intended). I did this to use less fabric and to improve my accuracy of cutting out the fabric on grain.
- Back
- Sleeve
- Sleeve Cuff
- Collar
With the fabric shortage mentioned above, I had to get creative with a few aspects of the coat construction. For the front pockets, I folded over 1” of the pocket to fit cutting out two slightly smaller pockets on fabric scraps that I had left.
For the collar, I added a ⅜” overlapped seam allowance and pieced two separate pieces of fabric together (adding a seam at the center of the collar).
For one of the sleeve cuffs, I added a ⅜” seam allowance and pieced to separate pieces of fabric together (adding a seam to one of the cuffs.
Tailor’s Clapper
I LOVE using a wooden tailor’s clapper to press when sewing with wool. As you can see from the photo, using a clapper after pressing makes a huge difference to the finished seam with wool fabrics. Technically what I’m using is not a professional Tailor’s Clapper but instead is a piece of Poplar (a hardwood) from a cut/sanded 2x4. The scrap piece that I used for this project was 2.5” x 12”.
Tags
I love adding tags to my handknit garments and accessories so I decided to do the same with this coat! I added the following tags (that I purchased from Dutch Label:
- Size
- Hand Wash/Care tag
- Address/Email tag (in case the coat is left somewhere by accident)
- A tree logo that I made for my brand name, oakbluedesigns (just for fun)
I also stitched a 4” loop of cotton twill tape to use to hang the coat. I saw others that made this coat added this detail and I highly recommend it!
Add all tagged items to your basket