


6 years ago
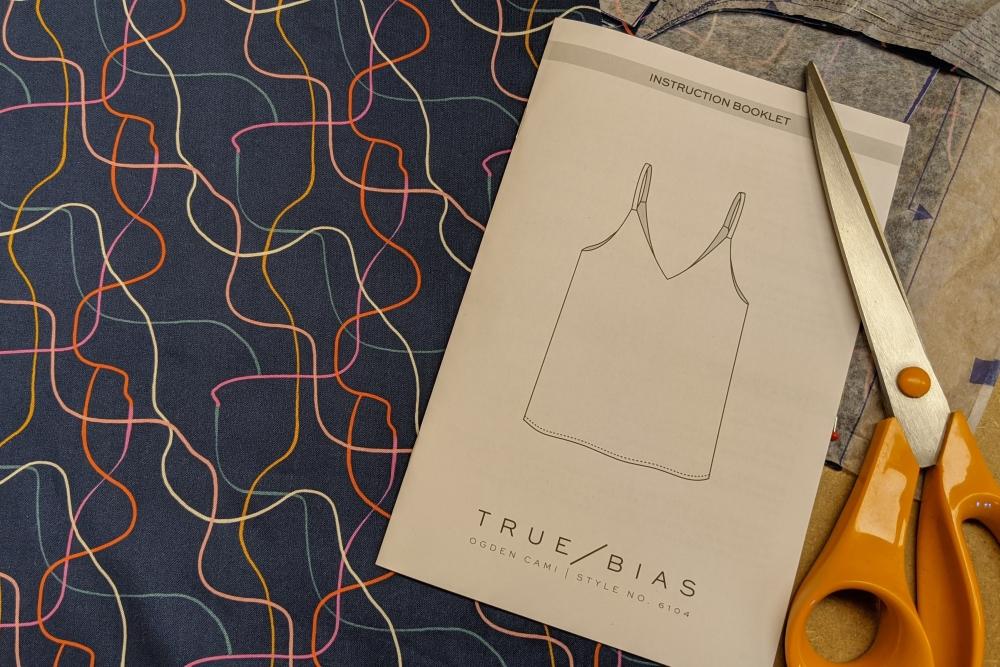
The Ogden Cami is a pattern I had heard great things of but had yet to try out for myself, and it did not disappoint… I totally understand now why it’s one of those raved about patterns. From the beautifully thought through packaging, to the totally flawless instructions but most importantly the classic design that creates a staple wardrobe piece.
The fabric I chose to make it in is a Dashwood rayon challis. It has the most wonderful drape to it without feeling flimsy or being a nightmare to handle. I was really impressed with it, especially the print which is really fun and yet subtle (unlike a lot of my other choices I know). The fabric is in no way see through, and the sewing machine was very happy sewing on it, no special needles or settings etc required.
The Ogden Cami comes in 2 size envelopes ranging from a 0-30 which is amazing. Size inclusivity is something that is really important, and I love seeing so many different bodies being accounted for by brands. The sizing also came up true to form for me. I made a size 16 and as you can see it fits beautifully.
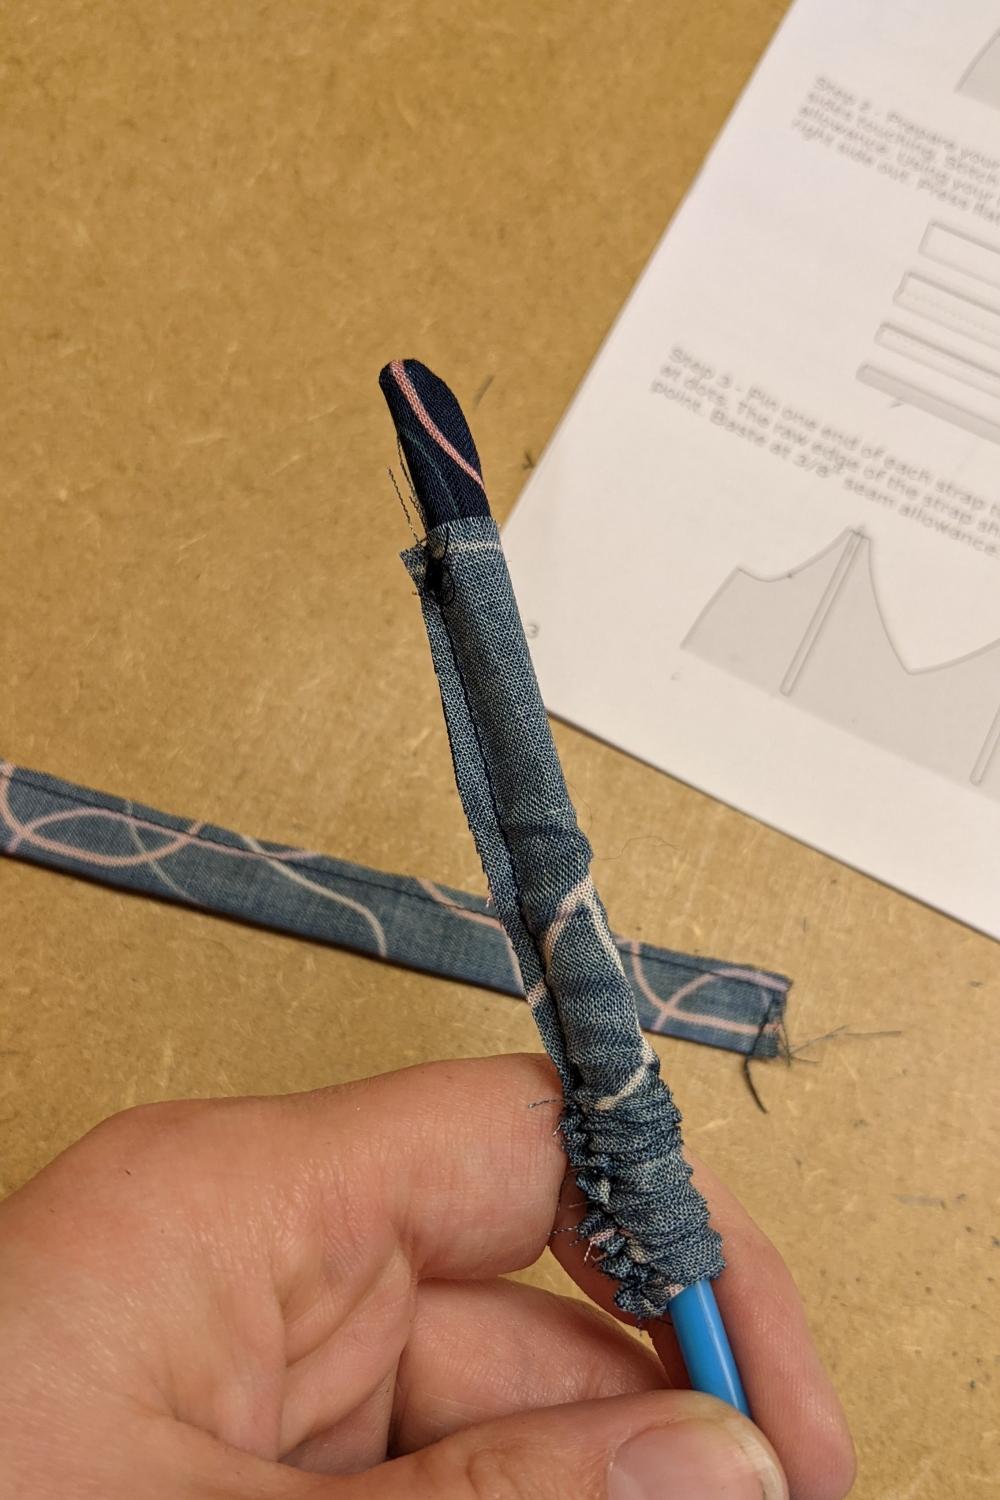
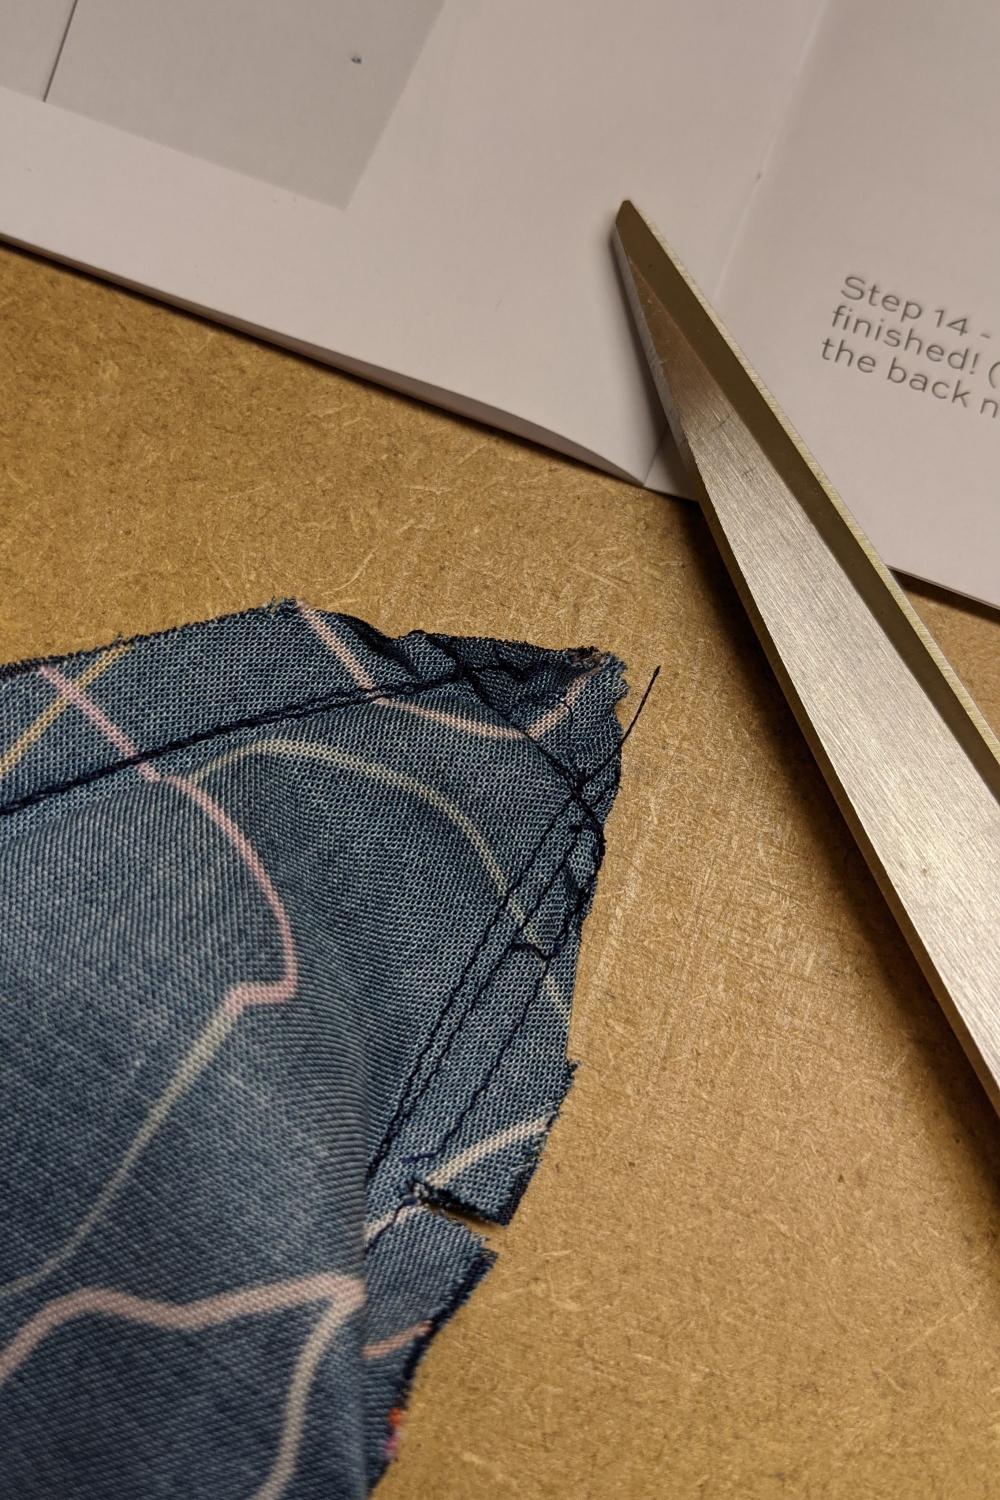
The instructions that come with the pattern are in a fab little booklet. It’s really easy to navigate and is clear to read… but importantly to note its really simple to sew up. The fiddliest part is definitely the straps, I have never been a lover of turning thin items through but using the sew across one end and push something through method they were definitely achievable. Once they are sewn into place on the top, do make sure to mitre the corners to remove bulk as otherwise there is a lot of fabric squashed into a small space.
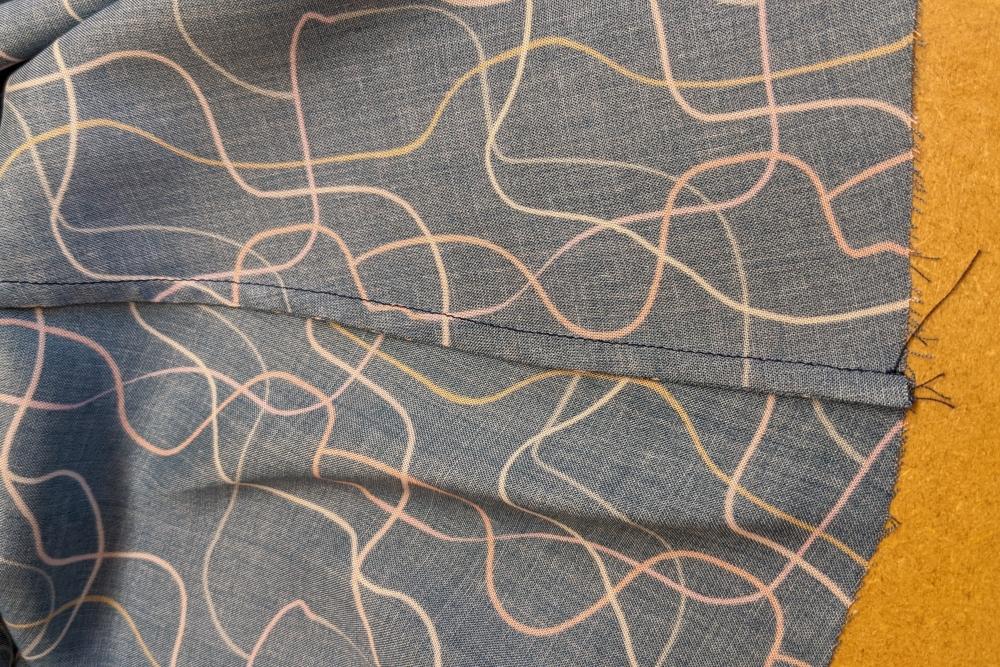
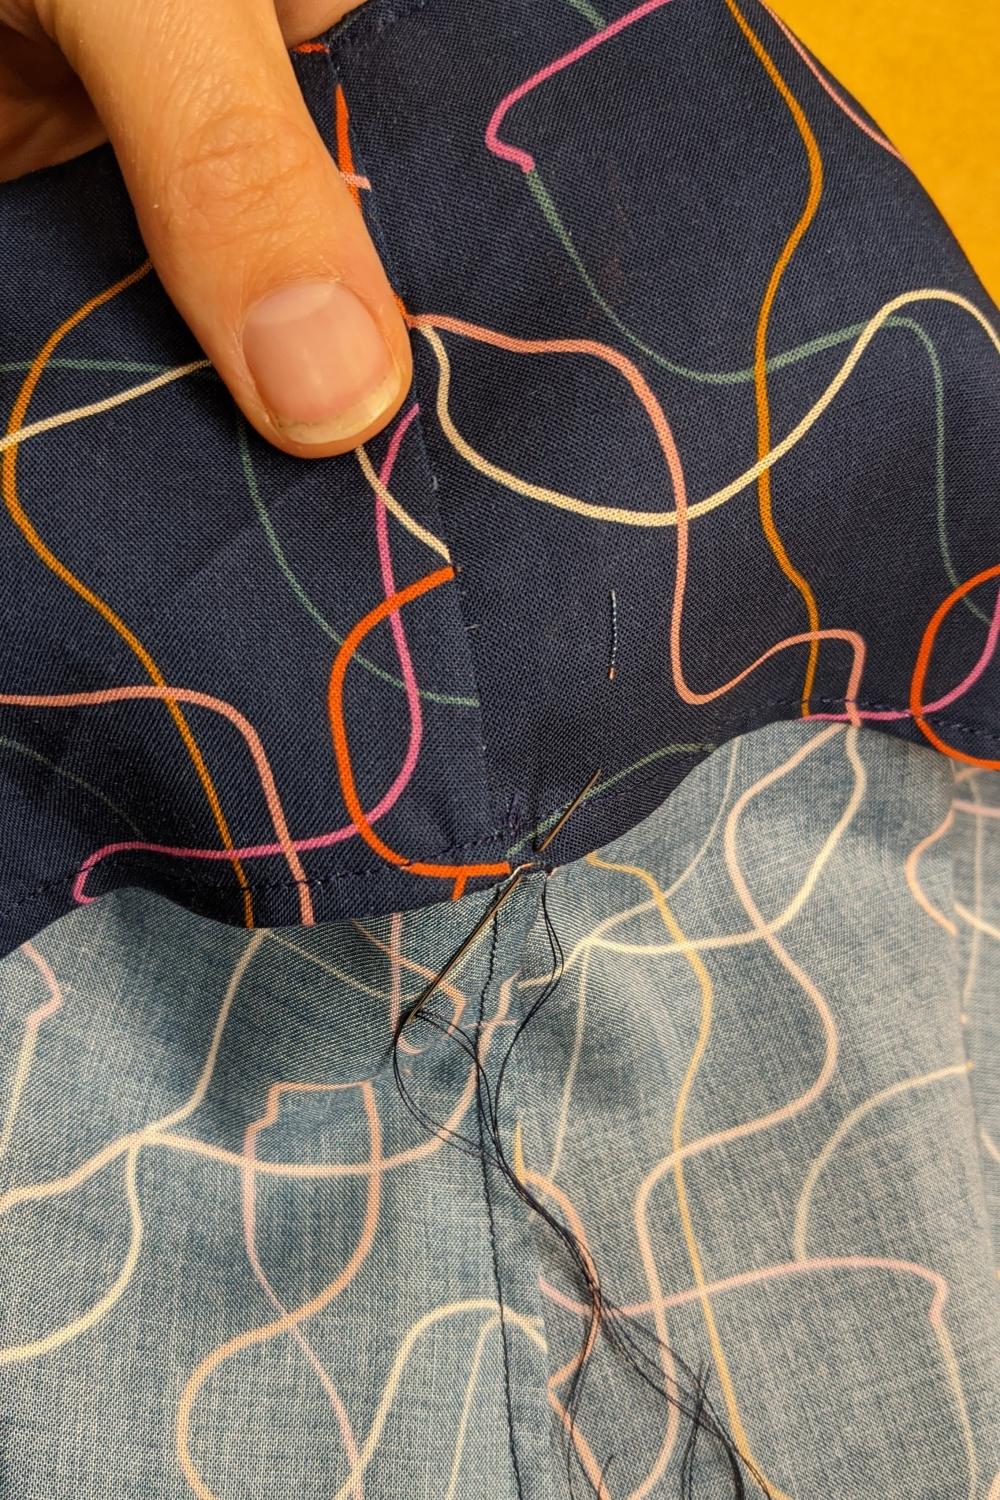
Finishing the seam allowances on a garment is always a choice, there are so many ways it can be done, and everyone has their own preference. Now I am usually an overlocker user to do this, but it didn’t feel like the right choice on this fabric and top, so I opted for French seams instead. It gives in the cleanest finish and isn’t too laborious as it’s only the 2 side seams that need doing. The top line is finished with a facing that is tacked down to the side seams to hold in place with a narrow hem to finish. It is by no means the only option, but it’s my favourite on this pattern and definitely the one I’d recommend.
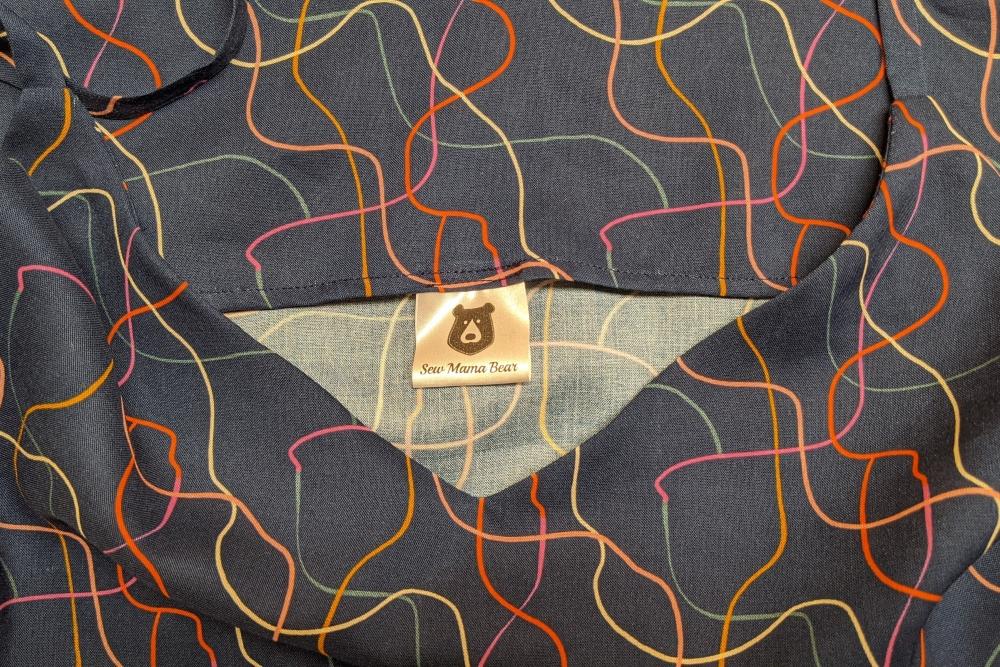
One thing of note, the front and back are really similar… to the point that you’d be hard pushed to tell them apart. The pattern instructions acknowledge this and suggest sewing a label into the back to clearly mark it (which I always love to do to mark that garments are me made anyway). The notches on the pattern will make the front and back clear during sewing and are necessary to mark to avoid losing which is which during the construction.
I’m so happy with the outcome of this top. I don’t find I can wear it with a bra as the top line of the bra comes above the armhole line and is visible, but it works perfectly with a bralette.
It looks so cute, and the fabric goes with almost everything in my wardrobe so is really versatile for putting looks together, it’s just effortless.
I would normally have so many notes after working with a new pattern, and I just don’t have them with this. I can’t fault it… I don’t think anything could have been clearer and it is a seriously satisfying simple sew that I would absolutely recommend you try.
#ogdencami #dashwood #truebias #rayon #simplesewing #sewingwithrayon #minervamakes #minervamakers #isew #memade #memades #sewing #sewist #sewists #sewinginspo #sewinginspiration #sew #sewcialist #sewingproject #sewingprojects #sewingideas #sewingprojectideas #sewingpatterninspo #lovesewing #ilovesewing #sewsewsew #sewersgonnasew #makersgonnamake #sewaholic #sewaholics #shareyoursewing #sewinglove #handmadewardrobe #handemadeclothes #isewmyclothes #diyclothes #dressmaking #fabricinspo #seamstress #memadeeveryday #imakemyclothes #imakemyownclothes #fashion #fashioninspo #memadewardrobe #memadefashion #diyfashion #diywardrobe #fashionsewing #indiepatterns #indiesewingpatterns
The fabric I chose to make it in is a Dashwood rayon challis. It has the most wonderful drape to it without feeling flimsy or being a nightmare to handle. I was really impressed with it, especially the print which is really fun and yet subtle (unlike a lot of my other choices I know). The fabric is in no way see through, and the sewing machine was very happy sewing on it, no special needles or settings etc required.
The Ogden Cami comes in 2 size envelopes ranging from a 0-30 which is amazing. Size inclusivity is something that is really important, and I love seeing so many different bodies being accounted for by brands. The sizing also came up true to form for me. I made a size 16 and as you can see it fits beautifully.
The instructions that come with the pattern are in a fab little booklet. It’s really easy to navigate and is clear to read… but importantly to note its really simple to sew up. The fiddliest part is definitely the straps, I have never been a lover of turning thin items through but using the sew across one end and push something through method they were definitely achievable. Once they are sewn into place on the top, do make sure to mitre the corners to remove bulk as otherwise there is a lot of fabric squashed into a small space.
Finishing the seam allowances on a garment is always a choice, there are so many ways it can be done, and everyone has their own preference. Now I am usually an overlocker user to do this, but it didn’t feel like the right choice on this fabric and top, so I opted for French seams instead. It gives in the cleanest finish and isn’t too laborious as it’s only the 2 side seams that need doing. The top line is finished with a facing that is tacked down to the side seams to hold in place with a narrow hem to finish. It is by no means the only option, but it’s my favourite on this pattern and definitely the one I’d recommend.
One thing of note, the front and back are really similar… to the point that you’d be hard pushed to tell them apart. The pattern instructions acknowledge this and suggest sewing a label into the back to clearly mark it (which I always love to do to mark that garments are me made anyway). The notches on the pattern will make the front and back clear during sewing and are necessary to mark to avoid losing which is which during the construction.
I’m so happy with the outcome of this top. I don’t find I can wear it with a bra as the top line of the bra comes above the armhole line and is visible, but it works perfectly with a bralette.
It looks so cute, and the fabric goes with almost everything in my wardrobe so is really versatile for putting looks together, it’s just effortless.
I would normally have so many notes after working with a new pattern, and I just don’t have them with this. I can’t fault it… I don’t think anything could have been clearer and it is a seriously satisfying simple sew that I would absolutely recommend you try.
#ogdencami #dashwood #truebias #rayon #simplesewing #sewingwithrayon #minervamakes #minervamakers #isew #memade #memades #sewing #sewist #sewists #sewinginspo #sewinginspiration #sew #sewcialist #sewingproject #sewingprojects #sewingideas #sewingprojectideas #sewingpatterninspo #lovesewing #ilovesewing #sewsewsew #sewersgonnasew #makersgonnamake #sewaholic #sewaholics #shareyoursewing #sewinglove #handmadewardrobe #handemadeclothes #isewmyclothes #diyclothes #dressmaking #fabricinspo #seamstress #memadeeveryday #imakemyclothes #imakemyownclothes #fashion #fashioninspo #memadewardrobe #memadefashion #diyfashion #diywardrobe #fashionsewing #indiepatterns #indiesewingpatterns