


6 years ago
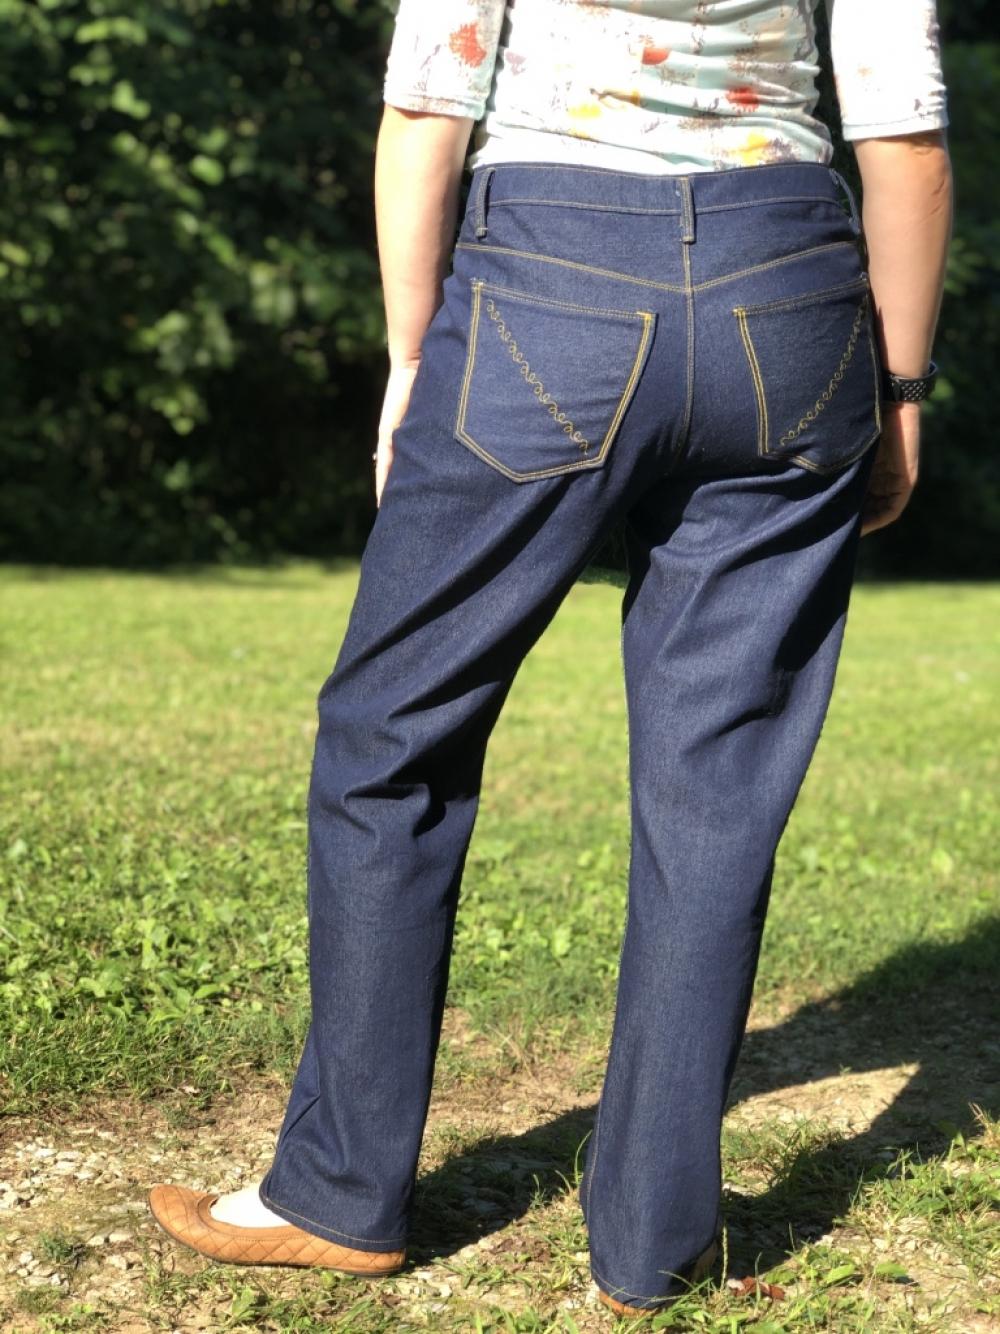
Back yoke topstitching: I diverted from the pattern a bit with the back yoke top stitching. The pattern recommends top stitching the back yoke seam BEFORE sewing the back crotch curve. I followed this step on the muslins but if my fabric alignment is off at all in this area, this error is very visually noticeable after they pants are sewn together.
To avoid this misalignment, I waited to topstitch the yoke seam until after sewing the crotch curve.
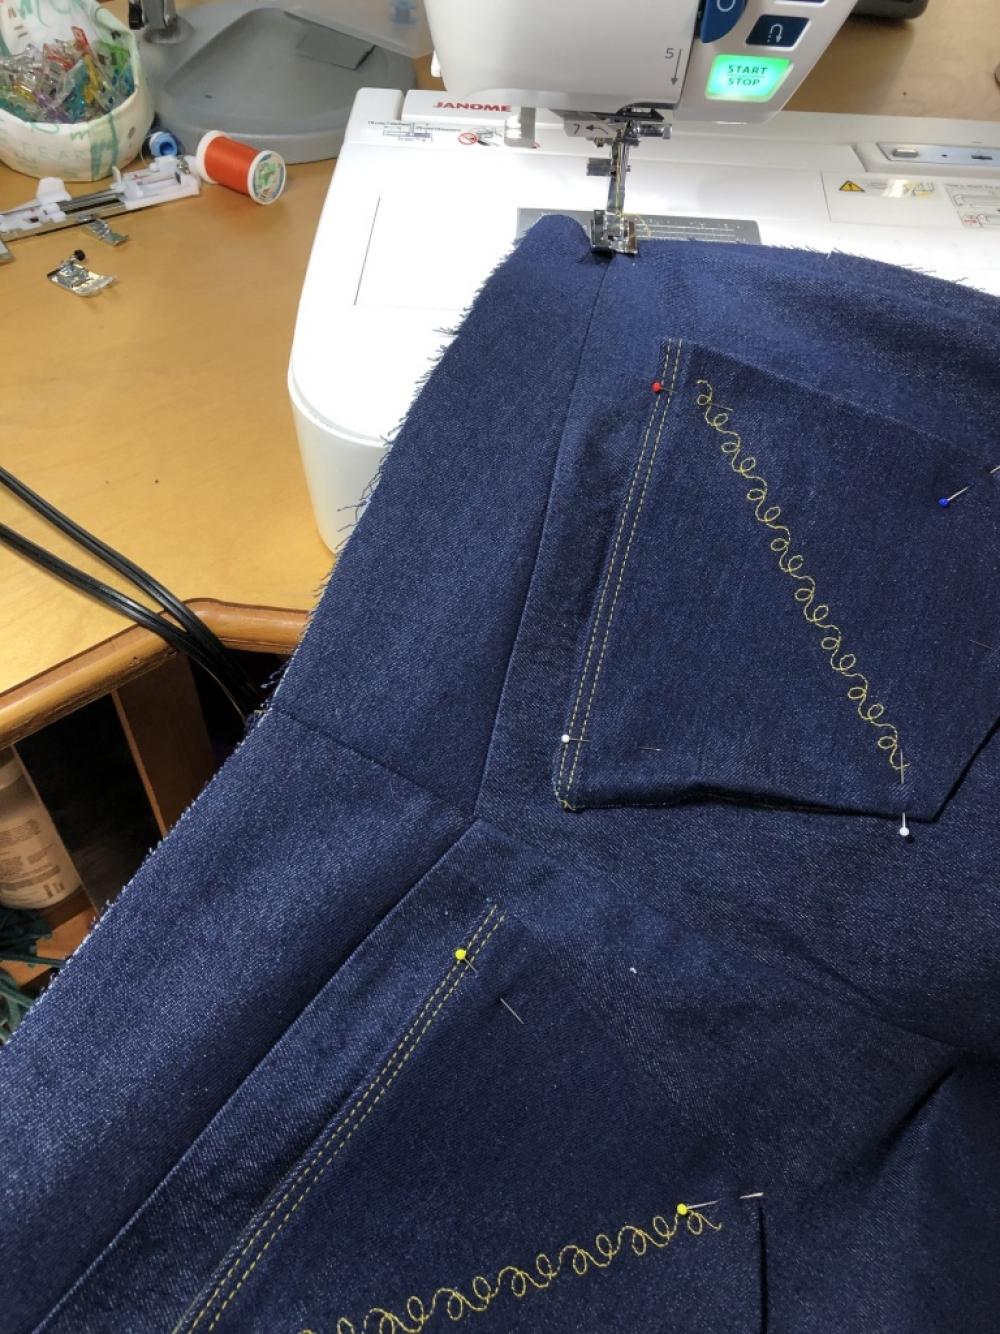
Top stitching this seam AFTER the crotch curve is sewn allows for a smooth visual top stitch that hides any yoke misalignment. In the following photo, you can see the slight misalignment at the back yokes between the left and right sides (at the center).
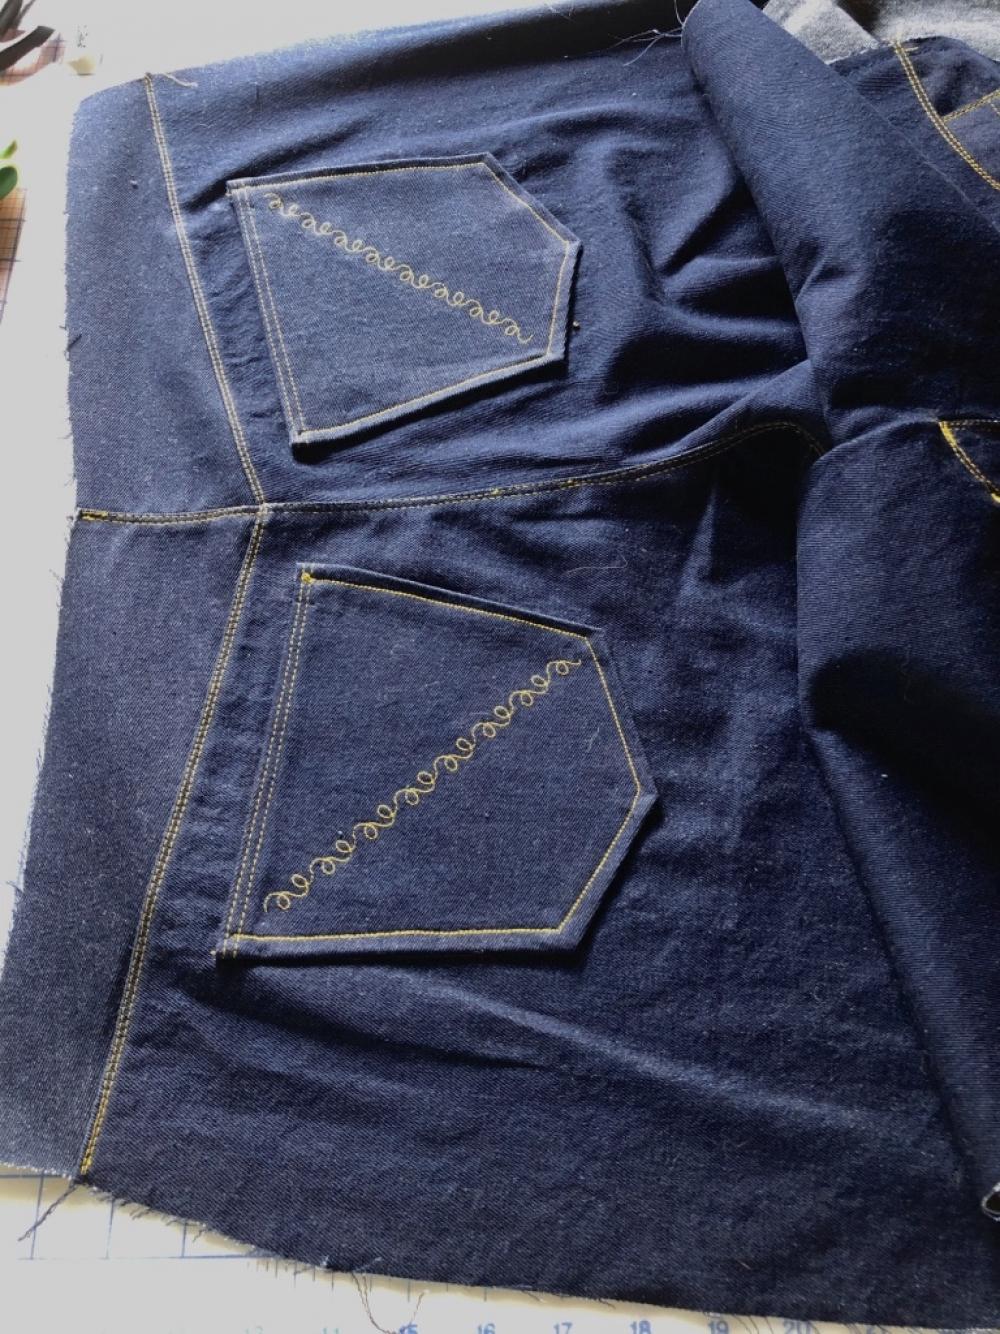
The next photo shows topstitching the back yoke afterwards (to hide the yoke misalignment):
Top stitching: I did not use a top stitch weight thread for this project. I used a mustard toned, standard weight poly all purpose thread for the standard machine sewing. This choice saved me time from switching between standard thread and top stitching thread throughout the jeans. For the serger, I used four cones of navy thread for the final jeans.
The pattern included a tip to set up two machines to use at once (one set up with top stitching thread and the other set up with standard thread) to save time. Although I do have more then one standard machine, I didn’t trust my older machine to handle the denim well. If you have one machine as well, you might consider this time saving tip for the top stitching.
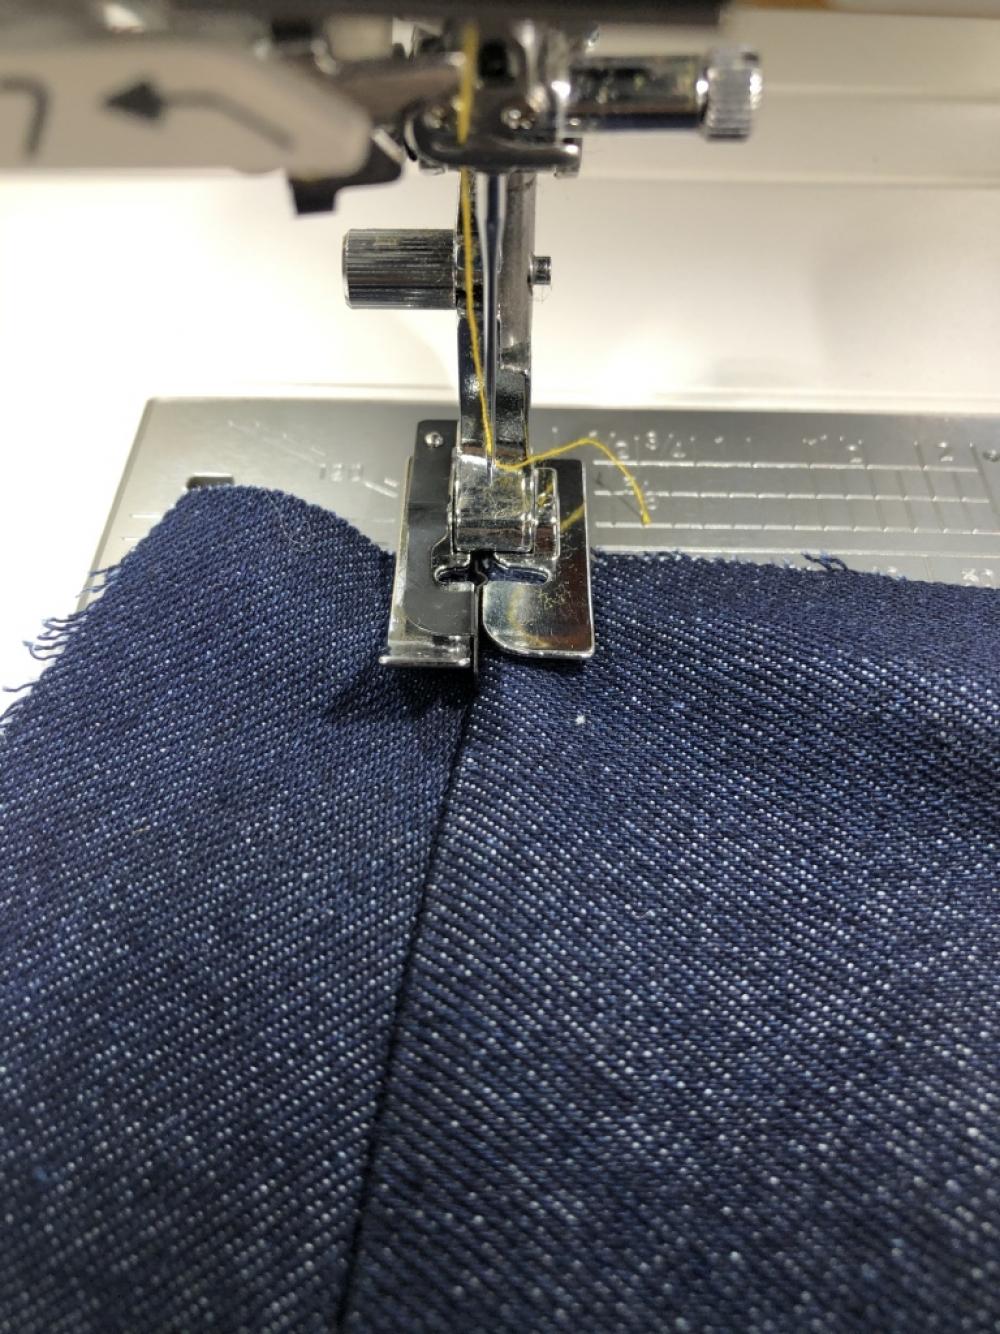
I played around with two different approaches for the top stitching. One technique I tried was using a blind hemming and ¼” edge foot and adjusting the needle position. The fin along these feet aligns with the edge of the fabric. Moving the needle position (rather than relying on your hands and eyes) can help you have more consistency in your stitch line.
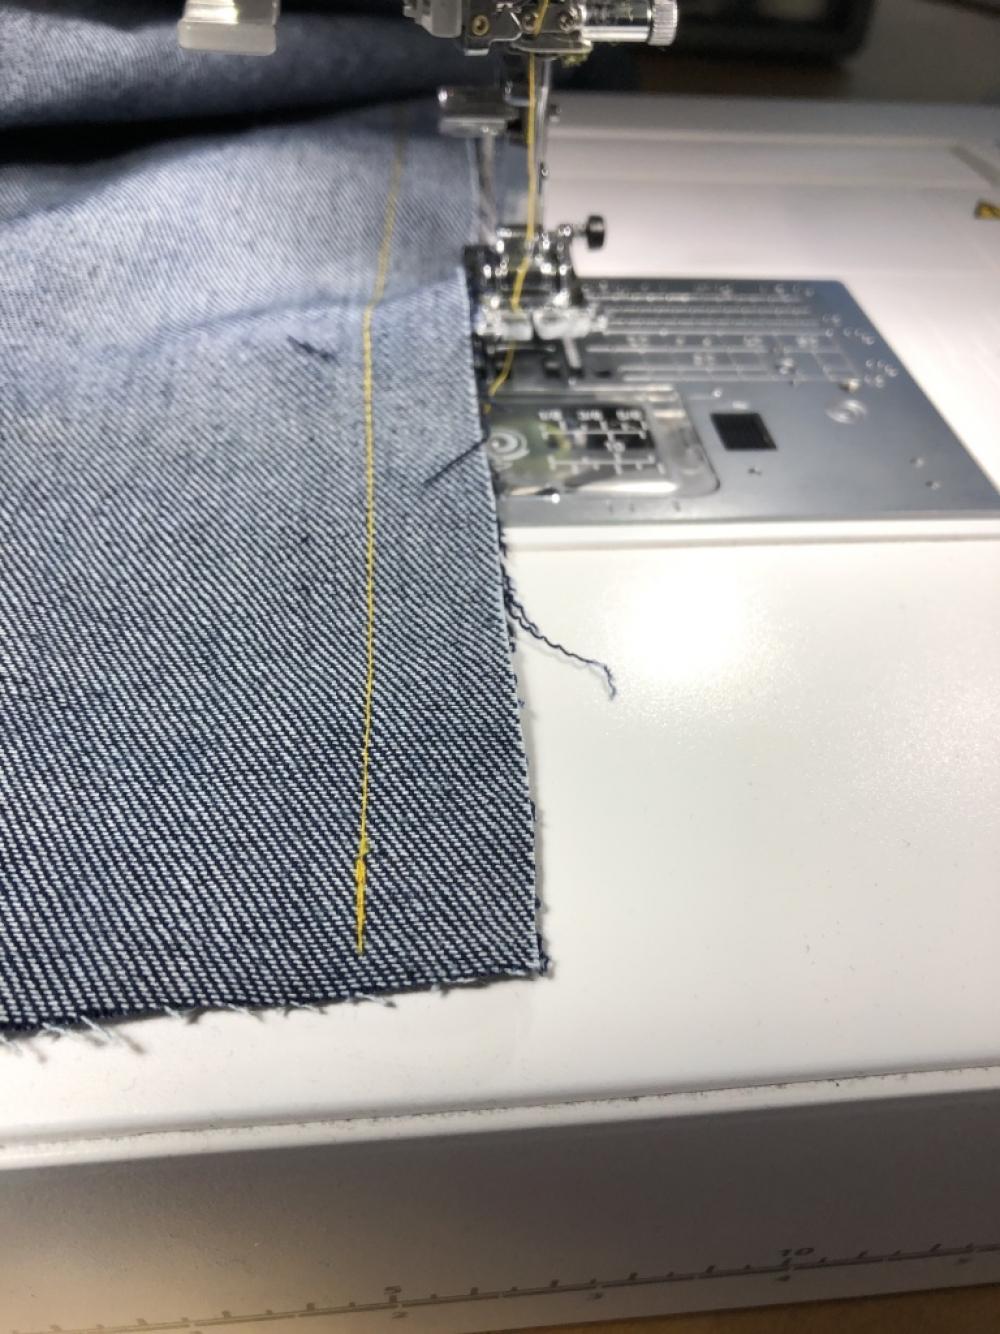
At times even with edge feet approach, I found I still had some visual variations in my top stitch lines. With the help of a seam ripper, I unpicked any wonky top stitched seams. I then drew parallel stitch lines with a yellow Clover Chaco liner on top of the fabric. I like this option when top stitching curved lines (like along the center back seam).
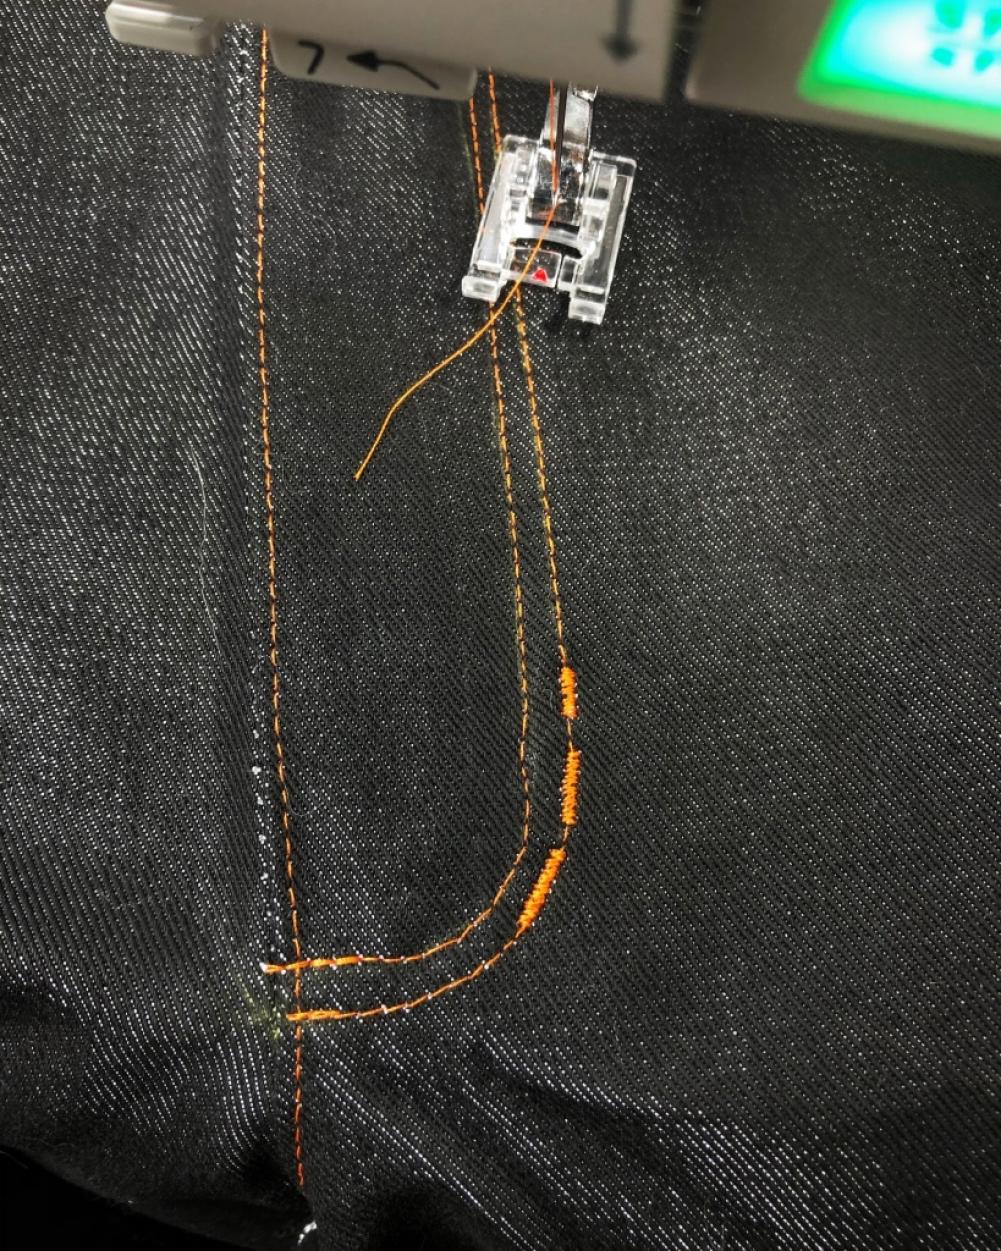
Tack stitch: My machine comes with tack stitches as a default, saved stitch option (to save time). I tried a 0.7, 1.0 and 1.2cm (that were defaults on my machine) for the tack stitch details.
Continued in my next post...
#minervamakes #minervamakers #isew #memade #memades #sewing #sewist #sewists #sewinginspo #sewinginjects #sewingideas #sewingprojectideas #sewingpatterninspo #lovesewing #ilovesewing #sewsewsew #sewersgonnasew #makersgonnamake #sewaholic #sewaholics #shareyoursewing #sewinglove #handmadewardrobe #handemadeclothes #isewmyclothes #diyclothes #dressmaking #fabricinspo #seamstress #sew #sewcialist #sewingproject #memadeeveryday #imakemyclothes #imakemyownclothes #fashion #fashioninspo #memadewardrobe #memadefashion #diyfashion #diywardrobe #fashionsewing #indiepatterns #indiesewingpatterns #megannielsenpatterns #closetcasepatterns #megannielsendawnjeans #dawnjeans #closetcasemorganjeans #morganjeans #sewingjeans #sewingwithdenim #denimsewingprojects #closetcoremorganjeans #closetcorepatterns
To avoid this misalignment, I waited to topstitch the yoke seam until after sewing the crotch curve.
Top stitching this seam AFTER the crotch curve is sewn allows for a smooth visual top stitch that hides any yoke misalignment. In the following photo, you can see the slight misalignment at the back yokes between the left and right sides (at the center).
The next photo shows topstitching the back yoke afterwards (to hide the yoke misalignment):
Top stitching: I did not use a top stitch weight thread for this project. I used a mustard toned, standard weight poly all purpose thread for the standard machine sewing. This choice saved me time from switching between standard thread and top stitching thread throughout the jeans. For the serger, I used four cones of navy thread for the final jeans.
The pattern included a tip to set up two machines to use at once (one set up with top stitching thread and the other set up with standard thread) to save time. Although I do have more then one standard machine, I didn’t trust my older machine to handle the denim well. If you have one machine as well, you might consider this time saving tip for the top stitching.
I played around with two different approaches for the top stitching. One technique I tried was using a blind hemming and ¼” edge foot and adjusting the needle position. The fin along these feet aligns with the edge of the fabric. Moving the needle position (rather than relying on your hands and eyes) can help you have more consistency in your stitch line.
At times even with edge feet approach, I found I still had some visual variations in my top stitch lines. With the help of a seam ripper, I unpicked any wonky top stitched seams. I then drew parallel stitch lines with a yellow Clover Chaco liner on top of the fabric. I like this option when top stitching curved lines (like along the center back seam).
Tack stitch: My machine comes with tack stitches as a default, saved stitch option (to save time). I tried a 0.7, 1.0 and 1.2cm (that were defaults on my machine) for the tack stitch details.
Continued in my next post...
#minervamakes #minervamakers #isew #memade #memades #sewing #sewist #sewists #sewinginspo #sewinginjects #sewingideas #sewingprojectideas #sewingpatterninspo #lovesewing #ilovesewing #sewsewsew #sewersgonnasew #makersgonnamake #sewaholic #sewaholics #shareyoursewing #sewinglove #handmadewardrobe #handemadeclothes #isewmyclothes #diyclothes #dressmaking #fabricinspo #seamstress #sew #sewcialist #sewingproject #memadeeveryday #imakemyclothes #imakemyownclothes #fashion #fashioninspo #memadewardrobe #memadefashion #diyfashion #diywardrobe #fashionsewing #indiepatterns #indiesewingpatterns #megannielsenpatterns #closetcasepatterns #megannielsendawnjeans #dawnjeans #closetcasemorganjeans #morganjeans #sewingjeans #sewingwithdenim #denimsewingprojects #closetcoremorganjeans #closetcorepatterns
Add all tagged items to your basket