


7 years ago
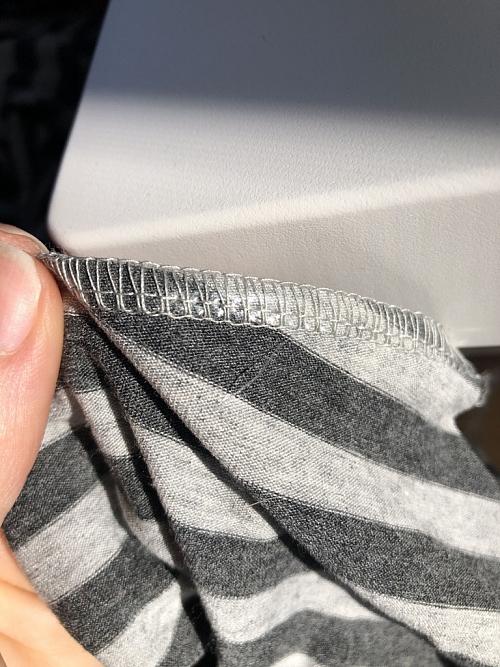
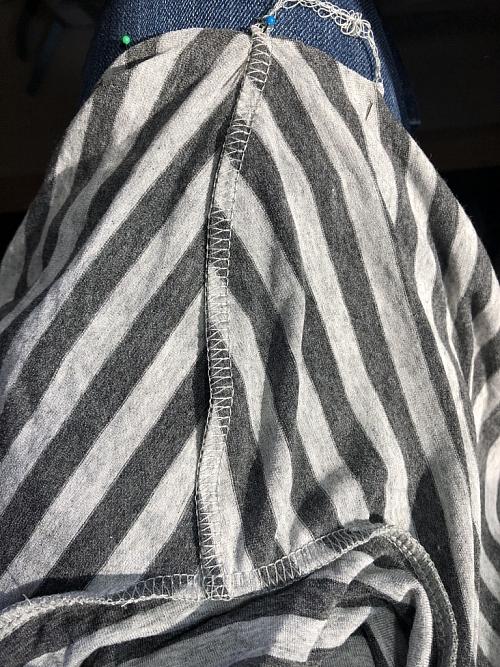
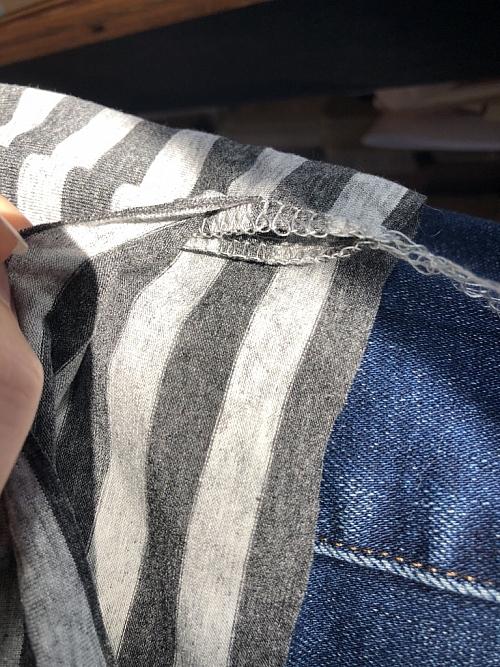
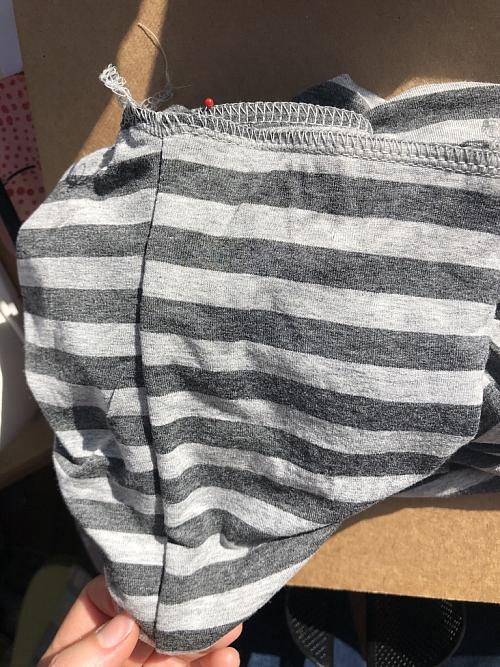
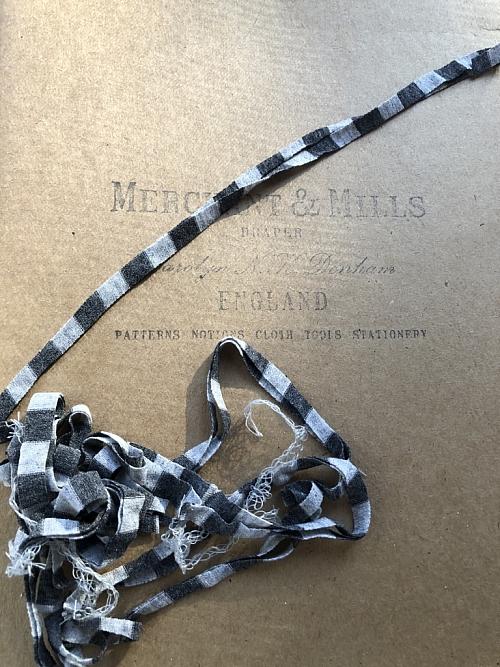
Add ¼” clear elastic to the shoulder seams to reinforce these seams.
Flat seams:
One detail that I wasn’t careful in the muslin is making sure the shoulder seams and back turtleneck seams are flat. I found I had this shoulder seam twisted between the neck and arm and that detail felt uncomfortable. Even with this being a looser fitting top, I knew that for the final I wanted to be more meticulous to pin the shoulder seams flat before sewing the turtleneck and sleeves in place.
I also checked this detail on the turtleneck before I sewed it together (ensuring the seam was flat and wasn’t twisted).
I followed the suggestion in the instructions and serged the turtleneck band together (at a ¼” seam allowance) before applying it to the top. With the Fall turtleneck being taller, it definitely made applying it much easier.
Ironing:
I always remind myself when sewing knits to remember to iron the seams. It makes a huge difference with knits just like it does with ironing woven fabrics. I did not iron the shoulder seams as clear elastic melts when ironing.
Final thoughts:
I really love this top! I can definitely see this pattern as a wardrobe staple for me. I love the layering aspect that turtlenecks offer. I especially enjoy this aspect with layering them under handknit sweaters, cardigans, or vests. I find the turtleneck detail faster to apply to a knit top then a traditional thin neckband. That said, it would also be fun to omit the turtleneck detail in the future and draft a quick thinner neckband to apply.
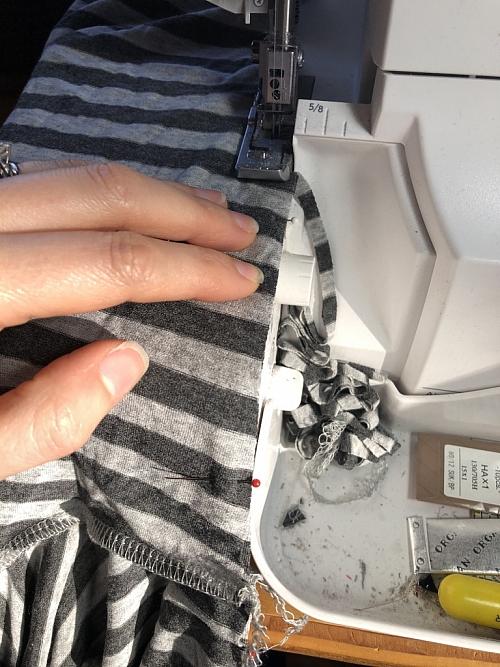
The serger that I used for this project worked great with the lightweight fabric. One tip that I found as I serged was to gently place my hand on the top fabric to prevent it from bubbling as I sew. It helped to keep the upper and lower fabrics moving at the same speed.
I would really enjoy making this pattern again with a thicker jersey/ponte, with the fitted Rise pattern. I’d also love making the Rise version in a merino wool jersey. Let me know if you’ve made this pattern and which fabric you used!
Rachel (@oakbluedesigns)
www.oakbluedesigns.com
#minervamakes #minervamakers #isew #memade #memades #sewing #sewist #sewists #sewinginspo #sewinginspiration #sew #sewcialist #sewingproject #sewingprojects #sewingideas #sewingprojectideas #sewingpatterninspo #lovesewing #ilovesewing #sewsewsew #sewersgonnasew #makersgonnamake #sewaholic #sewaholics #shareyoursewing #sewinglove #handmadewardrobe #handemadeclothes #isewmyclothes #diyclothes #dressmaking #fabricinspo #seamstress #memadeeveryday #imakemyclothes #imakemyownclothes #fashion #fashioninspo #memadewardrobe #memadefashion #diyfashion #diywardrobe #fashionsewing #indiepatterns #indiesewingpatterns #papercutpatterns #papercutriseandfallturtlenecks #riseandfallturtlenecks #sewingtops #sewingjerseytops #sewingturtlenecks #sewingwithjersey #jerseysewingprojects #grey #stripes
Flat seams:
One detail that I wasn’t careful in the muslin is making sure the shoulder seams and back turtleneck seams are flat. I found I had this shoulder seam twisted between the neck and arm and that detail felt uncomfortable. Even with this being a looser fitting top, I knew that for the final I wanted to be more meticulous to pin the shoulder seams flat before sewing the turtleneck and sleeves in place.
I also checked this detail on the turtleneck before I sewed it together (ensuring the seam was flat and wasn’t twisted).
I followed the suggestion in the instructions and serged the turtleneck band together (at a ¼” seam allowance) before applying it to the top. With the Fall turtleneck being taller, it definitely made applying it much easier.
Ironing:
I always remind myself when sewing knits to remember to iron the seams. It makes a huge difference with knits just like it does with ironing woven fabrics. I did not iron the shoulder seams as clear elastic melts when ironing.
Final thoughts:
I really love this top! I can definitely see this pattern as a wardrobe staple for me. I love the layering aspect that turtlenecks offer. I especially enjoy this aspect with layering them under handknit sweaters, cardigans, or vests. I find the turtleneck detail faster to apply to a knit top then a traditional thin neckband. That said, it would also be fun to omit the turtleneck detail in the future and draft a quick thinner neckband to apply.
The serger that I used for this project worked great with the lightweight fabric. One tip that I found as I serged was to gently place my hand on the top fabric to prevent it from bubbling as I sew. It helped to keep the upper and lower fabrics moving at the same speed.
I would really enjoy making this pattern again with a thicker jersey/ponte, with the fitted Rise pattern. I’d also love making the Rise version in a merino wool jersey. Let me know if you’ve made this pattern and which fabric you used!
Rachel (@oakbluedesigns)
www.oakbluedesigns.com
#minervamakes #minervamakers #isew #memade #memades #sewing #sewist #sewists #sewinginspo #sewinginspiration #sew #sewcialist #sewingproject #sewingprojects #sewingideas #sewingprojectideas #sewingpatterninspo #lovesewing #ilovesewing #sewsewsew #sewersgonnasew #makersgonnamake #sewaholic #sewaholics #shareyoursewing #sewinglove #handmadewardrobe #handemadeclothes #isewmyclothes #diyclothes #dressmaking #fabricinspo #seamstress #memadeeveryday #imakemyclothes #imakemyownclothes #fashion #fashioninspo #memadewardrobe #memadefashion #diyfashion #diywardrobe #fashionsewing #indiepatterns #indiesewingpatterns #papercutpatterns #papercutriseandfallturtlenecks #riseandfallturtlenecks #sewingtops #sewingjerseytops #sewingturtlenecks #sewingwithjersey #jerseysewingprojects #grey #stripes
Add all tagged items to your basket