



5 years ago
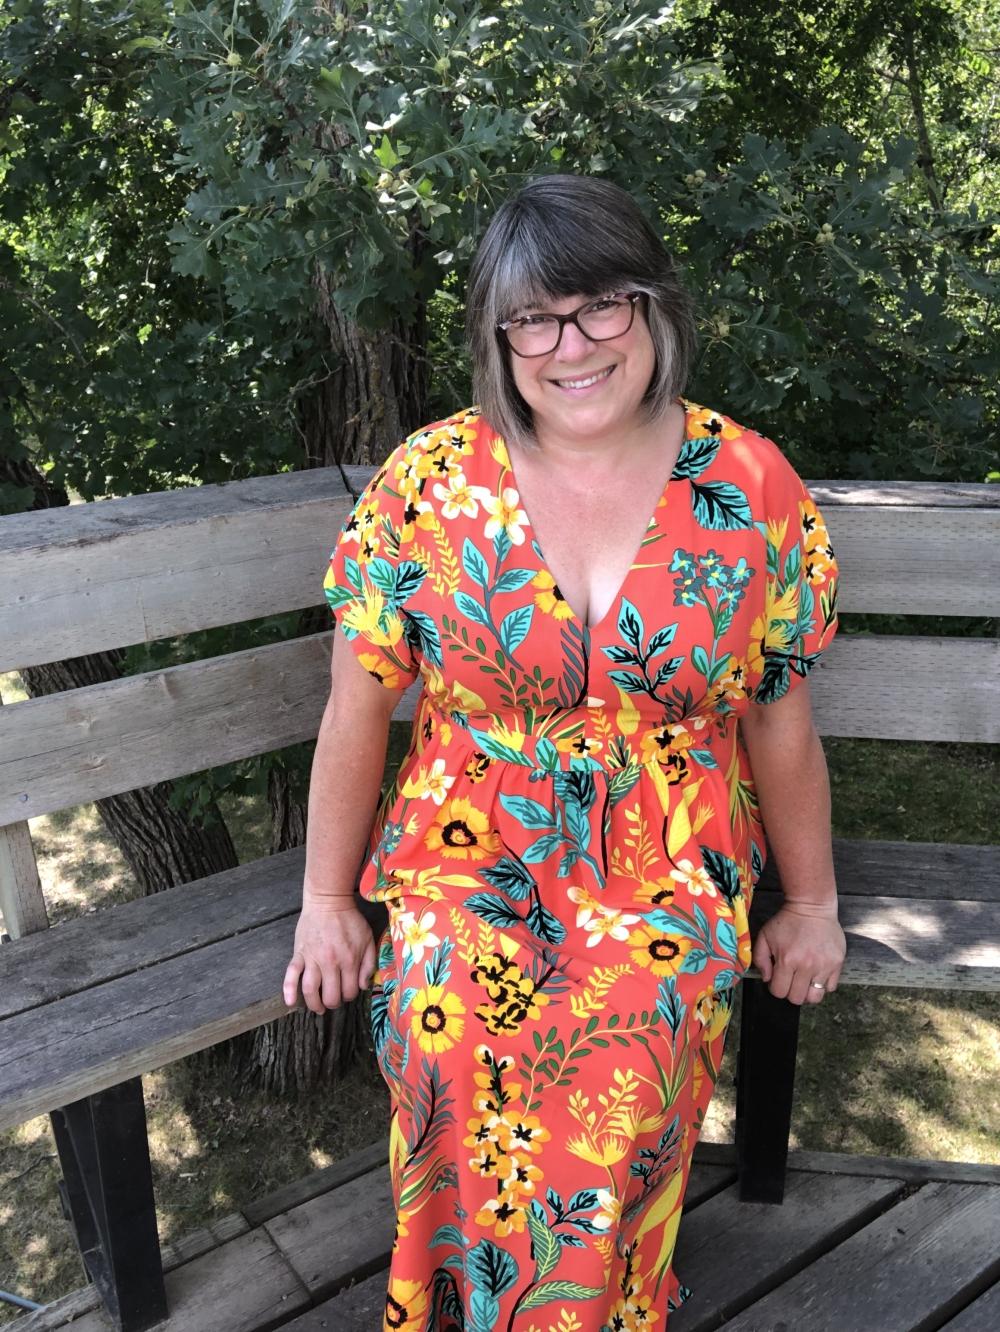
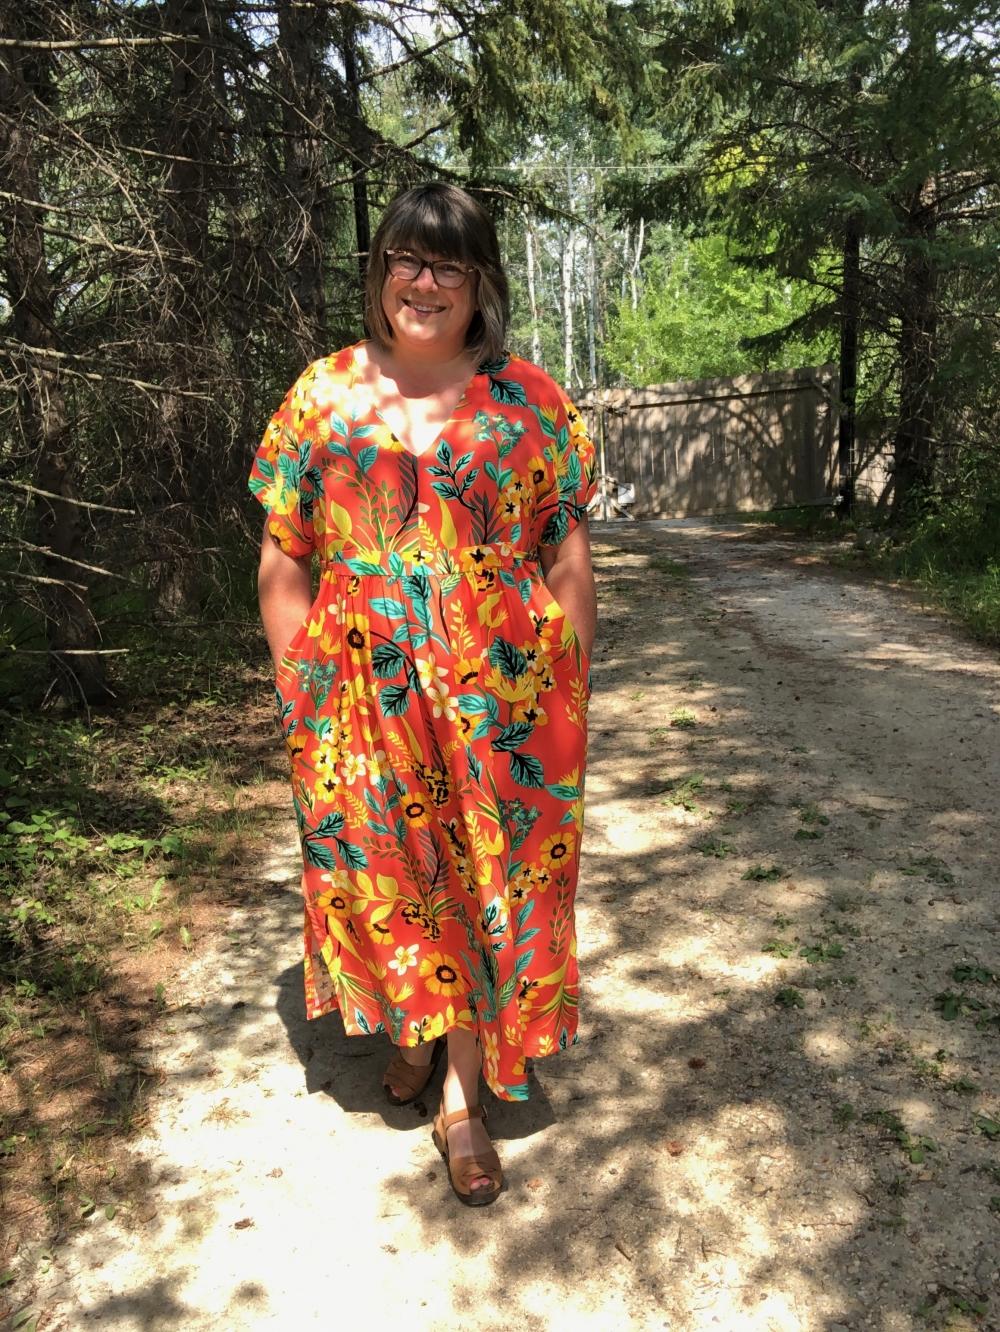
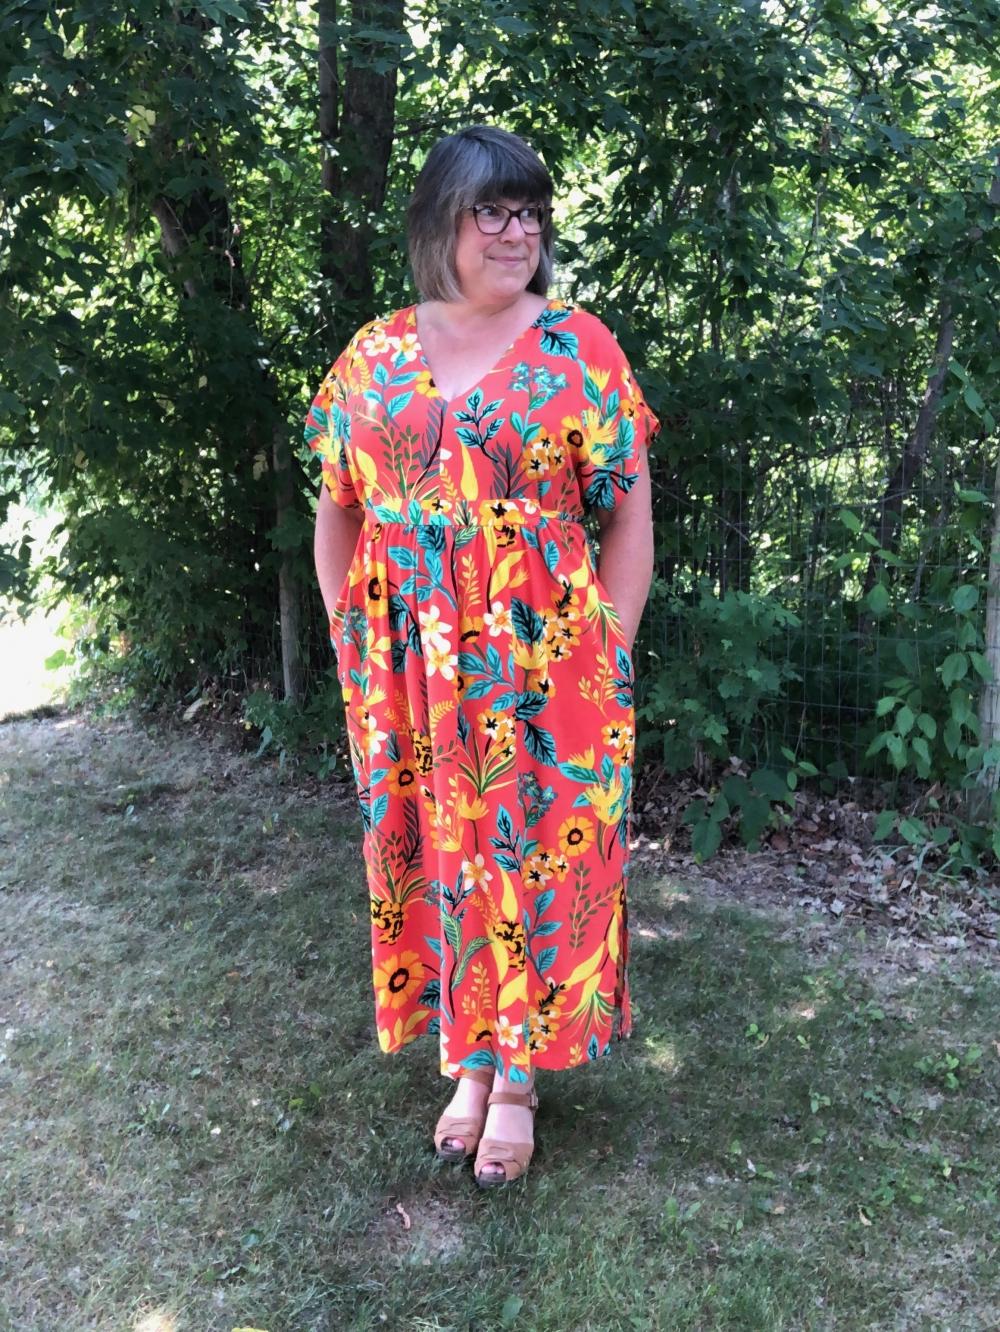
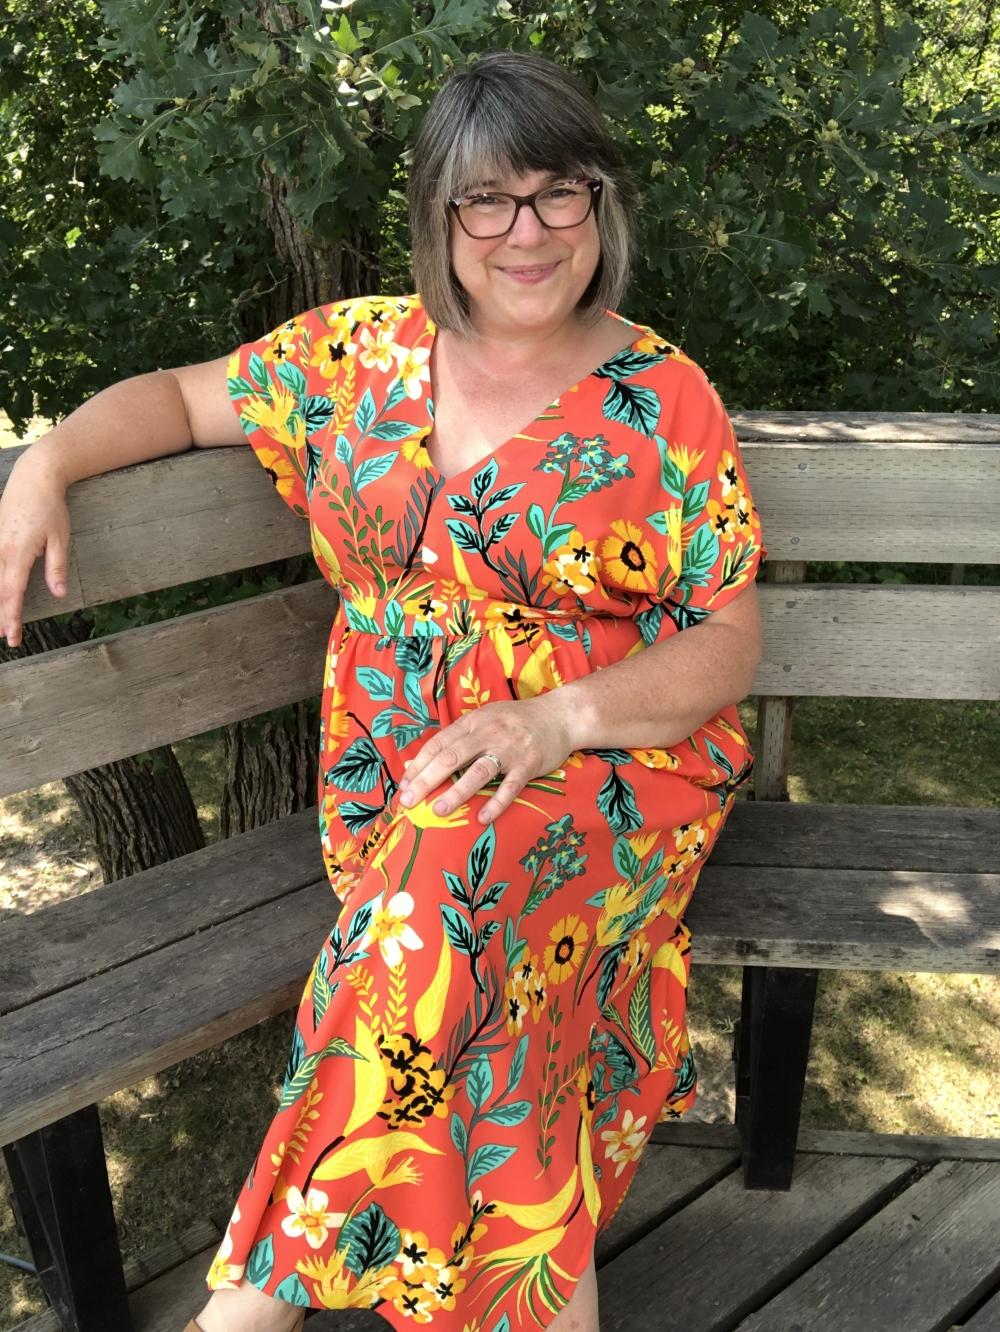
A Heatwave Approved Charlie Caftan
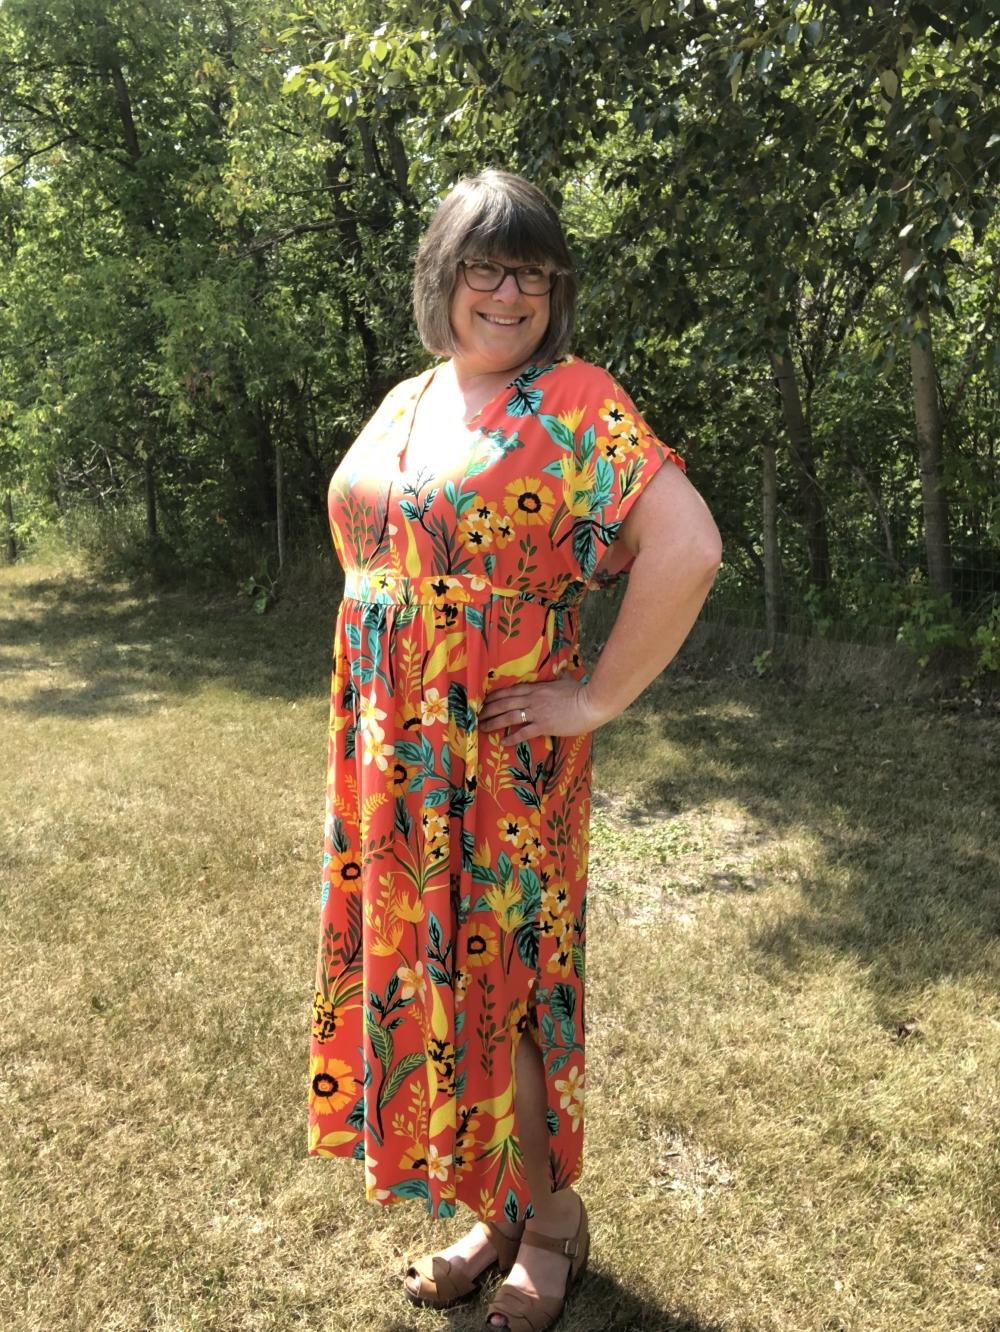
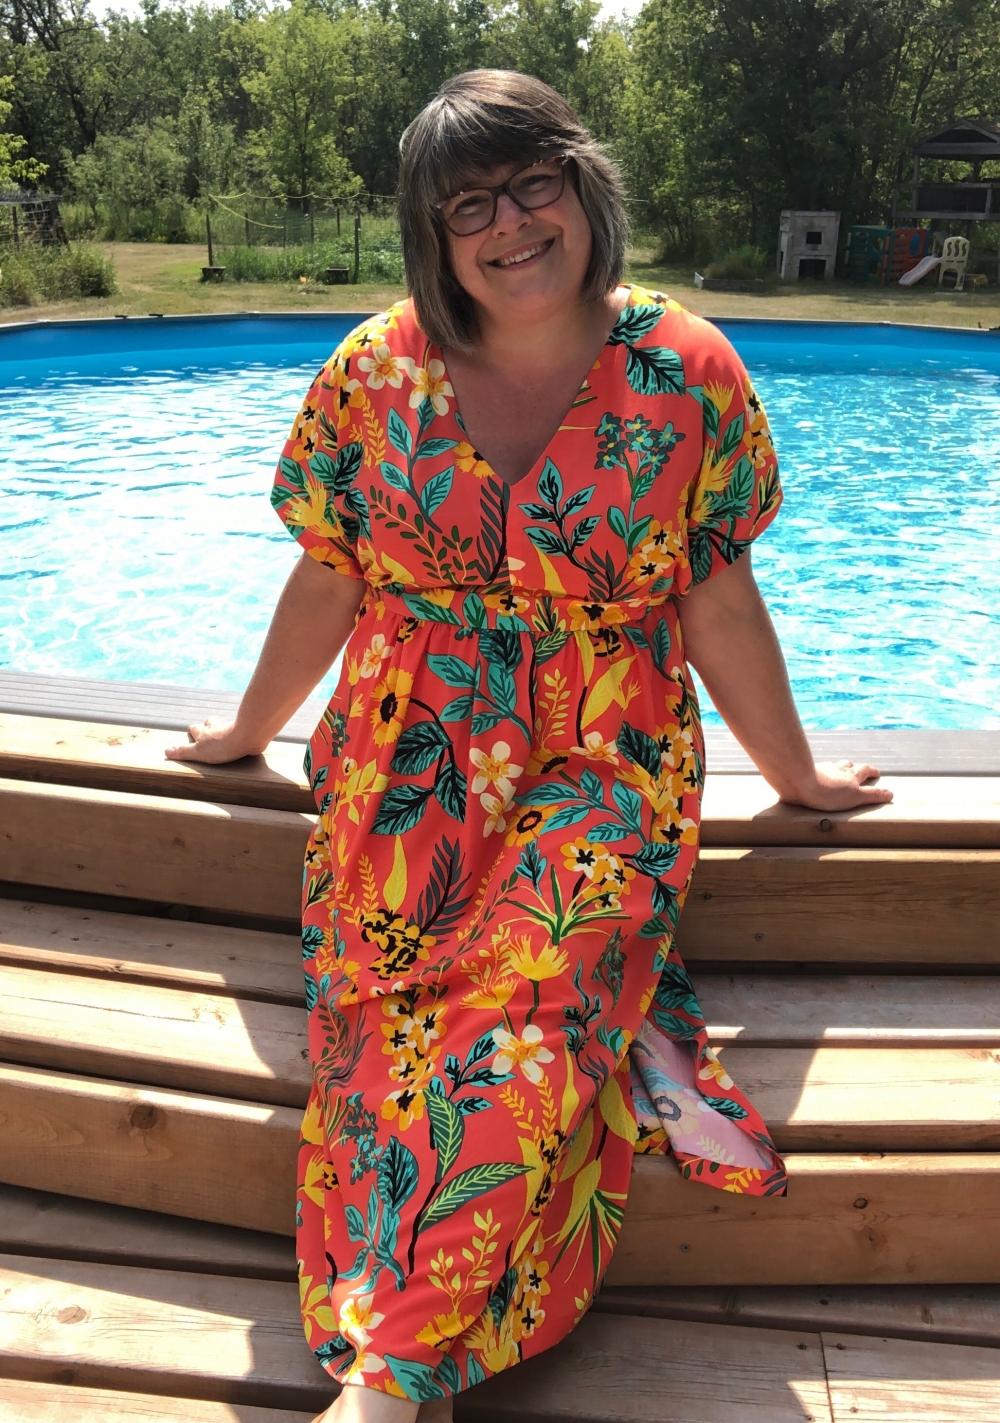
Well, you won’t lose me in this super bright Charlie Caftan, that’s for sure! LOL! I’ve been planning to make a Closet Core Charlie Caftan for a year now. I had actually bought in with the thought of making it last summer for the Instagram “Caftans and Cocktails” challenge, but then sort of chickened out of actually seeing through on my plans. I wasn’t sure a caftan was for me (I always think of Mrs. Roper from Three's Company back in the 70s when I think caftan) and to be honest that centre front inset panel had me really anxious. My other problem was fabric choice. I just hadn’t found one that screamed caftan to me. So the pattern sat, printed out, assembled and ready to go in my pattern box until last week.
I received this bright and fun summery print viscose from Minerva as part of the ambassador team program and when I opened the package I knew immediately that I’d finally found THE PERFECT caftan fabric. It’s a rayon challis, so swishy and light and of course the tropical vibes of the print just beg to be made into a Charlie don’t you think? I feel this would be the perfect stroll down a sandy beach at sunset fabric.
We’re still in a heat wave/drought here in southeastern Manitoba, so I’m reaching for all the cool, swishy outfits I can these days and of course a caftan fits that bill 100% too.
I was really quite intimidated by the inset panel though. I’d read so many posts on social media of how challenging it was to sew that I was nervous to even give it a go. (Sometimes I think back to when there was no Internet to scare me into thinking things were too difficult. I was so much more fearless in my sewing back then!) To feel more confident I started out by reading numerous blog posts including, of course, the tutorial on the Closet Core website and then what turned out to be most helpful actually was watching a couple of YouTube video sew alongs for it the dress and specifically the inset. I watched one by Flying Bobbins and then another one by Saremy Duffy of Sew Sew Live and finally I felt ready to start my project.
I didn’t make any major changes to the pattern and sewed a straight size 18, although I did take 4” off the bottom of the hem. I didn’t want a maxi dress as I find I just don’t wear them at all. Don’t get me wrong. I love the look of a maxi dress on pretty much everyone else in the world. I don’t even mind the look of them on me, really. It’s just a comfort thing. I simply don’t feel comfortable in them, probably because I’m super clumsy and worry the whole time that I’m going to trip on my dress somehow. The perfect length I’ve found for a long, swishy dress for my personal preference seems to fall somewhere between my mid-calf to just above my ankles.
Sewing the inset panel didn’t seem that daunting armed with all the tips and tricks I’d gleaned from my “research” and video watching, but when it came down to doing it I was pretty stressed out. I took it slowly, but still managed to make a bit of a dog’s breakfast of it unfortunately. My gathers are a bit uneven in spots and my corners of my inset are definitely not as crisp as I had hoped. Can we also just ignore that my one tie ended up about 1/8” of an inch off the centre mark. HOW?!?!? I’d pinned the heck out of it and then basted it and it still shifted. I didn’t discover that it was off kilter though until I’d already sewn the back facing onto the inset and there was absolutely NO WAY I was re-doing it for any reason at that point! I’m going with the attitude that if anyone notices then they are way, way to close and should jut mind their manners. LOL! After the panel was done the rest of the dress is as easy as can be to sew up.
The only thing I think I’d change on the pattern if I sew it again would be to rise up the neckline just a bit. It’s fine the way it is, but personal preference wise (or if I wanted to be able to wear it to work at all), I think maybe a ½” higher would be perfect. The other thing I’d change would be to finish the side seams separately instead of finishing them together like I did. I think that would make doing the side slits a lot easier. (Promise you won’t ever look too closely at mine – they’re also a bit of a dog’s breakfast on the inside! Ha ha!)
This rayon challis was beautiful to sew with. It was not shifty or slippery, as I feared it might be and of course pressed like a dream. I love the bright colours and it’s going to be so cool and comfy to swan about it in this heat we’ve been having this summer! I was very impressed with the quality of the fabric and the price is amazing for it! At time of writing this they do have quite a bit in stock by the look of things so you too can make a summery dress of your dreams!
Now I’m off to swan about in the back yard hopefully looking more glamourous and less Mrs. Roper. LOL
#minervabrandambassadors #minervamakes #minervamaker #sewing #sewthisis50 #sewover50 #curvysewists #sewingforsummer #rayonchallis #rayon #indiepatterns #closetcorepatterns #charliecaftan #dresses #shortsleeves #summertime #imakemyownclothes #charliecaftanseated #SewnShownSeated
Well, you won’t lose me in this super bright Charlie Caftan, that’s for sure! LOL! I’ve been planning to make a Closet Core Charlie Caftan for a year now. I had actually bought in with the thought of making it last summer for the Instagram “Caftans and Cocktails” challenge, but then sort of chickened out of actually seeing through on my plans. I wasn’t sure a caftan was for me (I always think of Mrs. Roper from Three's Company back in the 70s when I think caftan) and to be honest that centre front inset panel had me really anxious. My other problem was fabric choice. I just hadn’t found one that screamed caftan to me. So the pattern sat, printed out, assembled and ready to go in my pattern box until last week.
I received this bright and fun summery print viscose from Minerva as part of the ambassador team program and when I opened the package I knew immediately that I’d finally found THE PERFECT caftan fabric. It’s a rayon challis, so swishy and light and of course the tropical vibes of the print just beg to be made into a Charlie don’t you think? I feel this would be the perfect stroll down a sandy beach at sunset fabric.
We’re still in a heat wave/drought here in southeastern Manitoba, so I’m reaching for all the cool, swishy outfits I can these days and of course a caftan fits that bill 100% too.
I was really quite intimidated by the inset panel though. I’d read so many posts on social media of how challenging it was to sew that I was nervous to even give it a go. (Sometimes I think back to when there was no Internet to scare me into thinking things were too difficult. I was so much more fearless in my sewing back then!) To feel more confident I started out by reading numerous blog posts including, of course, the tutorial on the Closet Core website and then what turned out to be most helpful actually was watching a couple of YouTube video sew alongs for it the dress and specifically the inset. I watched one by Flying Bobbins and then another one by Saremy Duffy of Sew Sew Live and finally I felt ready to start my project.
I didn’t make any major changes to the pattern and sewed a straight size 18, although I did take 4” off the bottom of the hem. I didn’t want a maxi dress as I find I just don’t wear them at all. Don’t get me wrong. I love the look of a maxi dress on pretty much everyone else in the world. I don’t even mind the look of them on me, really. It’s just a comfort thing. I simply don’t feel comfortable in them, probably because I’m super clumsy and worry the whole time that I’m going to trip on my dress somehow. The perfect length I’ve found for a long, swishy dress for my personal preference seems to fall somewhere between my mid-calf to just above my ankles.
Sewing the inset panel didn’t seem that daunting armed with all the tips and tricks I’d gleaned from my “research” and video watching, but when it came down to doing it I was pretty stressed out. I took it slowly, but still managed to make a bit of a dog’s breakfast of it unfortunately. My gathers are a bit uneven in spots and my corners of my inset are definitely not as crisp as I had hoped. Can we also just ignore that my one tie ended up about 1/8” of an inch off the centre mark. HOW?!?!? I’d pinned the heck out of it and then basted it and it still shifted. I didn’t discover that it was off kilter though until I’d already sewn the back facing onto the inset and there was absolutely NO WAY I was re-doing it for any reason at that point! I’m going with the attitude that if anyone notices then they are way, way to close and should jut mind their manners. LOL! After the panel was done the rest of the dress is as easy as can be to sew up.
The only thing I think I’d change on the pattern if I sew it again would be to rise up the neckline just a bit. It’s fine the way it is, but personal preference wise (or if I wanted to be able to wear it to work at all), I think maybe a ½” higher would be perfect. The other thing I’d change would be to finish the side seams separately instead of finishing them together like I did. I think that would make doing the side slits a lot easier. (Promise you won’t ever look too closely at mine – they’re also a bit of a dog’s breakfast on the inside! Ha ha!)
This rayon challis was beautiful to sew with. It was not shifty or slippery, as I feared it might be and of course pressed like a dream. I love the bright colours and it’s going to be so cool and comfy to swan about it in this heat we’ve been having this summer! I was very impressed with the quality of the fabric and the price is amazing for it! At time of writing this they do have quite a bit in stock by the look of things so you too can make a summery dress of your dreams!
Now I’m off to swan about in the back yard hopefully looking more glamourous and less Mrs. Roper. LOL
#minervabrandambassadors #minervamakes #minervamaker #sewing #sewthisis50 #sewover50 #curvysewists #sewingforsummer #rayonchallis #rayon #indiepatterns #closetcorepatterns #charliecaftan #dresses #shortsleeves #summertime #imakemyownclothes #charliecaftanseated #SewnShownSeated
Add all tagged items to your basket