


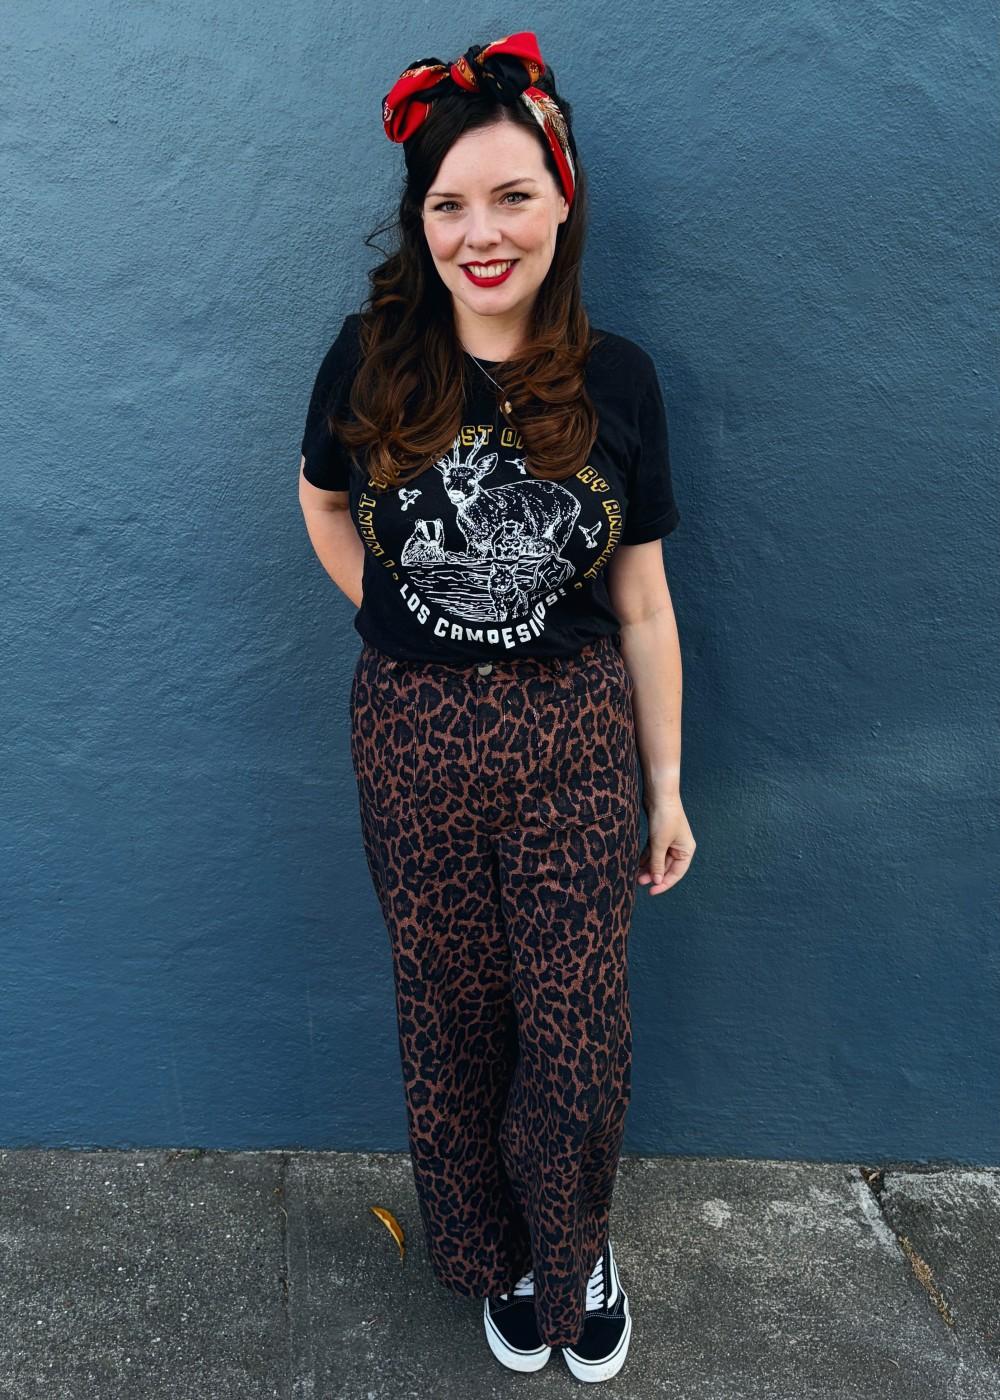
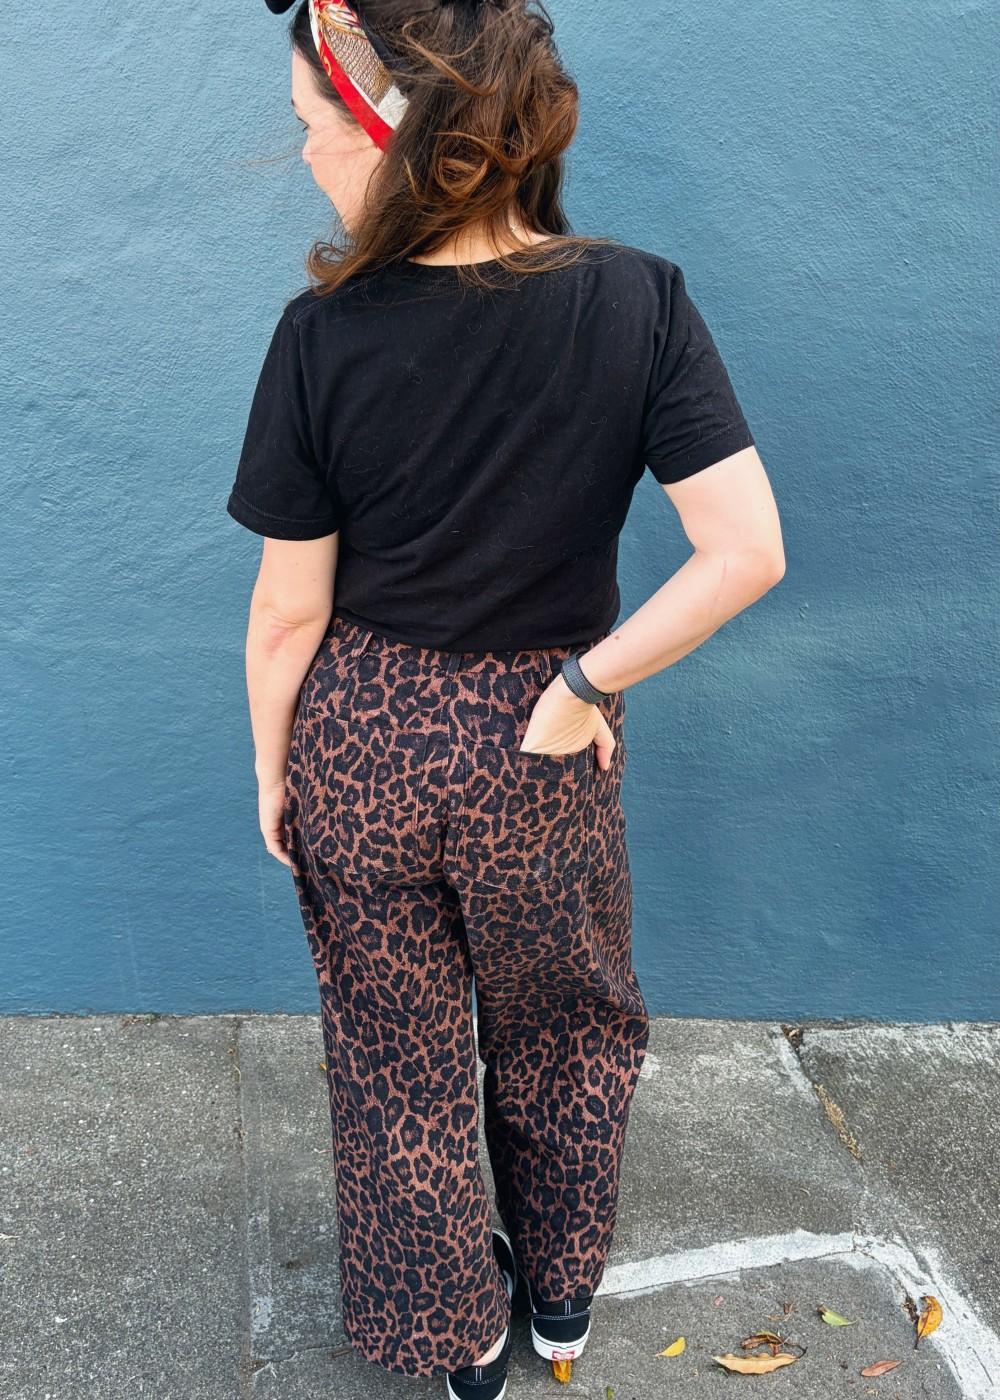
Buckle up, pals. This is shaping up to be a long one 😊
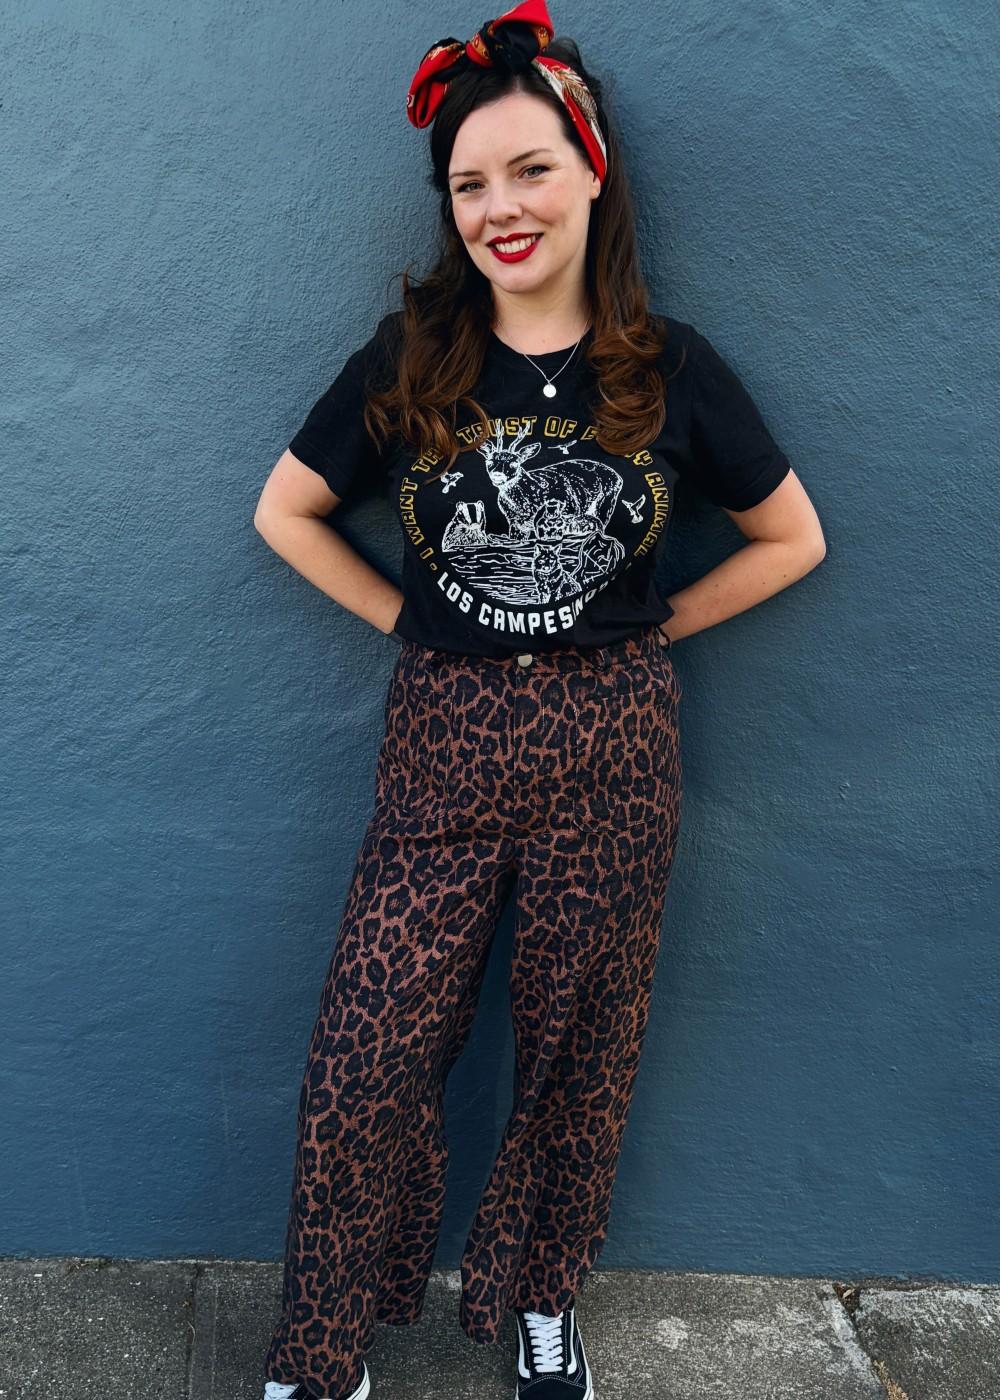
I have the uncanny ability to give the kiss of death to anything I buy and love — for example, my favourite eyeliner was relaunched for the worse, my favourite perfume was discontinued out of the blue and my favourite snack from Trader Joe’s just vanished from the shelves one day, never to be seen again. Jeans have always been my bête noire; it has always felt like the biggest hassle to drag myself around the shops, trying to find a pair that fits me well, is comfy and doesn’t cost the earth! I finally thought that I had found my favourite style from Everlane… and then they got bought out by Shein earlier this year. Sigh. As a result, one of my sewing goals has been to get better at fitting trousers, with the goal of making myself a pair of jeans. I have been reading up on the Top Down Centre Out method, scouring blogs for fitting advice, and I picked up a cheap secondhand copy of a Palmer & Pletsch book about fitting and sewing jeans. My recent Closet Core Patterns Blanca Flight Suit was my first real, concerted effort at fitting my lower half and I am still so happy with the effort I put into that garment and the overall fit. Before trying to sew jeans, I wanted to dip my toe into sewing something with a slightly simpler design and a certain popular trouser (‘pants’) pattern seemed to fit the bill! I decided to use a heavy cotton canvas that was kindly sent to me courtesy of Minerva and got planning.
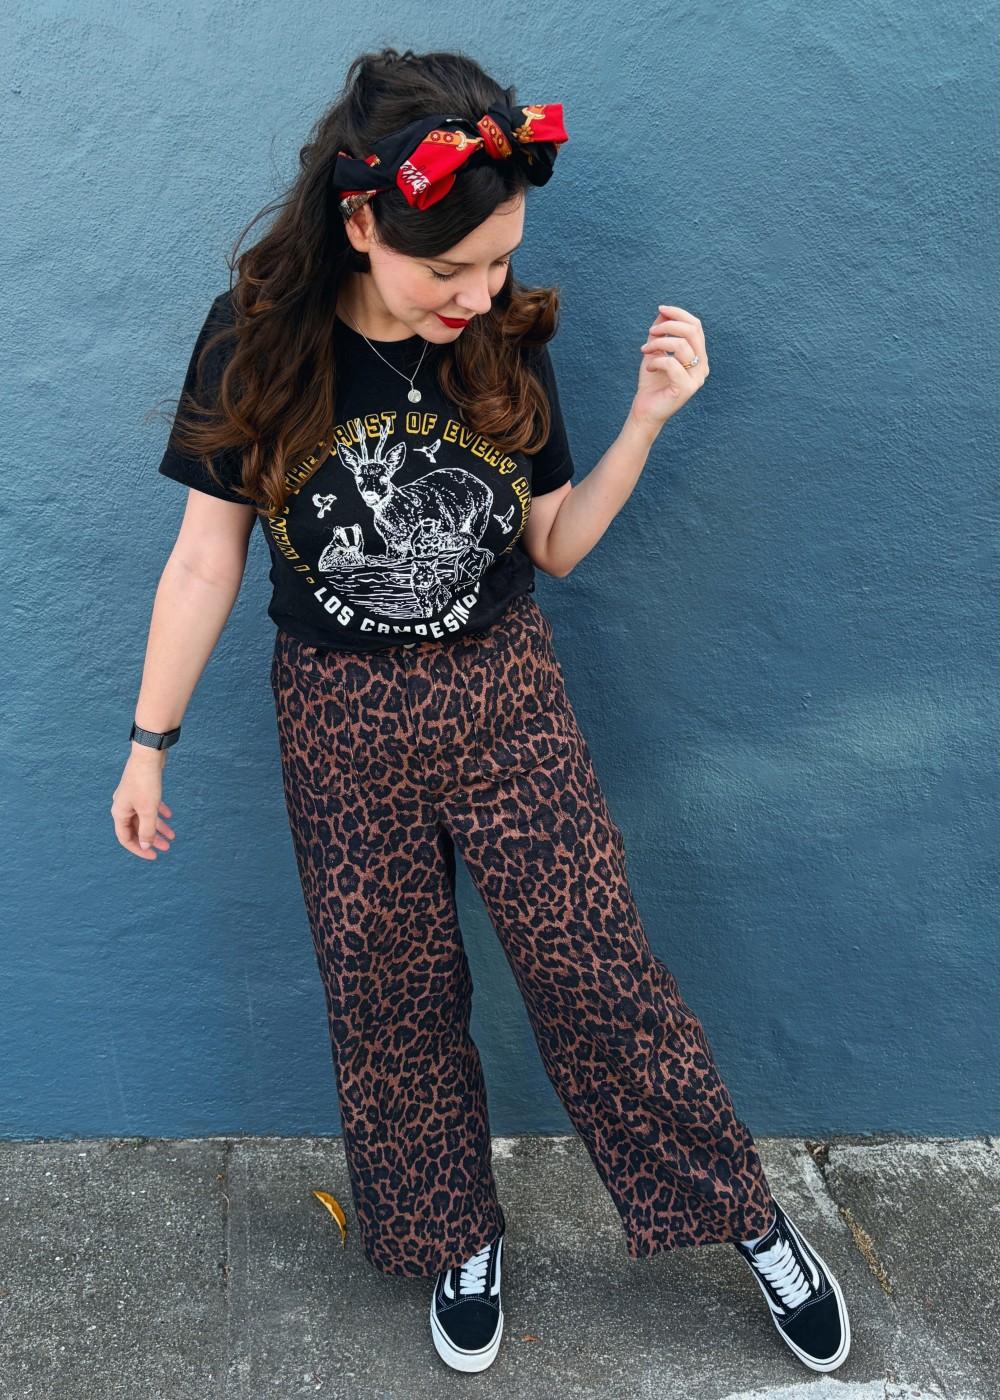
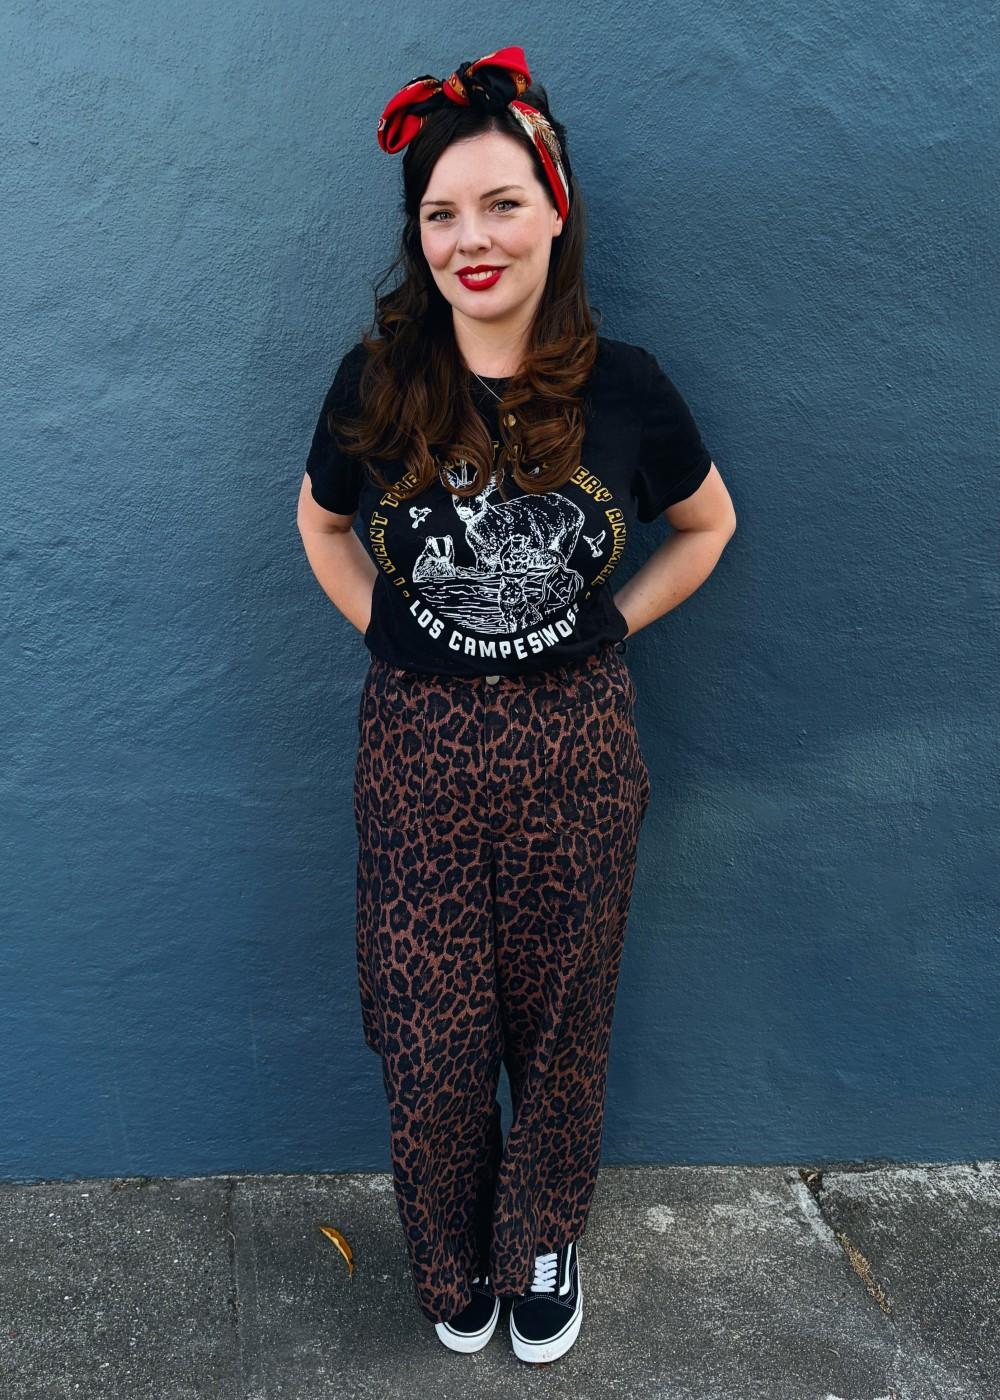
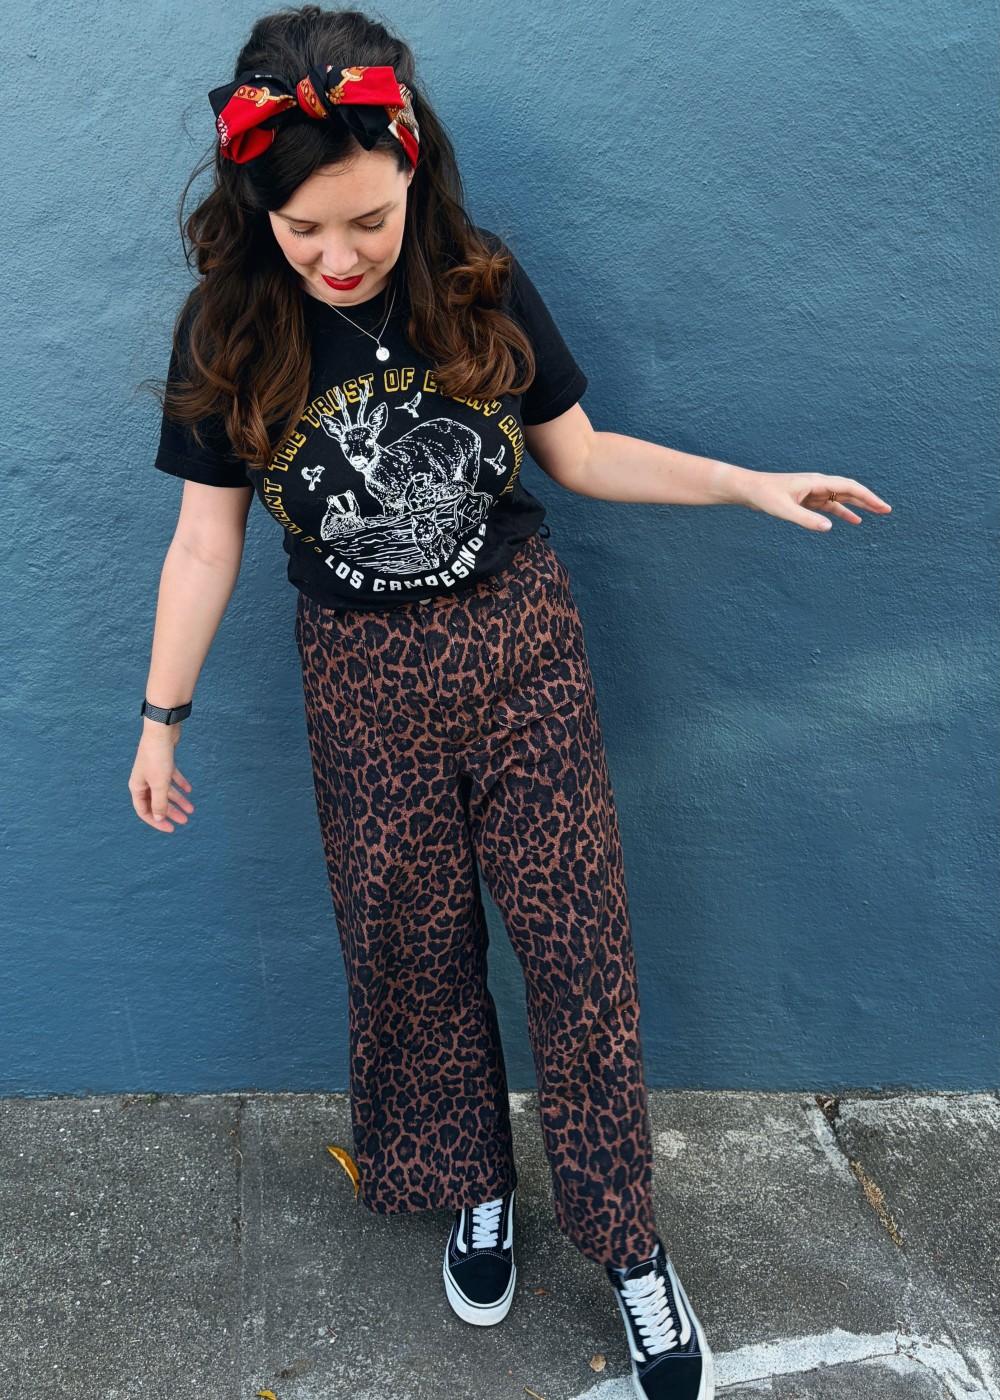
This heavy cotton canvas is one of the Minerva print-on-demand substrates in a dark brown leopard print — hands up if you are also team leopard print is a neutral! It is 100% cotton and it is a very durable, weighty fabric (355gsm/10.5oz), but it has this lovely soft, broken-in feel to it too. It would work really well for structured designs, such as dungarees, pinafores, jackets and bags. I prewashed this fabric twice on a warm setting and tumble-dried it, just to ensure any shrinkage was taken care of. As this is printed on a white basecloth on the reverse, some white slubs can be visible on the right side, which do add to the very textured, broken-in look; however, be careful when unpicking, as it is easy to cause a snag and that means a thin white line of thread showing on the right side of your fabric! Cutting out with sharp shears was the best idea for this fabric and it could handle a really hot, steamy press with gusto.
The Anna Allen Persephone Pants are one of those sewing patterns that feels like everybody has made and looks amazing in. They are inspired by classic sailor-cut trousers, with a straight waistband sitting at the high waist and wide, cropped legs, ending at the ankle. This pants style is very fitted through the waist, hips and seat. The fly is a concealed button fly (there is a set of zip-fly instructions as an add-on pattern expansion), and there are two back darts for shaping. The most unique and interesting design feature of this pattern is that there are no side seams, so the front and back legs are cut from one piece. This makes it a really quick sew with the added bonus of not being particularly fabric hungry — for sizes 14 and below, you can make the pants pattern out of only 1¾ yards of fabric. It is designed for bottomweight, non-stretch wovens, such as cotton canvas, twill and denim. I have got some black and white gingham bottomweight cotton twill in my stash that I have been mulling over and I think the Persephone Pants will fit the bill.
However, this lack of side seams does mean fitting and adjustments become trickier. There are several mixed reviews on Threadloop about the pattern, which I read in depth before cutting my muslin. I found this review (https://threadloop.app/patterns/persephone-pants-shorts?highlight=933#review_933 ) particularly helpful, as it clearly explains that the crotch curve is not graded in this pattern and why this may be the reason so many sewists have difficulty with the crotch fit in the front and back of the pants. I also came across a short YouTube video on fabric whiskering in the front crotch, which explains that if a front crotch is cut more on an angle, this can cause the fabric to pull and begin whiskering in the front rise. As this pattern doesn’t have side seams, the front and back rises do need a change in angle to allow a larger intake and to give shaping, but according to what I have read, this can cause some distortion.
With all this in mind, and armed with the knowledge that canvas is a plain weave and is less likely to relax on the body, I decided to go up one size to a size 12 as my starting point. I really don’t like to wear rigid trousers and jeans that are tightly fitted through the stomach and high hip; I find they cause me some sensory discomfort. Probably why I hate shopping for jeans so much 😅 Firstly, I added a grown-on fly extension to alter the pattern for a zip fly, as I found a black 7″ jeans zip in my zip box and I definitely didn’t have enough jeans buttons on hand to make the button fly. By following a guide in my jeans fitting book, I then straightened out the front crotch curve, so the angle wouldn’t be as acute. I knew this would be adding extra width to the circumference of the pants, but I decided to deal with this by adding front darts later in the fitting journey, so I would know exactly where to position them, how much intake was needed, and where to taper the end of the front darts. I reduced the rise by a ¼″, as the crotch was feeling a little too long. I also added ⅛″ to the front crotch extension and ⅜″ to the back crotch extension, which I wanted to compensate for the lack of grading for my size.
After the first muslin, it was pretty clear these pants were coming up too large, so I increased the back dart intake by ¼″ on each side of the dart (removing a total of 1″) and added ¾″ front darts to remove a further 1½″ total from the front width. The straight waistband was sitting correctly at the lower edge (where it joins the trousers), but I had a lot of excess fabric buckling at the upper edge. I modified this into a curved waistband and removed the excess to reduce the gaping, so it would sit flush against my body. Lastly, I widened the underlap to accommodate the zip fly.
After all these alterations, I was kinda hoping for a straightforward sew, but this fabric was pretty tough to sew with! I broke two 80 jeans needles when sewing, but I had much better luck when I switched to a 100 jeans needle 😅 I switched out the waist in-seam pockets for the free sailor-style patch pockets, but it was quite difficult to get a sharp corner in the thick canvas. The belt loops were very bulky and I had to hammer them to get them to lay flat, before using my hump-jumper to try and bartack them down — this is when my multiple needle breaks happened! I used my favourite Closet Core Patterns guide to sewing a fly-front, which at least went in very smoothly. For the main construction, I used faux flat-felled seams which I topstitched using 70-weight topstitch thread; I had made up a swatch using flat-felled seams, but it felt quite bulky in comparison to the faux flat-felled seam swatch I made. I made a lovely 3″ deep hem and I think this helps add weight and improve the drape of the pants. I found the instructions clear and easy to follow, but I have seen other sewists comment that there are some problems with the zip-fly instructions (which I didn’t use, as it is fairly easy to modify yourself without purchasing this add-on).
My final verdict is that these trousers are straight-up deadly. I am so happy with them and the fit! I made a few notes for next time I make a pair, which would be to remove a ½″ wide column from the ‘side seam’ (i.e. the centre of the pants pattern piece) and see if this would allow me to lose the front darts I added. I would also shorten the leg length below the knee so it is more cropped. I do see some excess fabric at the back thigh, so if anyone has any advice on how to reduce that, please comment below! I am still so new to sewing and fitting trousers and jeans, so I really appreciate all the help I can get 😊 I received 3.5m of this canvas from Minerva, as I was initially planning to make a matching jacket for these pants, but I had such a large >2m piece left, I thought that making a wearable toile of the Merchant & Mills Harlene Dungarees would be a better use of my scraps. Watch this space!
Thanks for reading and happy sewing until next time!
Rose
Gold & Silver Stitches
Anna Allen Persephone Pants
Size 0 – 20
Waist: 25″ – 39″
Hip: 35″ – 49″