



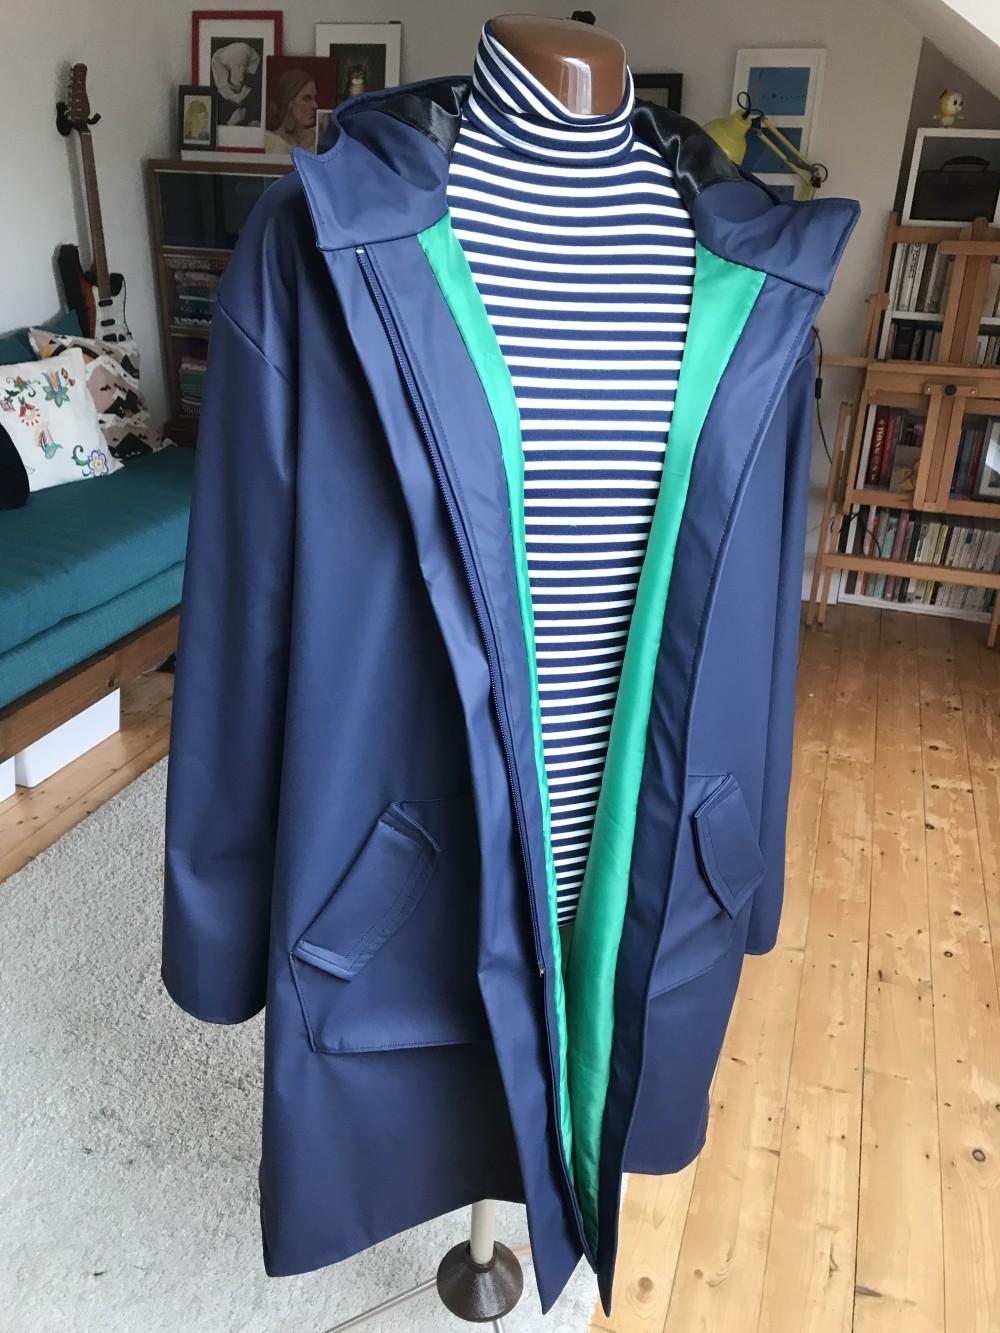
Frankenpattern rain coat
I'm a big fan of the Waver Jacket - a brilliantly versatile sewing pattern I've played around with and written about a few times over the years. Sadly Papercut Patterns no longer sell the pattern so I won't bore on about it too much here - just to say this is one of the patterns I used to draft this franken-raincoat, though there are many decent alternatives on the market now to get a similar shape.
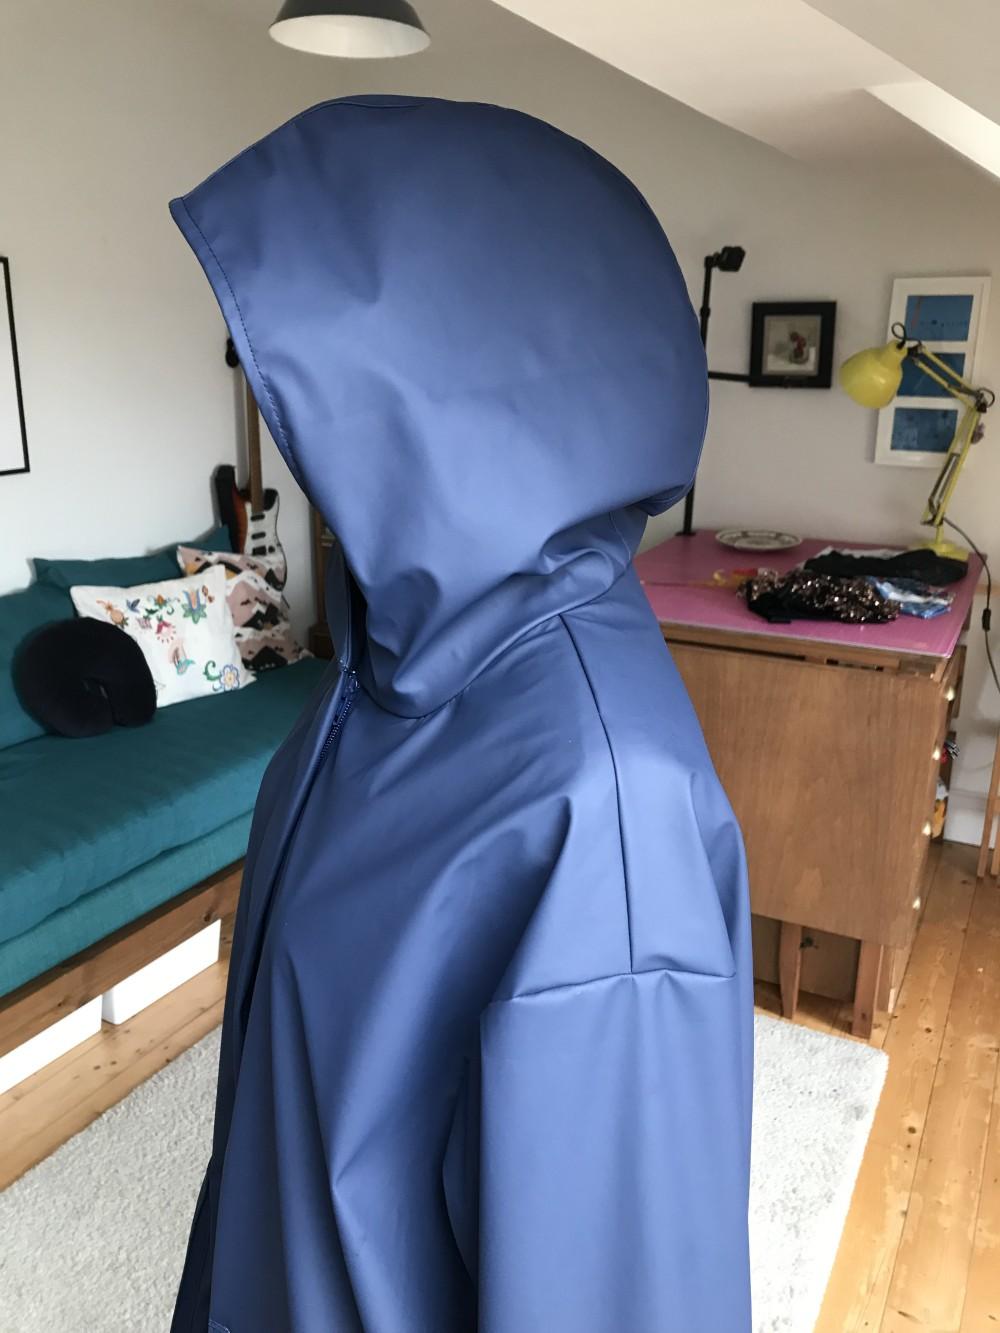
The last time I made a Waver Jacket, I tweaked the hood so it had a kind of funnel neck collar, though I've always found the hood is not quite right. I also made the basic snaps placket and often thought it would be great to make one with a zipper and snaps.
Not wanting to throw yet more cash on fancy sewing patterns, I managed to bag a copy of the Kelly Anorak second hand - handily already cut out to my size. That way, I thought, I could merge the Waver with the Kelly so as to have the shape of the former with the zipper and snaps placket - and also the hood - of the latter.
The lovely sewer who sold me the pattern mentioned she'd had some mither with the pattern, but I thought it would be fine so long as I read it through carefully before making it up and took my time to work out what was awry.
Then I parked the whole idea for a few years.
Late last year we went abroad and I really missed having a lightweight rain coat to shove in a bag, so the idea of making one popped into my head again. I dug out the Kelly pattern and got planning.
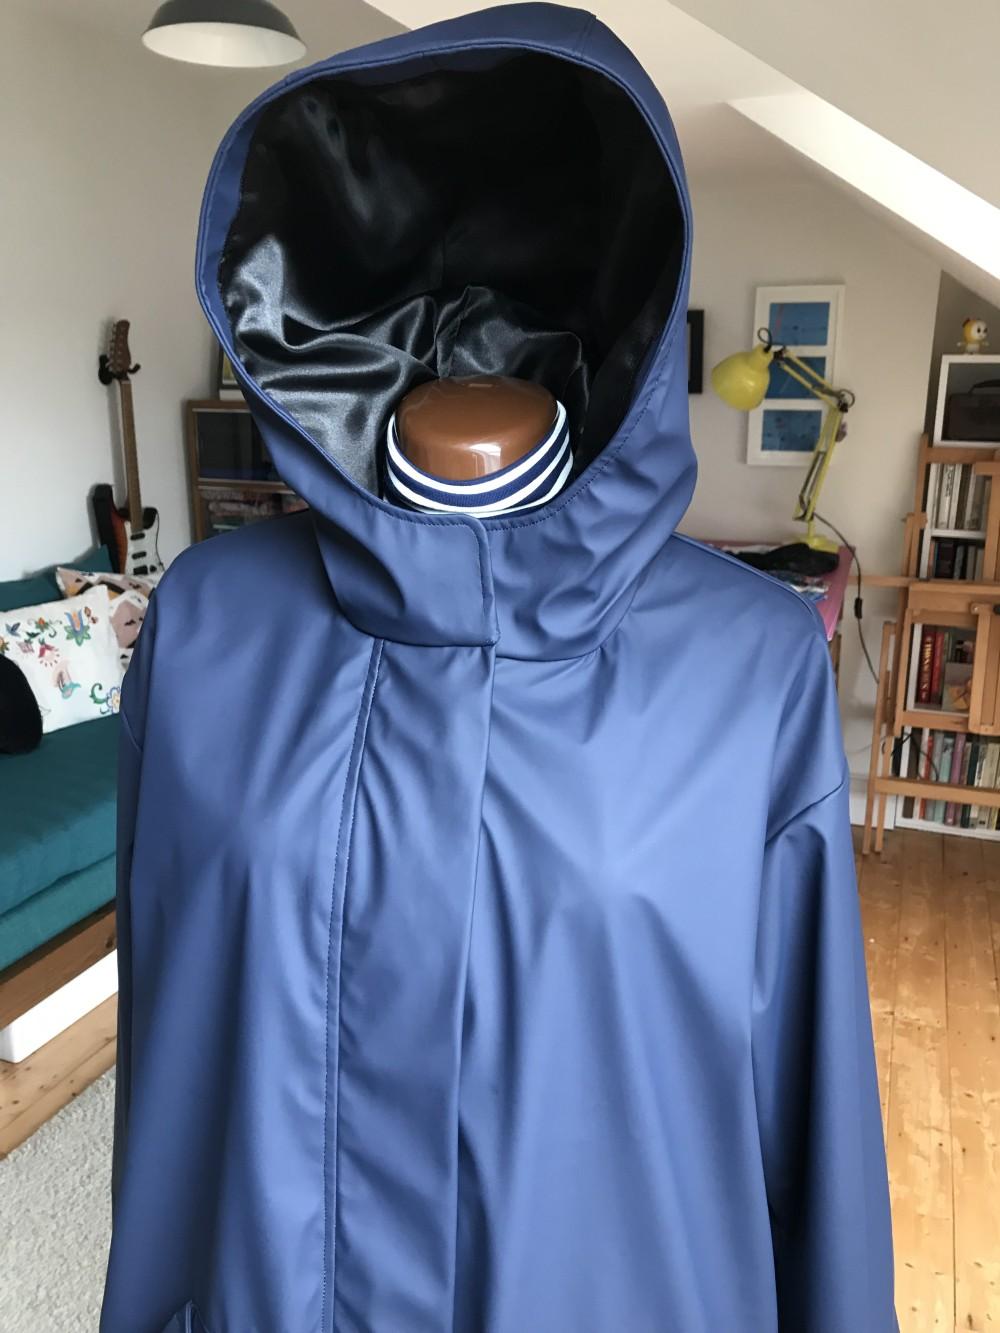
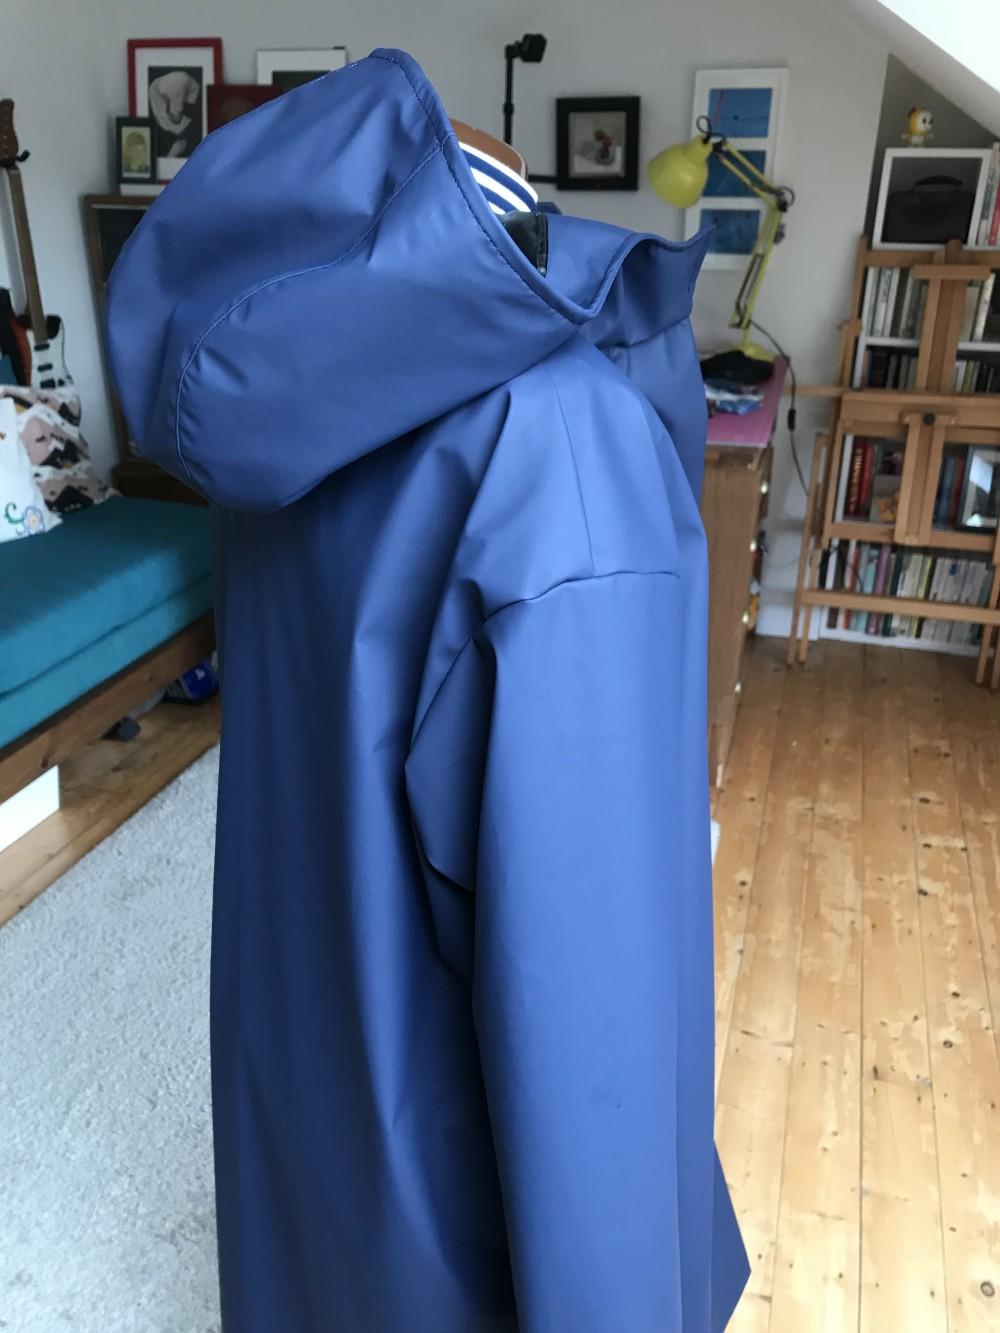
I decided to go for the shape and length of the Waver (so just the front and back pieces) and then adapt this to make a drop-shoulder coat rather than the raglan style. I grafted the Kelly neckline and placket onto the Waver and then redrafted the shoulder seam and sleeves to create the new design.
Now to find a fabric. Not knowing how this would work out, I went for this relatively inexpensive waterproof fabric in navy and got stuck in.
This fabric has a smooth matte finish and is fully waterproof. You have to be careful with needles as it has a rubberised finish and if you unpick seams you will be left with little white holes if your needles aren't tip top (I learned the hard way).
You also need to make sure your iron is on a cool nylon setting and, where feasible, use a pressing cloth as this stuff will definitely melt under a high heat. It is quite hard to press as a result so top stitching and edge stitching is a must to keep seams flat.
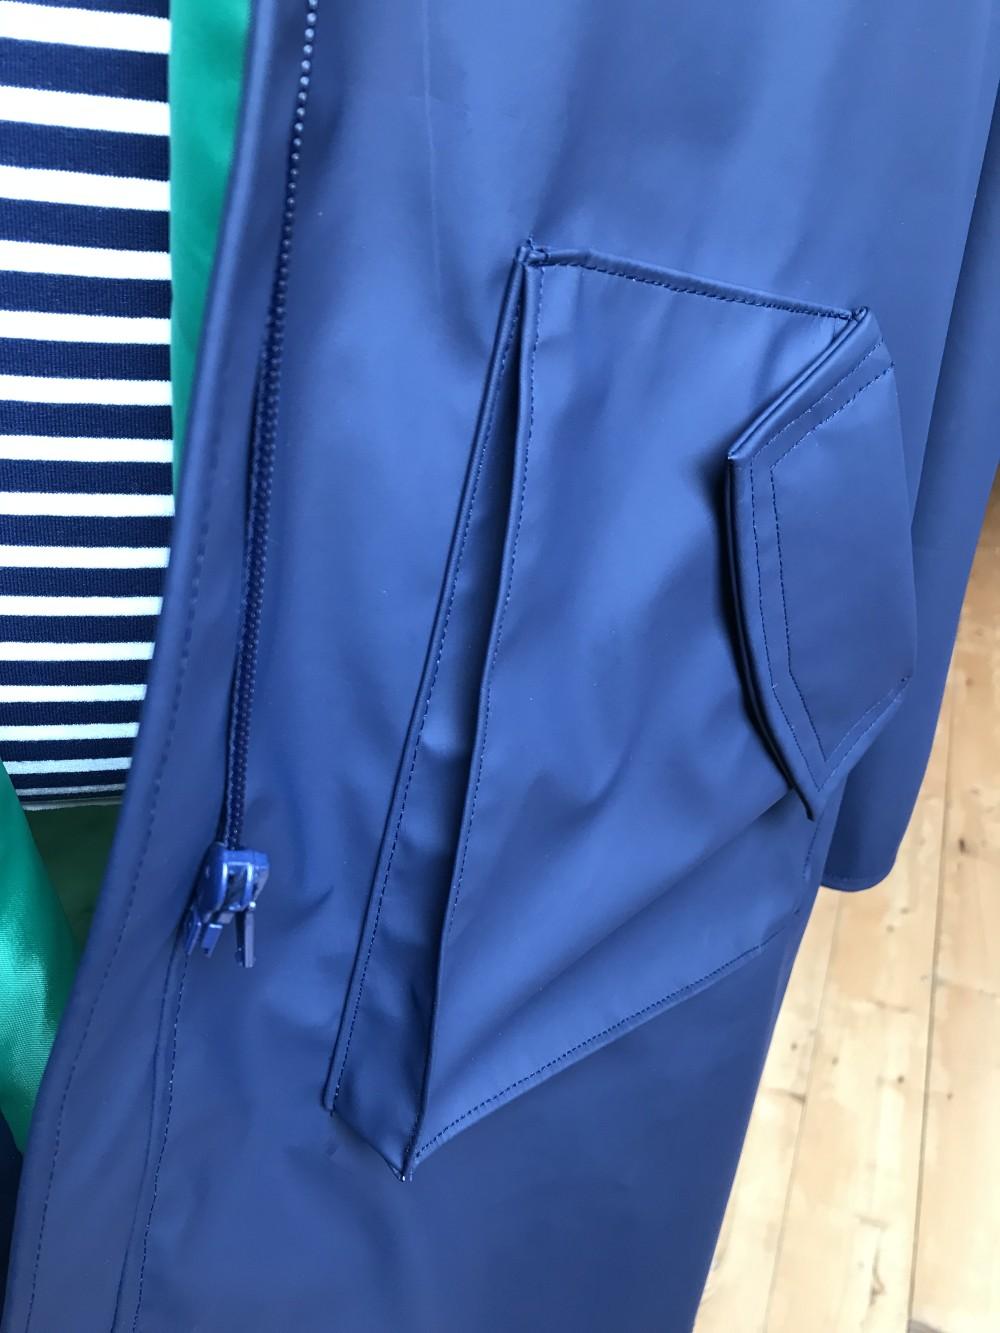
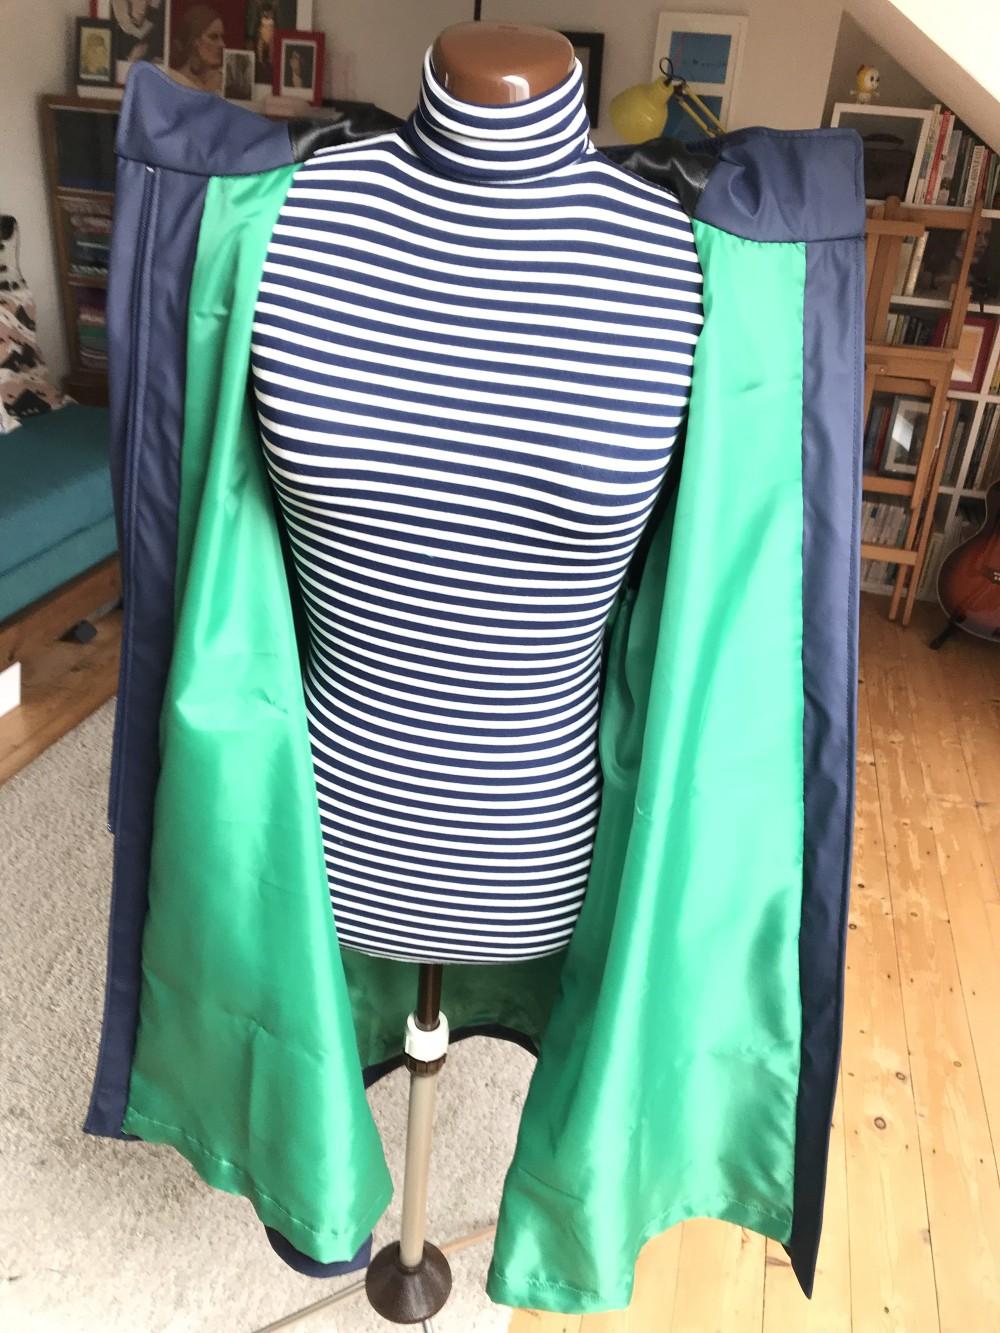
Because this raincoat was an experiment, I decided to have a go at the Kelly pockets which looked like an interesting style. And cut a lining to fit the new style of jacket - using the Kelly lining pack as a guide for the hood. I used up some old lining fabrics for this, so it's bright green inside and black satin in the hood and sleeves!
Everything was going pretty well until it got to the placket. Having completely forgotten my 'note to self' from a few years ago (why oh why didn't I put a post-it note on this one?!), I dashed in at rapid pace and followed the instructions to construct the right hand side zip with pieces L and K (if you know, you know!). Only to scan across the page and see a diagram with piece J (the placket) sitting ever so happily fully attached to the front right...
I read the previous page. Read it again. And looked at my neatly constructed zip and facing.
The instructions completely miss out the bit where you sew the placket on first. So, without much fuss (by this point I had remembered what I should have already remembered!), I resignedly unpicked J and L, sewed on J and then whacked J and L back on top and got on with the rest of the make.
Obviously this sort of thing doesn't leave a great impression. I looked up the online tutorial for sewing the zipper placket and sure enough there is piece J being sewn on first. I read the whole article and the comments and there is no mention of the omission in the instructions. I wonder if this is a very old and early version of the pattern and it has subseqently been corrected - I really hope so! If you have it do let me know and I'll update this post.
Anyway, once I'd overcome this little obstacle it was fairly plain sailing. I really like the hood on this anorak - it sits way better on the head and the pattern pieces come together nicely. The placket itself works well too, just remember if you have this version of the instructions to make sure you sew J on first!
I haven't bothered to put the snaps on yet as I want to see if I actually wear it before I bother with further hardware. I may also change the pockets as this style add a lot of bulk and fanciness to what is otherwise a fairly minimalist and utilitarian style.
If you've made the Kelly let me know how you found it - I'd love to hear how it went.
Thanks for reading!
#minervabrandambassador #minervamaker #minervamakes #sewingraincoats