


Hello! I’m excited to be back to share about a project that I’ve made in a lovely Minerva fabric. The fabric is a viscose knit and it has a beautiful drape. My initial project inspiration included making a wrap dress. As a disclaimer, the fabric was given to me from Minerva in exchange for making the project and sharing about it in these posts.
As I mentioned, the viscose knit fabric has an amazing drape to it. It’s 96% viscose and 4% elastane. The high percentage of viscose gives it a liquid-like quality. Initially I wanted to make a wrap dress, however, when I had the fabric in hand I thought that it leans to be more of a light\medium weight in thickness. I decided to move away from a fitted pattern and switch to making a different dress construction from a pattern hack.
Instead of making one full dress, I decided to make separates (a top and a skirt). When you make separates in the same fabric they can look like you’re wearing a matching dress in the finished product. I have really enjoyed making and wearing Sew House 7’s patterns so I decided to go with the fitted Skyline tee on top. For the skirt, I wanted to create a pattern hack for a gathered skirt on the bottom. I made the Skyline tee in the cropped length and did a pattern hack of the Sauvie Sundress to convert it into a gathered skirt. The Sauvie was designed for a woven fabric and is a full dress so this pattern hack was a fun adventure to experiment with the modifications.
Top:
I’ve previously made a couple versions of the Skyline tee as a part of the pattern test group. The pattern is a fitted knit top and it’s a great canvas for many different variations. I previously used cotton knit fabrics so this was my first time using a viscose knit. There are many different options included in the pattern but I decided to go with the Jewel neck, long sleeve, cropped length. I thought about adding a ballet gather at the bust, but I skipped that idea for this go around.
Pattern notes:
Size: 6
Version 3 - Jewel neck
Sleeve A - Long sleeve
Length: Cropped
I’ll share my size info here for reference:
Bust: 34”
Natural Waist: 27”
I wanted to note that I didn’t make any mods to the top pattern.
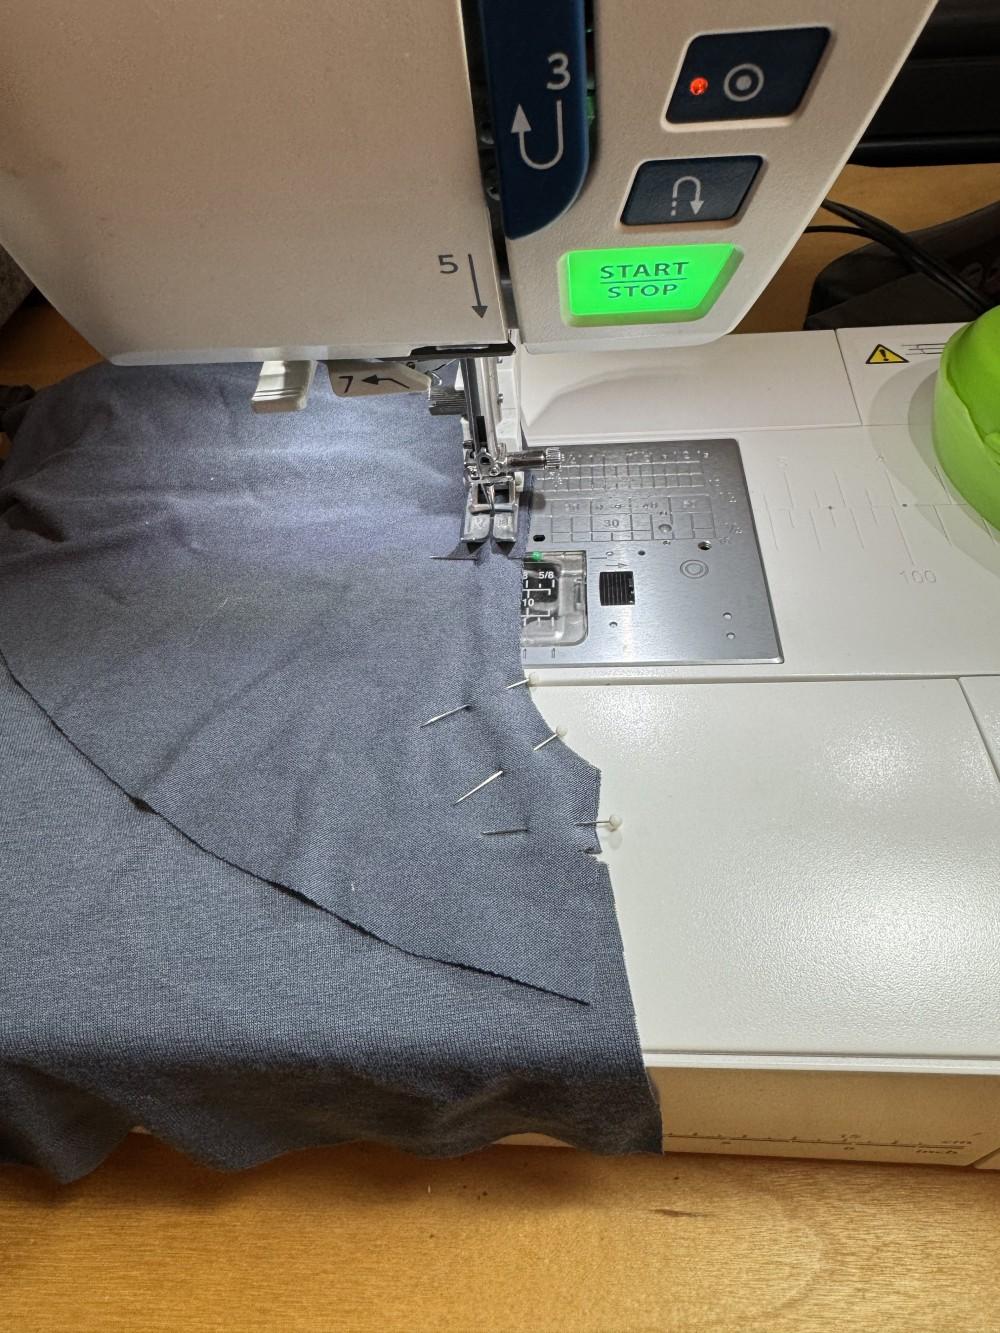
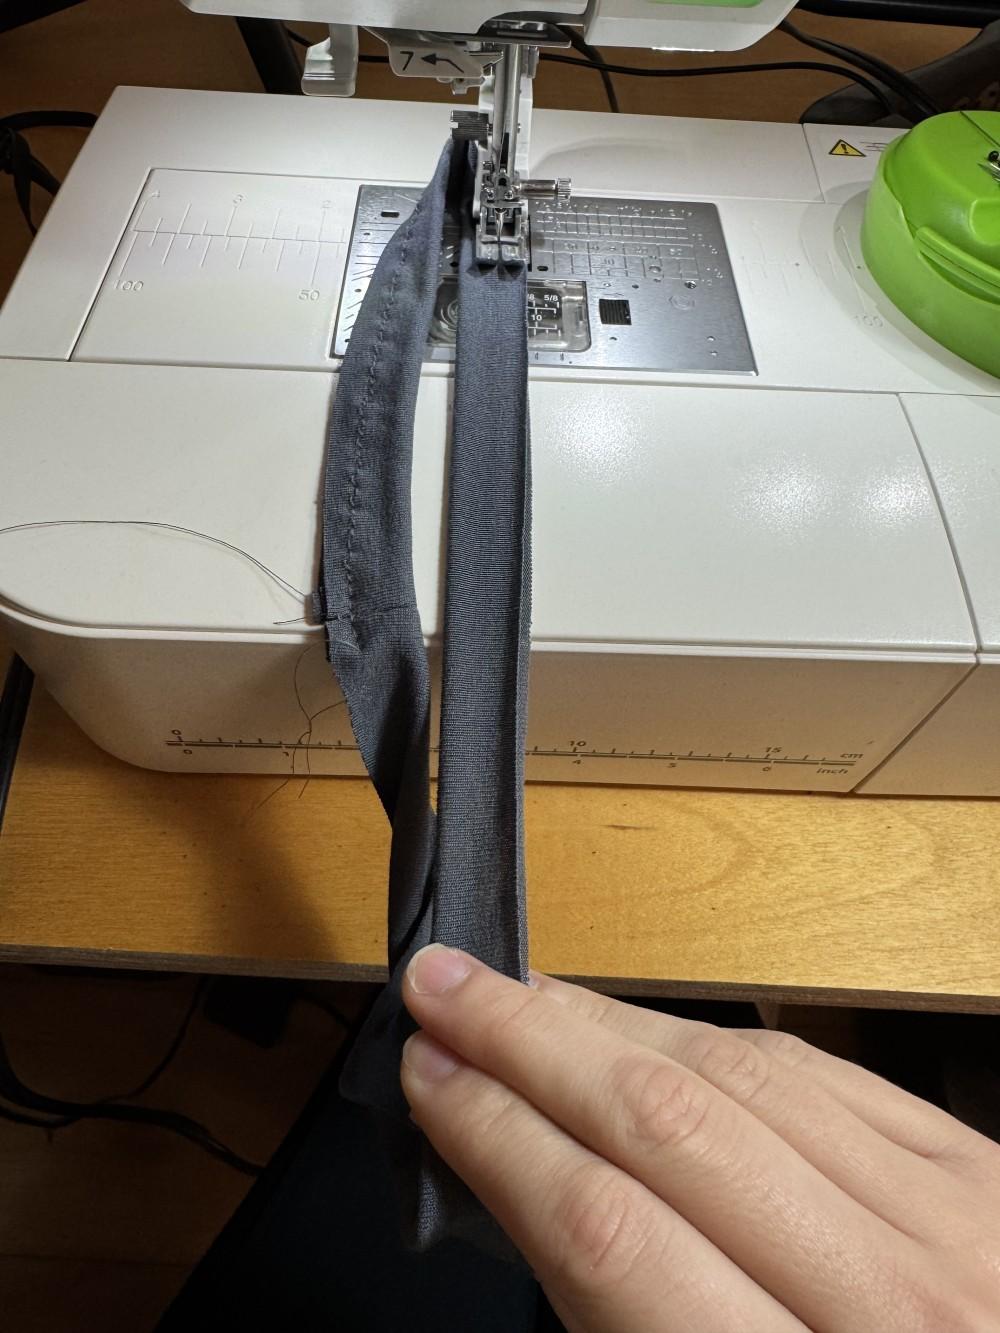
The pattern doesn’t call for stabilizing the shoulder seams but sometimes I will add this step, with clear elastic. I did the same with this top but I used small strips of swimsuit fabric instead of clear elastic. I previously saved scraps of swimsuit fabric from making the Well’s Bay bikini in a previous Halfmoon Atelier pattern test. I really enjoyed using fabric as the seam stabilizer because you can iron the seams! Many times in the past, I have accidently melted the clear elastic when I forgot it was in the seam and I ironed the shoulder seams.
Another detail that I appreciated with the fabric is the wide width, 58”. As I’m ordering fabric to make a project, I tend to think of the length but I forget at times how much more fabric comes with wider knit fabrics. This detail means that you get a lot more fabric to work with in the extra width. As wide as this fabric comes, I modified how I cut out some of the pattern pieces, to save move of the leftover fabric in uncut lengths, for future projects.
The sleeve hems ended up being longer for me, which I really liked (around a 2” hem). For the bottom hem, I did go with the cropped pattern length. I went with a 0.5” bottom hem as I wanted to be a bit conservative in hopes that the length is long enough to still be comfortable, for me. I’m at a stage in life where I’m not wanting to bare my midriff. That said, with a high waisted pant or skirt, your midriff is covered. Wearing the cropped top length removes bulk that you’d have underneath pants with longer length tops (when wearing the top tucked in).
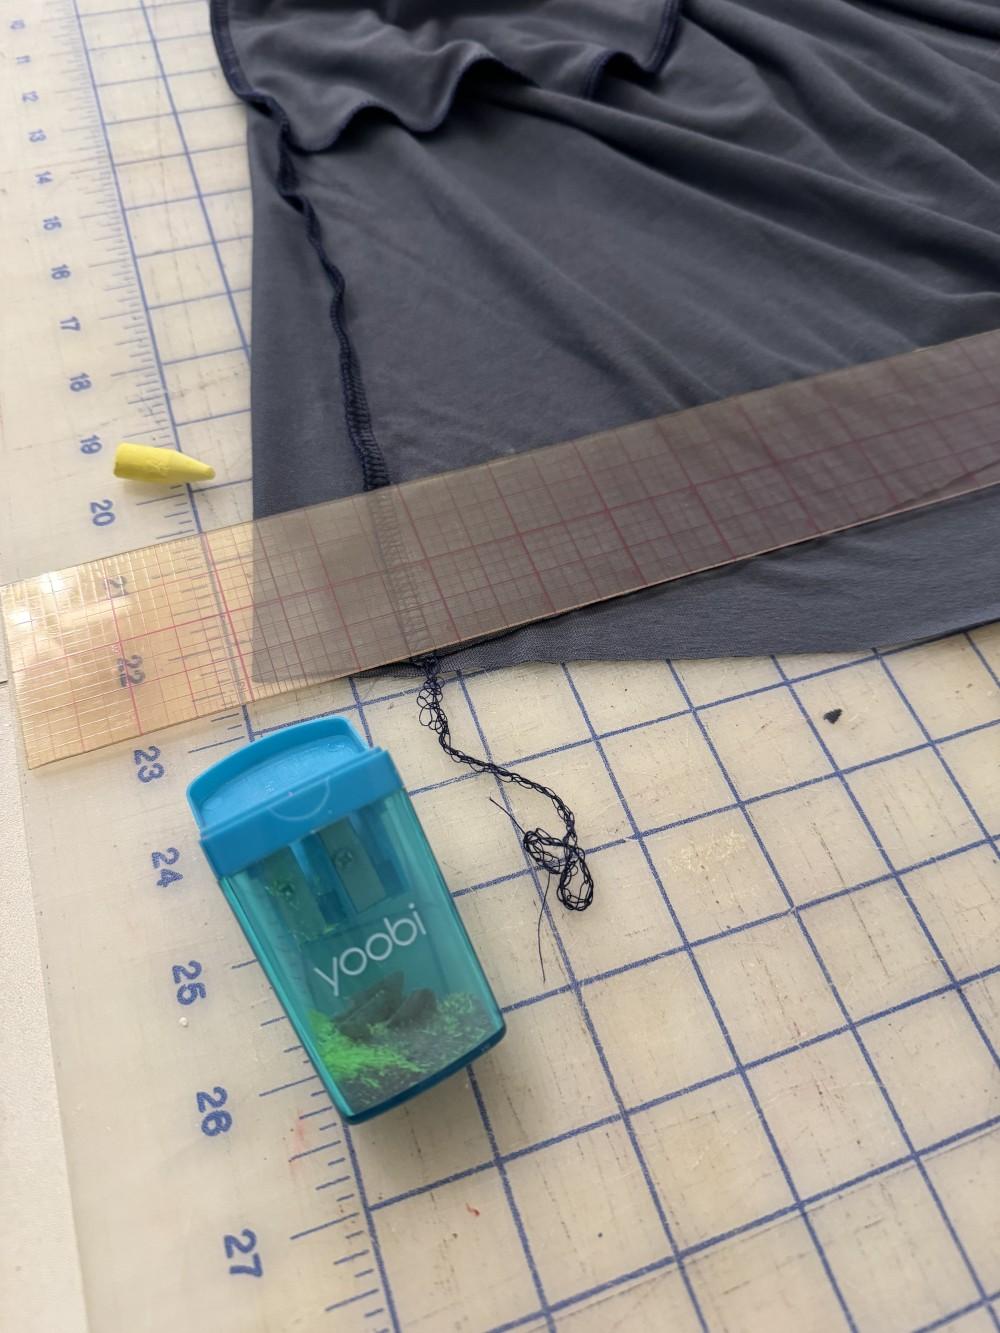
To mark fabric, I’ve found a simple stick of chalk is my favorite fabric marking tool. I’ll use a small manual pencil sharpener to also sharpen the tip. With chalk, I love that you can see the markings but they are also really easy to remove afterwards. It’s also an economical tool to have on hand.
Skirt:
The Sauvie Sundress was the pattern inspiration for the skirt in this project. Although I’ve only made one version of the Sauvie, I adored the pattern and wanted to make a few more dresses in alternate fabrics. There is a version of the Sauvie pattern that includes adding an elastic waistband, for a fitted look at the waist. The gathered waist in the Sauvie was the inspiration to convert the design from a dress to a skirt.
Pattern notes:
Size: 6
Pocket B
Length: View 1 / View 4 Midi length
Version 3: Elastic waist
I’ll share my size info here for reference:
Natural Waist: 27”
Waist: 30”
Hips: 38”
The Sauvie is designed to be sewn with a woven fabric. Typically when you convert a pattern from a woven to a knit, you want go down to a few sizes smaller. As I really wanted a gathered/loose skirt, I didn’t change the size when making this skirt in a knit fabric. I cut out a size 6 which is the size the pattern recommends for my body. I’ll walk through next how I modified the dress pattern to make the skirt. I’ll note that if I were making this project again, I’d approach the waistband process a bit differently. That said, I’ll share in this post how I approached the waistband.
To start, I wanted to decide where to cut off the dress pattern to convert it to a skirt pattern. I referenced the instructions in the original pattern to note the recommended waistband channel location. As I’ve previously made this pattern, I knew that the recommended waist band location matched what I liked.
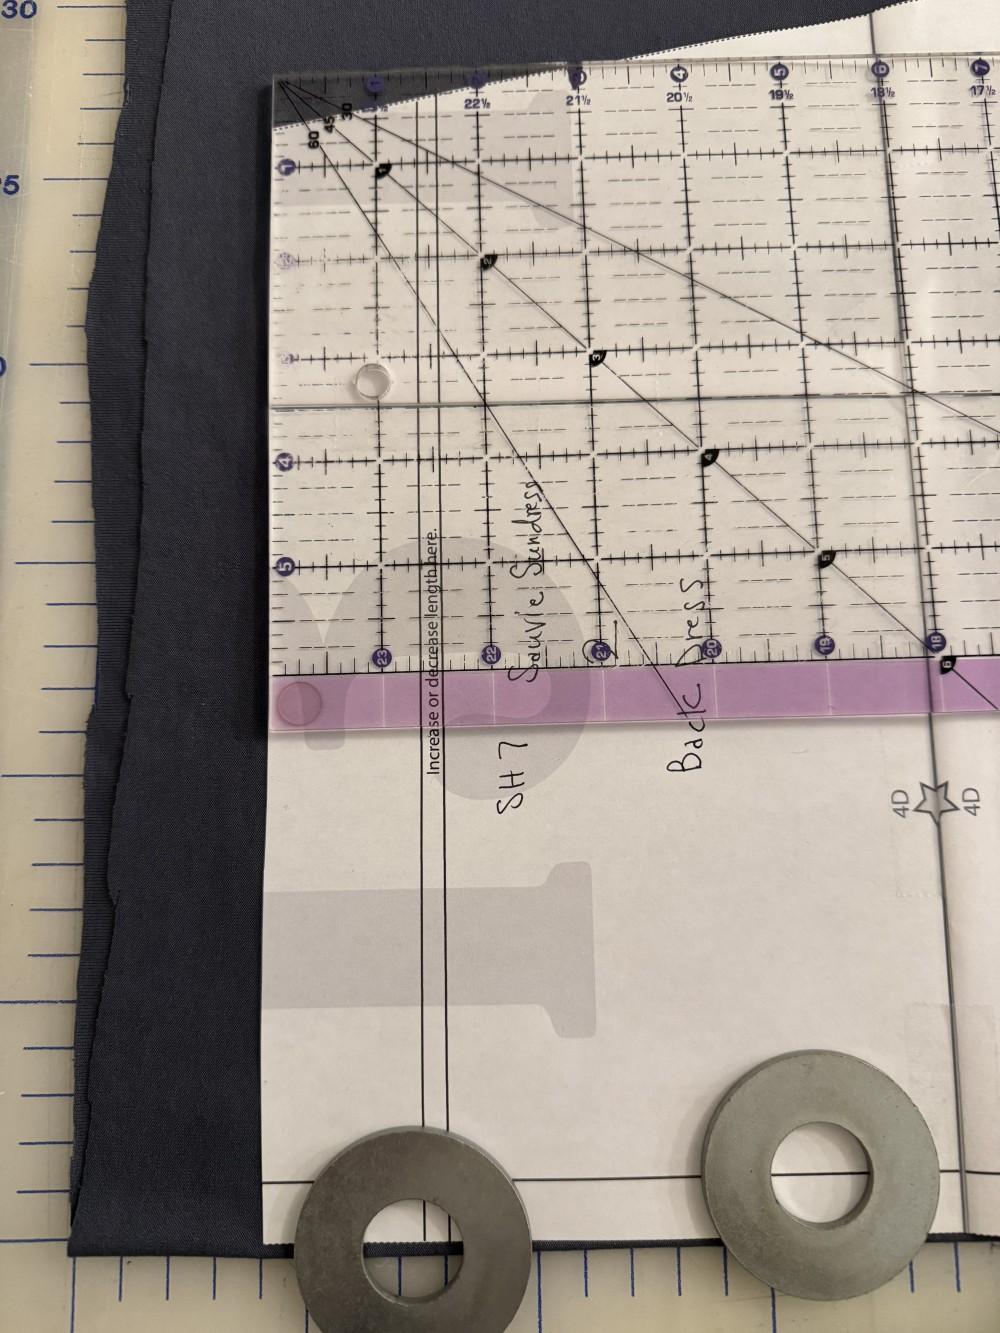
For my version, the cut off line was 1 ⅛” above the increase/decrease line on the FRONT and BACK Sauvie pattern pieces. Before cutting out the fabric, I laid a ruler on top of the FRONT and BACK pattern piece. I followed the 90 degree cut angle for the side corners (matching the clear ruler corner in the photo). To save time, I didn’t add paper to my new paper pattern piece.
I LOVE projects that include pockets (skirts, dresses, pants, etc.). With knit fabrics, it can be risky to include pockets. A heavy phone in a knit pocket tends to pull down a skirt and pocket lining. This can look noticeably odd or you could keep fighting with keeping your skirt in place. In the past, I have used a knit interfacing/stabilizer on pocket linings. For this project I skipped this step. I followed the pattern directions to stitch the curved opening and pocket seams. I also used a serger for the inside seams.
Gathering the waistband:
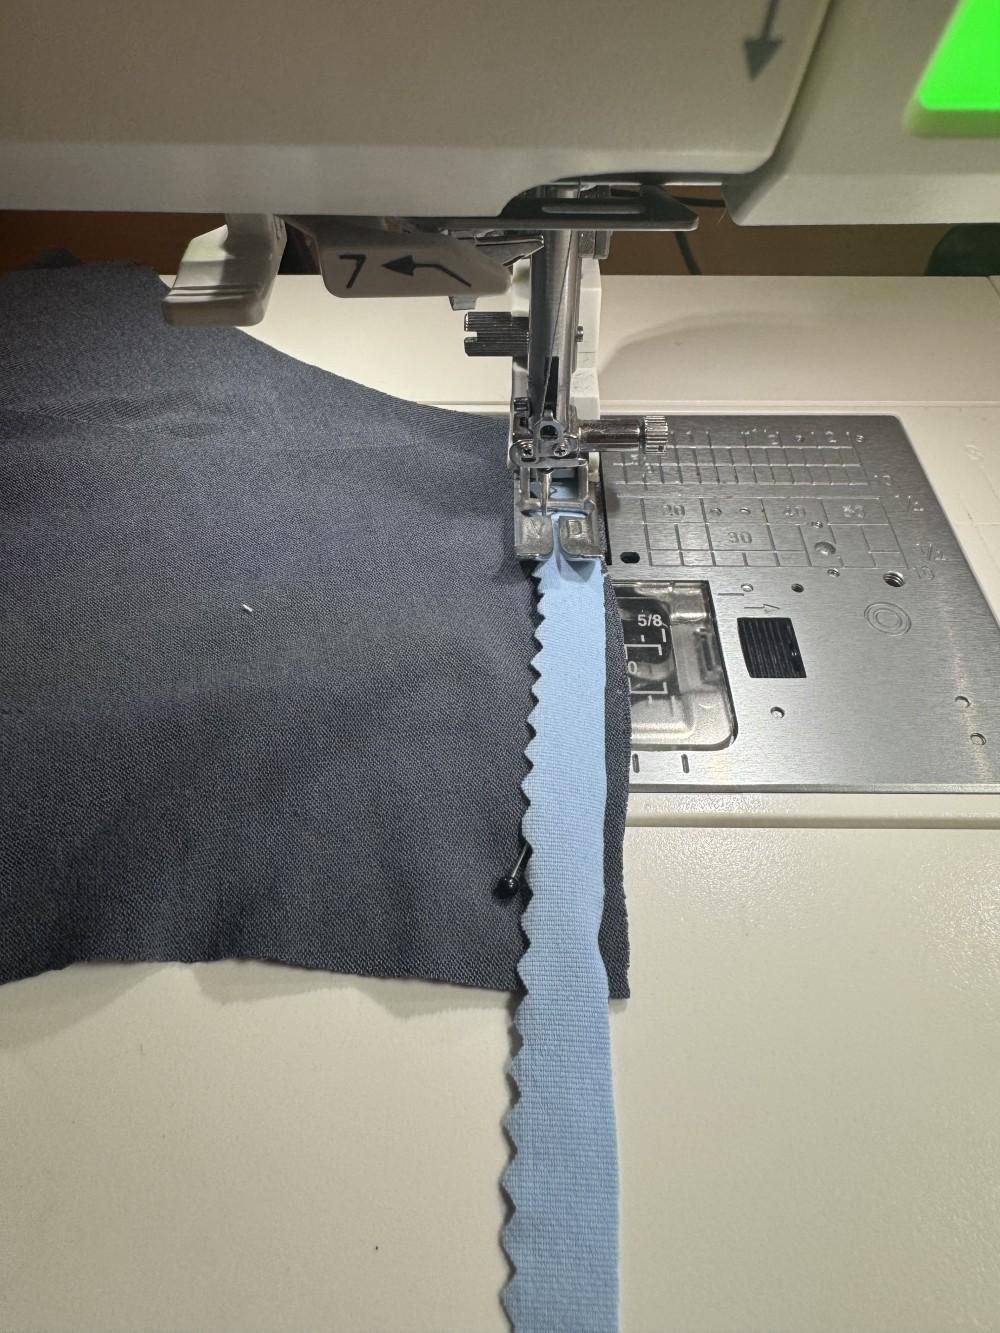
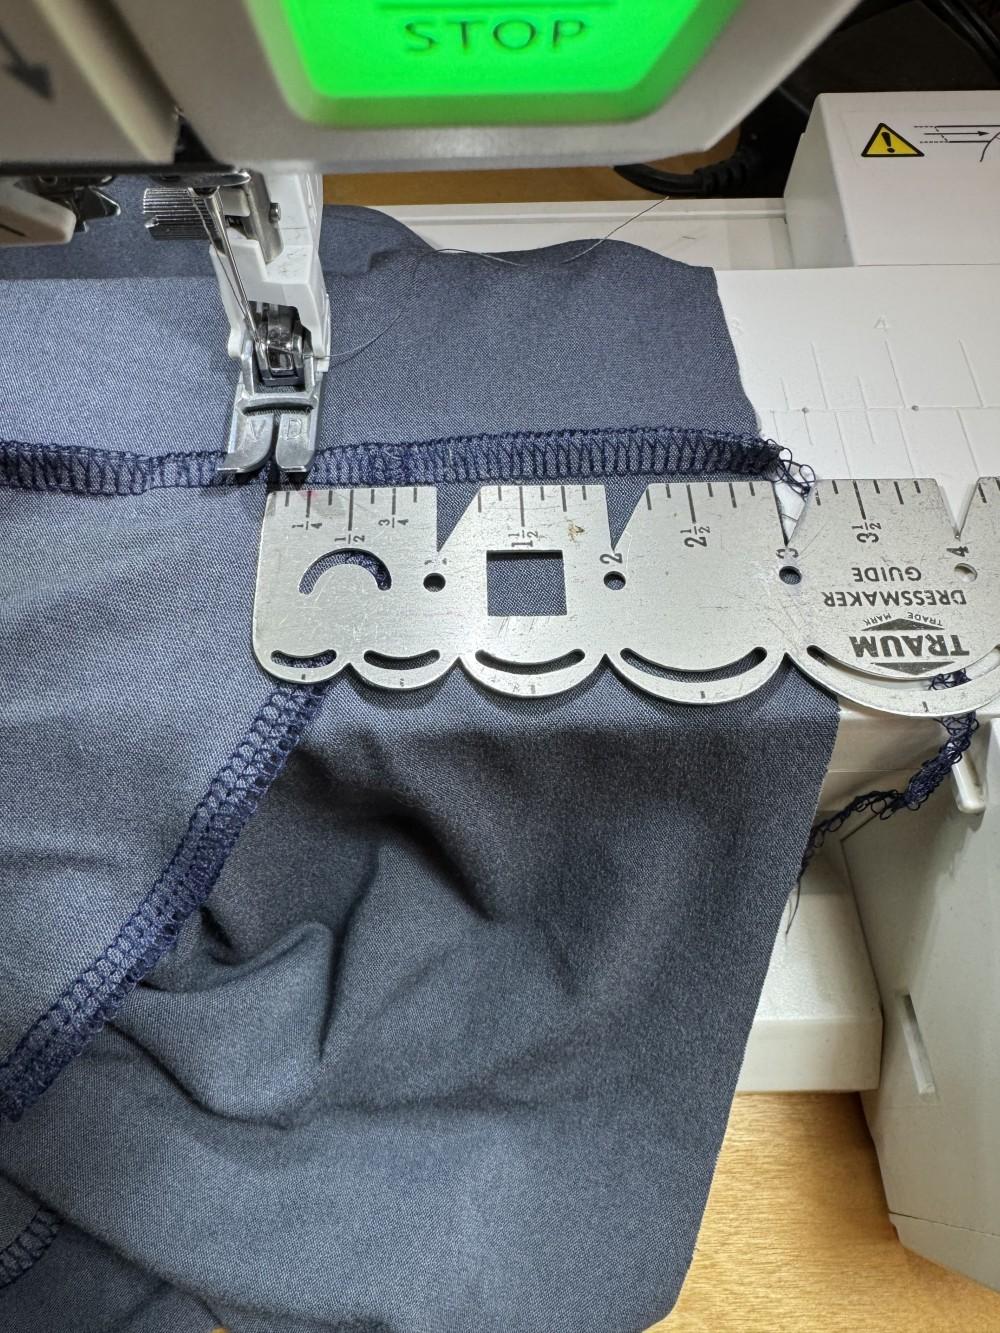
The elastic that I used for the waistband was 1 ½” wide. To mark the new waistband, I sewed two rows of baste length stitches. I sewed one stitch line at a 3” seam allowance and the second at ⅜”. I pulled the baste stitch threads in to gather in the fabric for the waistband. The stitch lines were also a reference to visually create the new fold-over waistband channel.
Although I went with adding the waistband in a foldover design, there are other that you could approach applying an elastic waistband to a skirt. I find that I prefer to stitch a channel and then try on the garment, adjusting the elastic circumference after I’ve tried on the garment a few times.