


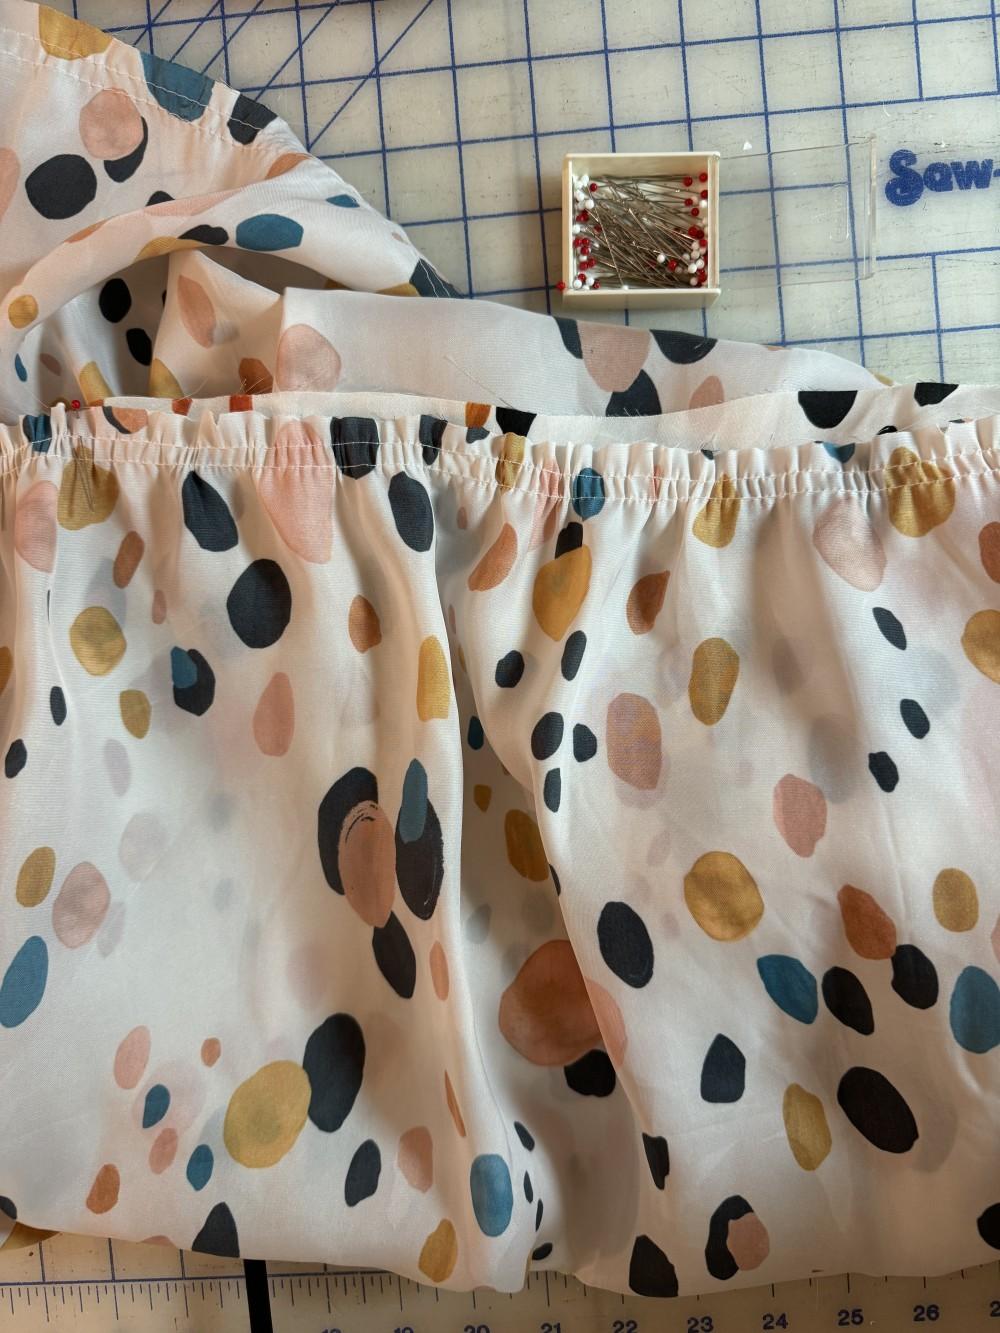
Hello! I’m quite excited to share about two projects that I’ve been working on. I’ll share the projects in a couple of posts but both were made with a fun Charmeuse Silky Satin fabric from Minerva. The print is called Pebble. It’s a fun print with an off-white background. The dots in the print are variation of black, teal, and orange. I call the print, Cruella de Vil meets art teacher. I was really intrigued with the print as semi-neutral with pops of color as well.
The first project that I’ll share about is the Mave skirt by True Bias. I’ve been wanting to add a maxi skirt to my wardrobe so I thought this pattern and the print were a fun pairing together. The pattern has LOTS of options to choose from. I went with a lined version with 3 tier Maxi length version (version 8 below) and included the pockets as well.
The Charmeuse fabric that I used from Minerva has an amazing drape to it. If you pick up multiple yards of the fabric in your hand, it almost has a liquid feel to it as you drape it onto a table. I wanted to note that the fabric is sheer, so I lined the skirt.
For the lining fabric, I used a Minerva Core Range Soft Touch Crepe fabric in off-white tone. This was a nice fabric to color match for the lining. I thought it went really well with the background fabric of the outer skirt. You don’t see the lining (unless I raise the skirt as I share in a photo) but it’s nice to have a lining that blends nicely underneath the skirt. This fabric base has 278 color options and is an economic option for a lining, price wise.
I wanted to share additional options the Mave pattern also includes:
V 1: Mini, no ruffles
V 2: Mini, 1 ruffle
V 3: Midi, no ruffles
V 4: Midi, 1 ruffle
V 5: Midi, 2 ruffles
V 6: Maxi, no ruffles
V 7: Maxi, 1 ruffle
V 8: Maxi, 2 ruffles
I’ll share my size info here for reference:
Pattern Size: 6
My body measurements: Waist - 29”, Hip - 37.5”
Mods
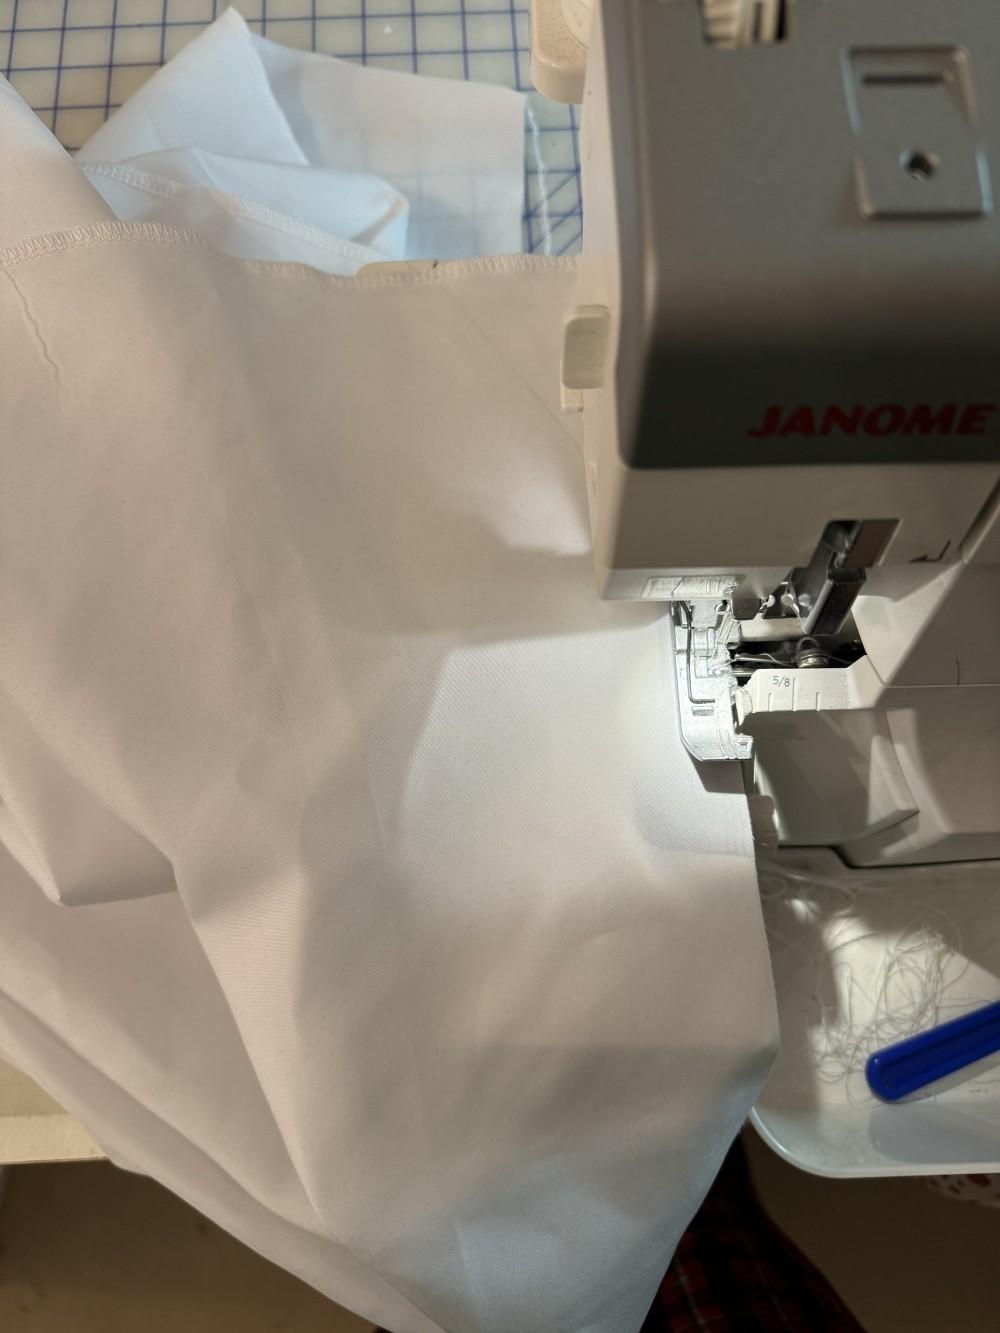
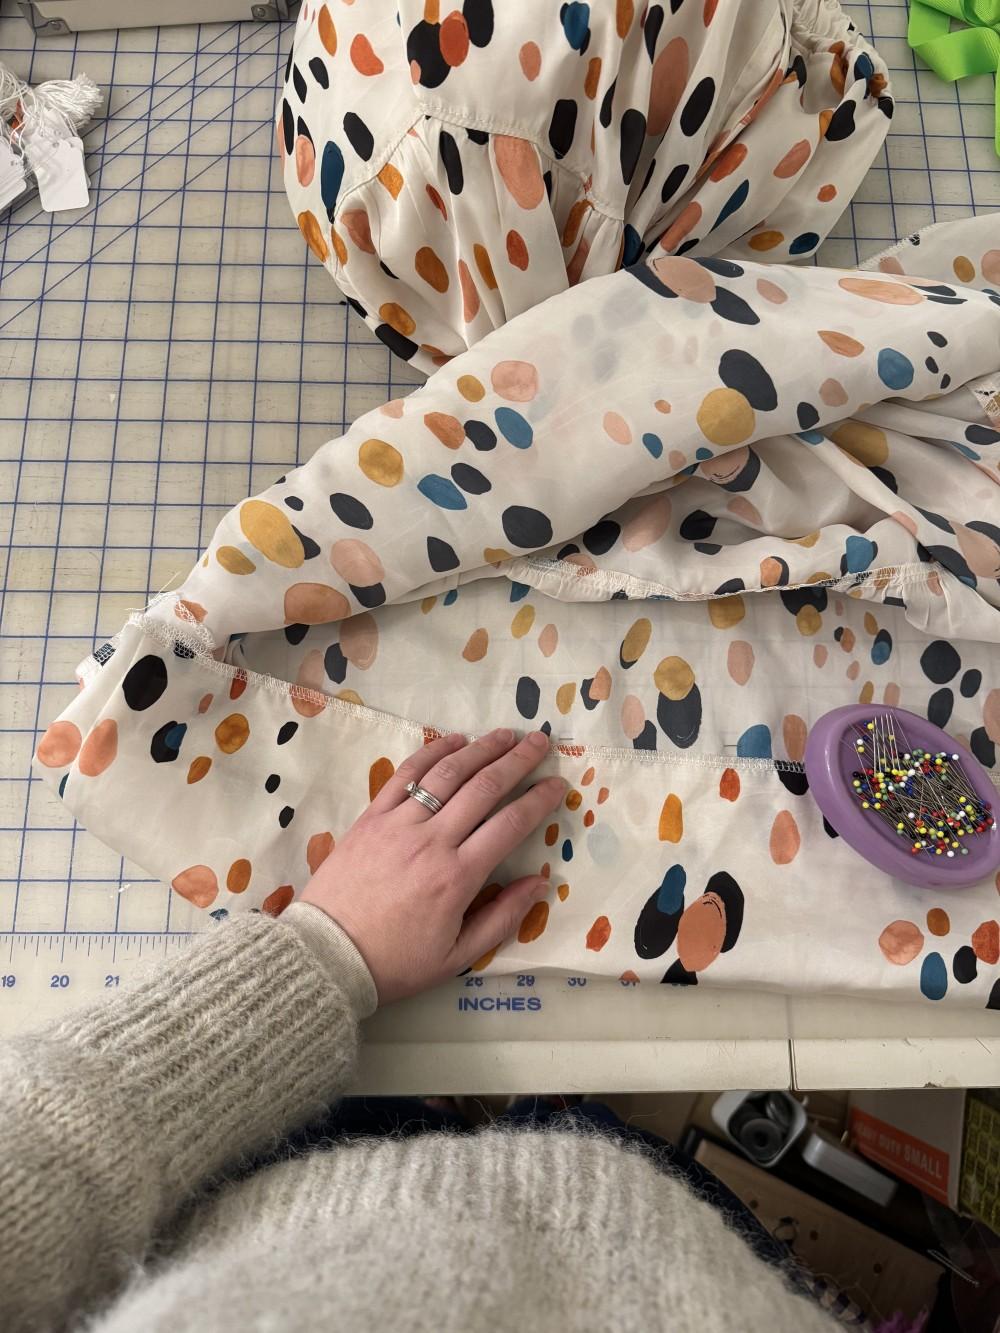
Lining - Although I added the lining option in the pattern, I decided to add slits up the sides of the lining. As the outer skirt is tiered, I wanted more movement then sewing a straight skirt lining. I measured from the floor to my knees and added pins to the sides of the skirt at 16.5” up from the bottom of the skirt. I referenced the height of my knees to the floor for this measurement. I serged to finish the edges of the skirt and sewed the sides of the lining with a standard sewing machine (stopping at the 16.5” point on both sides of the skirt). This was a quick way to add slits to the existing pattern. I pressed the sides flat with an iron and enjoyed the result.
Drawstring - Initially, I was going to follow the pattern and include the drawstring in the waistband. I tested sewing the button holes for the drawstring on scrap pieces of fabric. To reinforce the button holes in this lighter weight fabric, I used a washable glue stick and cut out a square of the same fabric to use as a reinforcement. All of that said, I changed my mind and decided to skip the drawstring. I had already sewed button holes in the waistband so I flipped the button holes to the inside of the waistband to hide them. I decided that I wanted the look of a flat, high waistbandbwithout the ties.
Elastic - I initially followed the elastic cut chart included in the pattern. I found, after trying on the skirt with the elastic waistband cut as recommended (27” for a size 6), this fit in the waist felt a bit too tight for me. I went back to the chart and cut out a waistband at the size 10 length instead (which was 2 sizes up from my pattern size). I found the larger size was comfortable for me and without being too loose. I think that is part of the fun in sewing your own clothes. You can make changes like this for your own fit preferences.
As this was a drapey fabric, I treated the fabric with a starch/water mixture before sewing. I’ve found when I take the time to stabilize a fluid fabric before working with it, it’s been worth it in the result. It’s easier to cut out and sew stabilized fabric. After the project is done, you can put the top in the washer/dryer and it washes out the starch. I will say that I wash and dry the fabric in the washing machine a few times before treating it with starch. For reference this is a post that I’ve shared about the starch that I use for this process:
https://www.minerva.com/post/101791
I used Tailor's Tacks with thread to mark the pocket pivot points. I’ve been doing this more often and I find it’s a handy way to mark delicate fabric. When I’ve marked fabric with chalk or even a washable pen, the marking hasn’t always disappeared well on the fabric afterwards. Although using thread takes a few extra minutes, I love the accuracy that you get in this method and it’s been nice that you don’t see any markings after you remove the thread from the fabric.
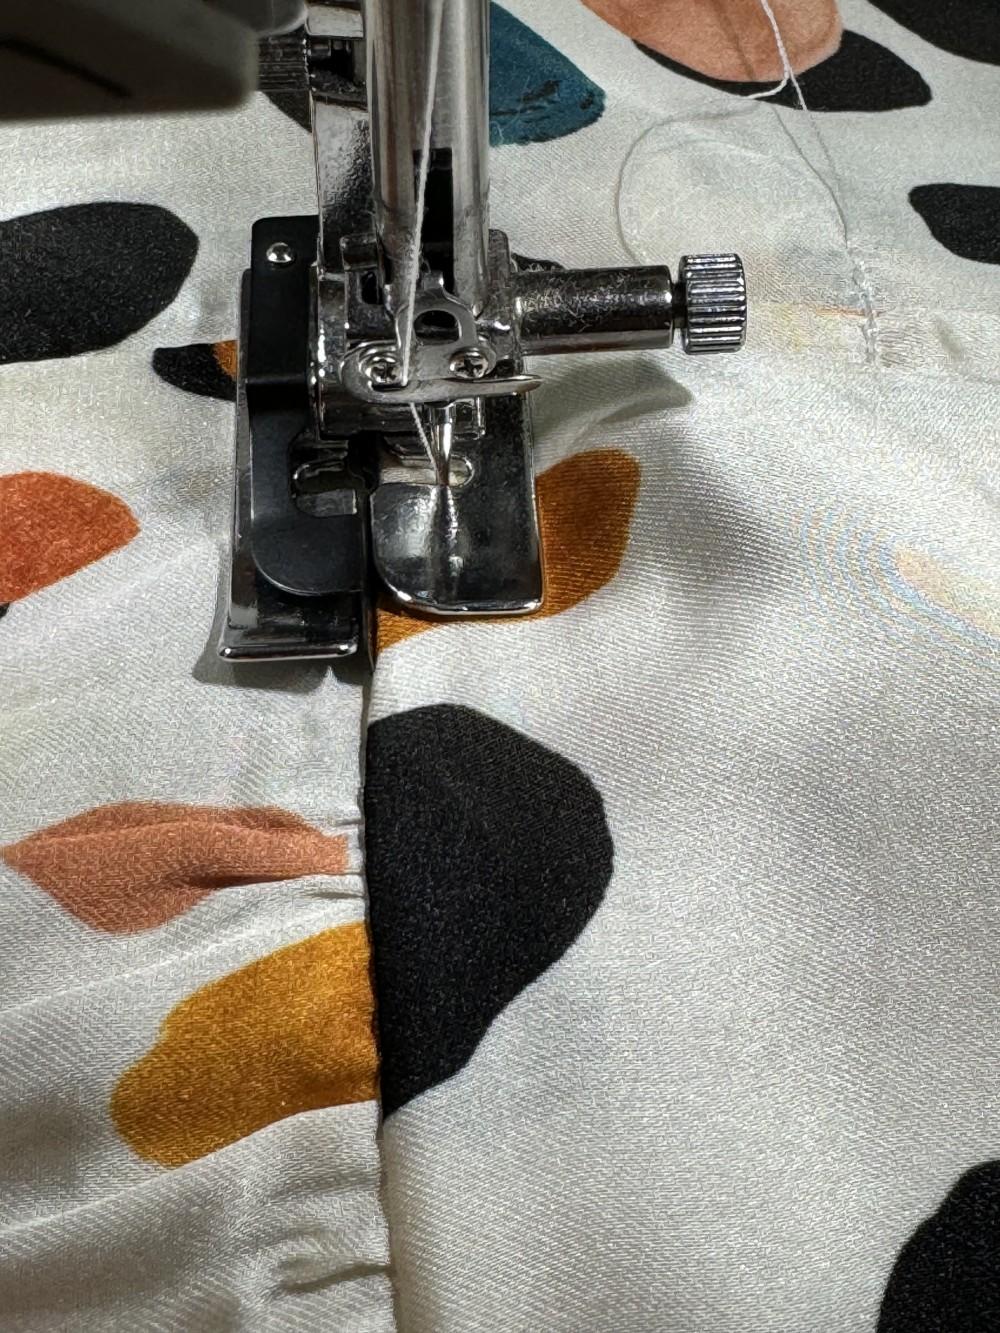
I topstitched the tiers in the skirt, as the pattern mentions. It’s an extra step as well but I love how the end skirt lays with the top stitching.
I wanted to note that I took my time with the bottom hemming of the skirt. Although I treated the fabric to stabilize it a bit, going slow when hemming the bottom of the skirt was helpful. The fabric can easily get skewed so I took my time with this step as well.