


3 years ago
Hello! I am elated to share with you about making the Rowan Tee by Megan Nielsen. I used a ribbed knit fabric from Minerva for this project. This was my first time making the Rowan! I knew that I wanted to pair a turtleneck top with this fabric but I debated a bit on which one to make. I ended up going with the Rowan as I love that it includes two necklines, multiple sleeve options and a bodysuit or an open area for the bottom.
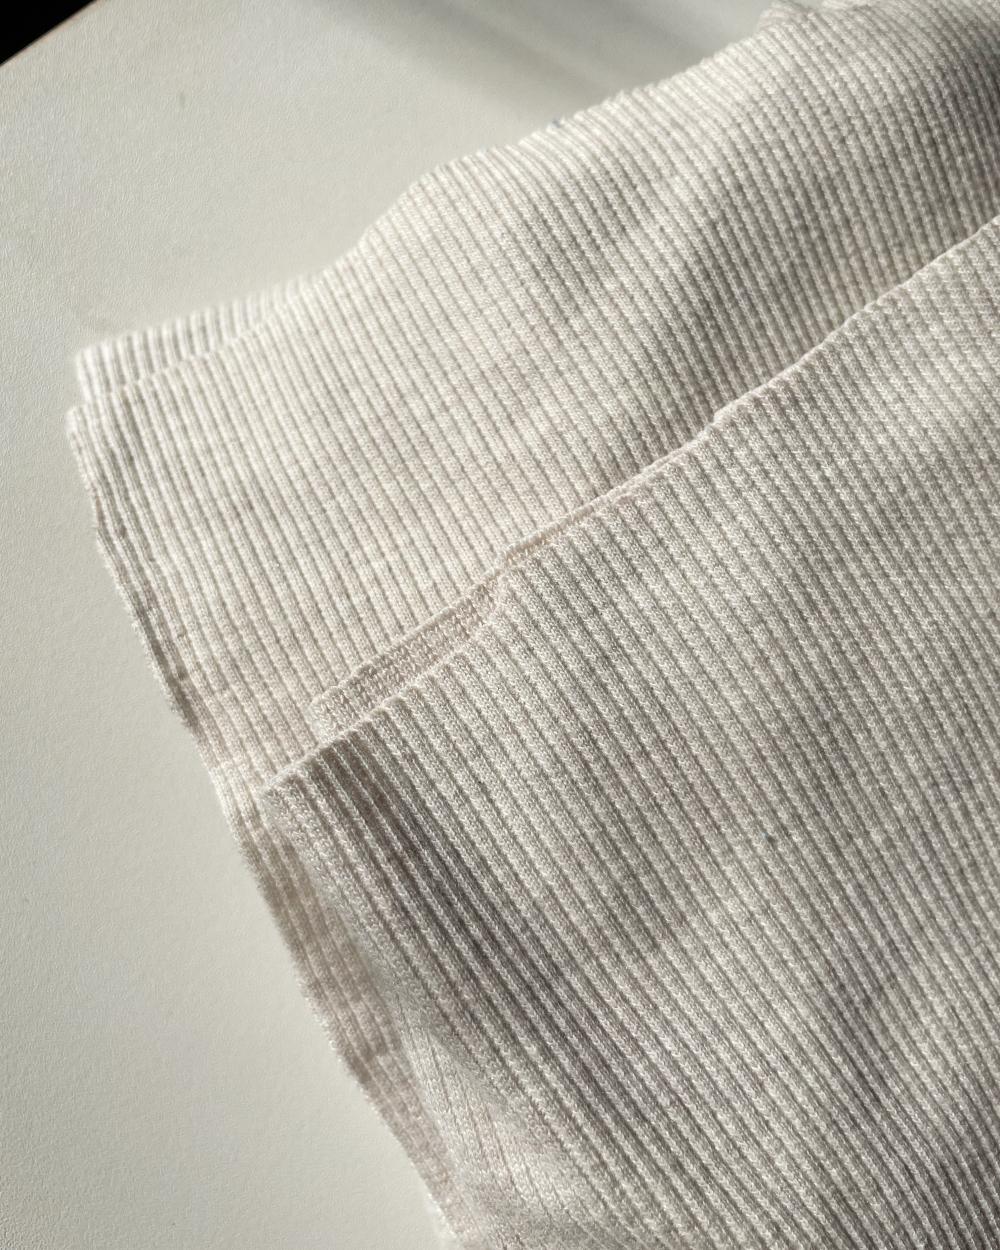
I went with the Ecru color for this fabric and it’s really, really lovely. It has a complexity to it, more of a heathered look with multiple tones within the fabric. I love heather toned yarns so this was a nice surprise with the fabric color, when I saw it in person.
The stretch within the fabric is 55% Width and 20% length. The percentage of stretch called for in the pattern is 40% stretch. The fabric is also a 95% Cotton \ 5% Lycra base. I really enjoy working with natural fibers, when I can. This fabric base was a treat. I appreciate the Lycra content added in to help with the stretch recovery.
My body dimensions:
Bust - 34”
Natural Waist - 28”
Hips - 38.5”
Pattern size:
Bust - 4
Waist\Hips - 6 and 8
Below the armhole, I graded from a 4, to a 6 and then an 8 at the Waist down through the Waist and the Hips.
Neckband - 4
Sleeves - 4
Pattern Version:
View C, turtleneck tee, long sleeve, Pattern piece 4 (the open version of the tee vs the closed bodysuit, bottom version)
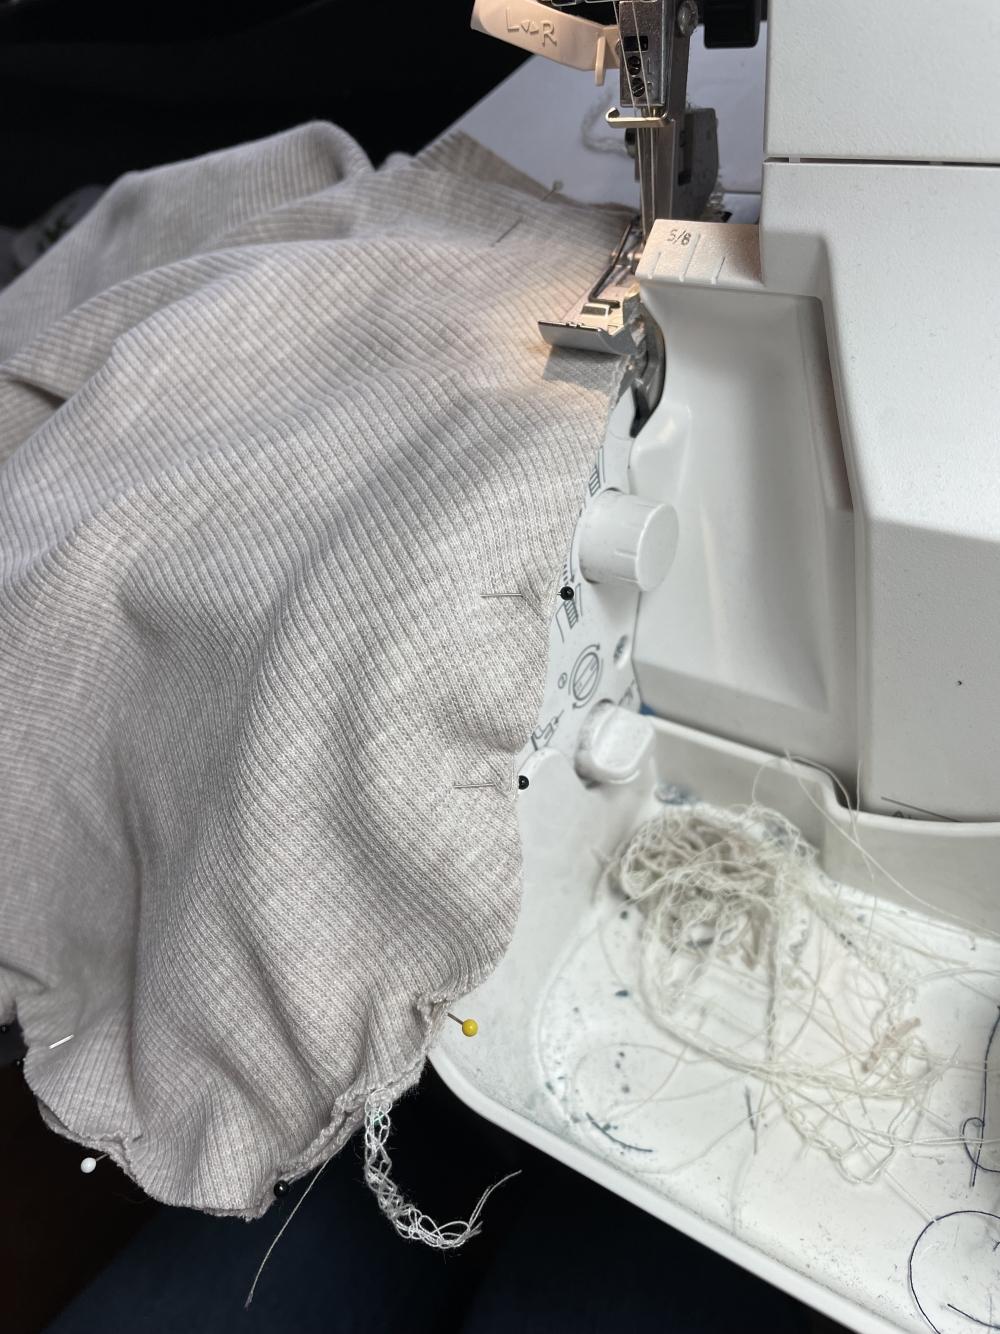
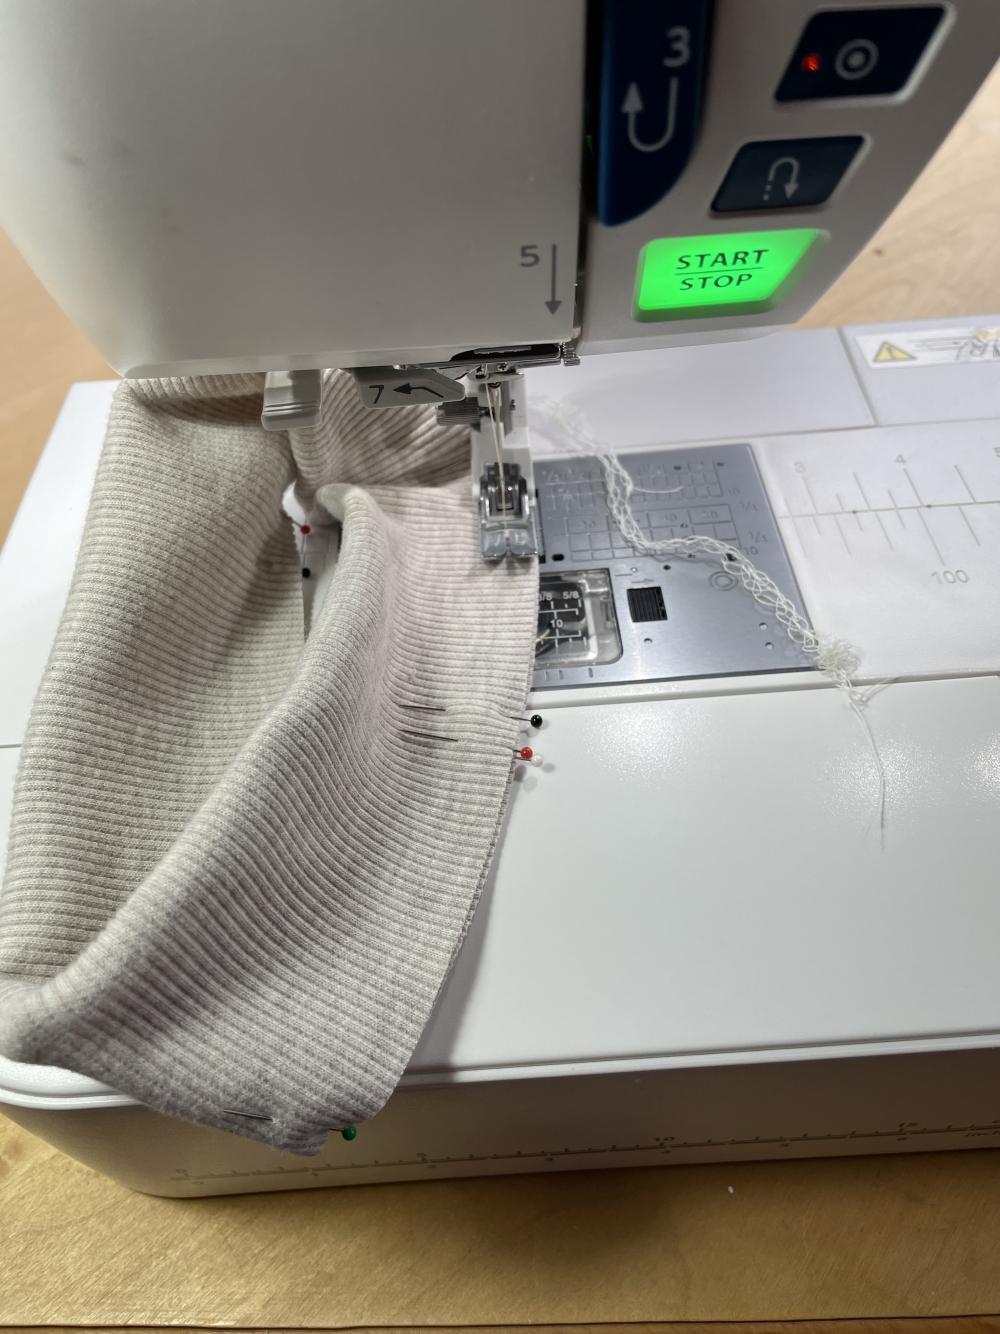
The seam allowance in the pattern is ¼”. I enjoyed this as I was able to use the serger for all of the construction except for the hems (however, you could only used a standard sewing machine if you don’t have a serger). For the neckband, I decided to Baste it first before adding it to the top. It’s an extra step but it can save me time if I don’t catch both layers of fabric as I stretch the neckband and sew it in place.
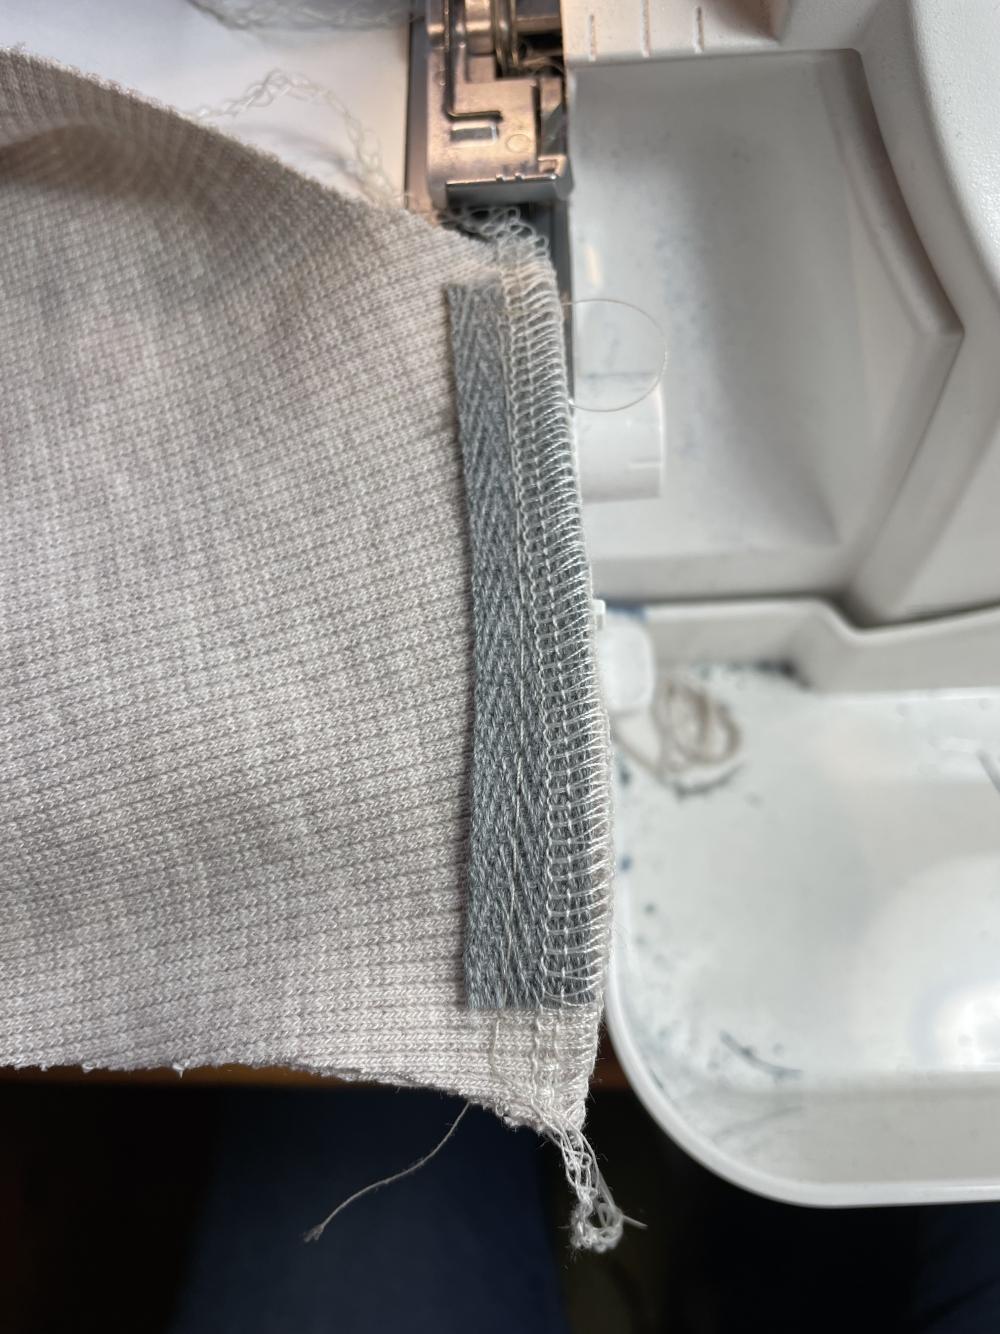
To stabilize the shoulder seams I tried including a piece of twill tape. It’s the grey portion in the seam, shown in the photo. I have used clear elastic in the past for shoulder seams but I haven’t loved this option. You can’t iron clear elastic, it tends to melt.
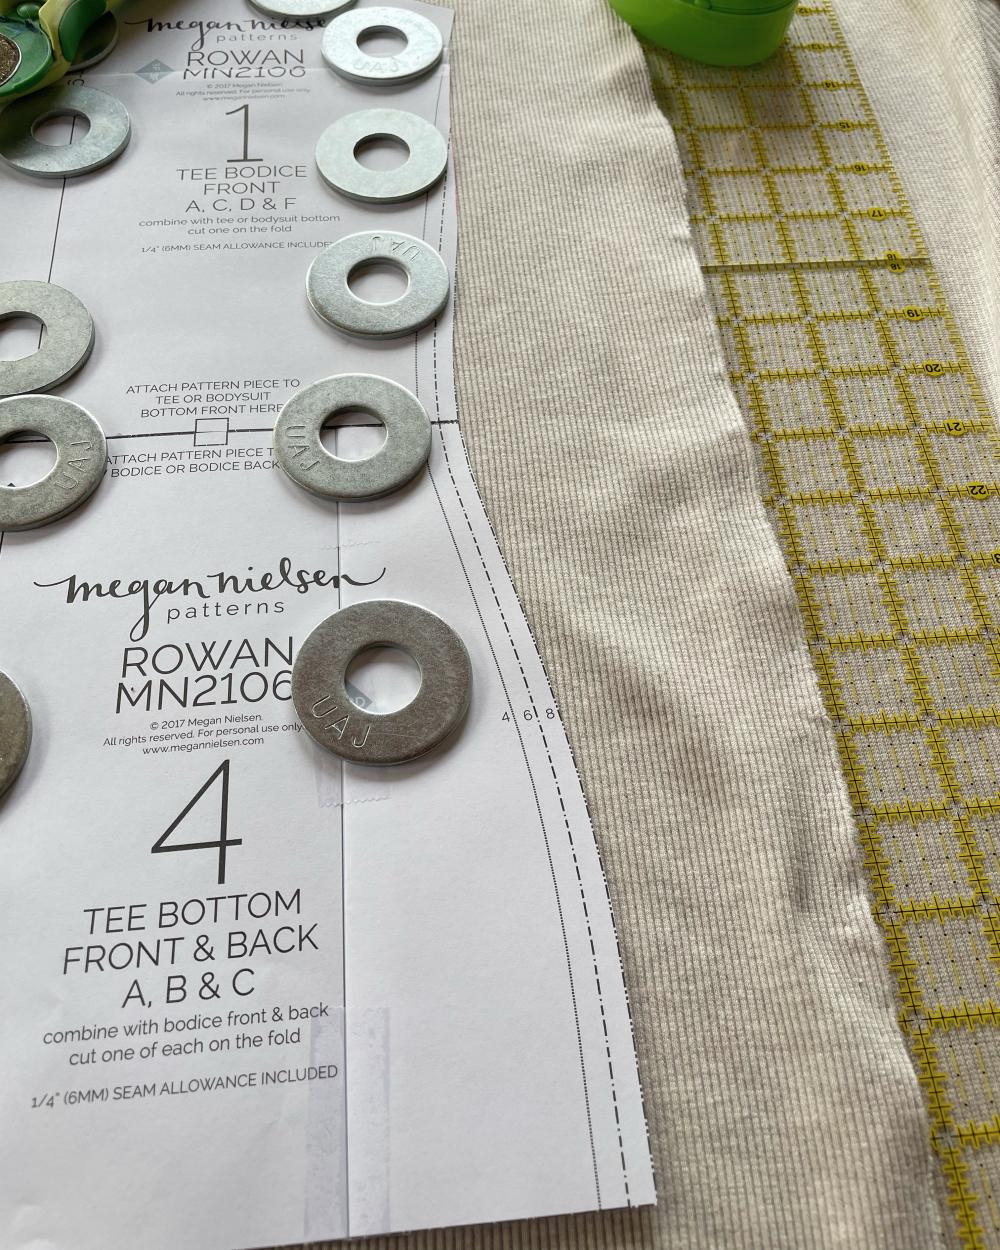
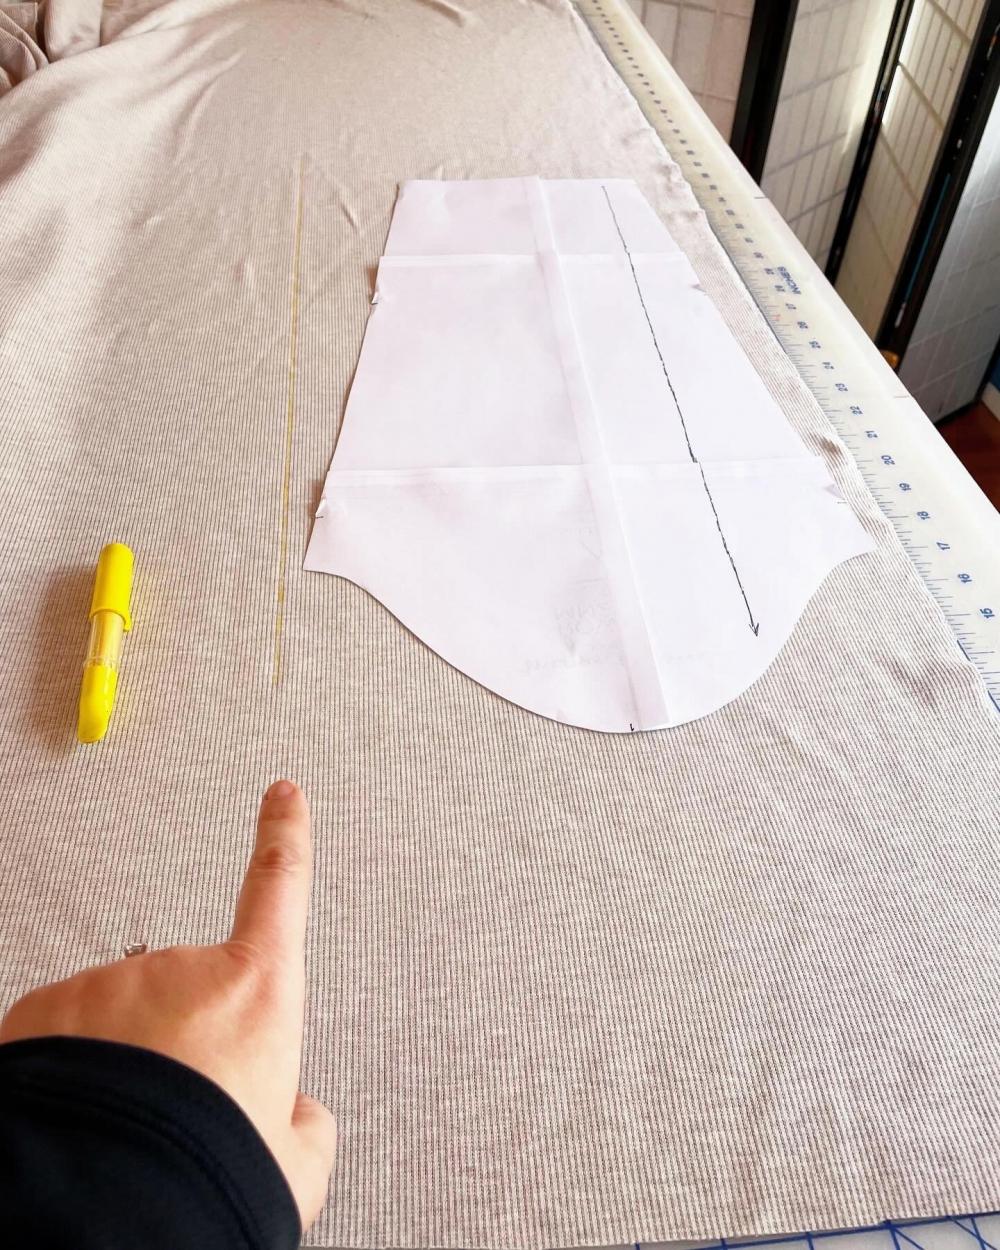
A tip I that I learned in this project, marking the grainline with the ribbing…I used a yellow Chaco pen to mark the fabric. This ribbing is a knit 1 purl 1 (if you’re a knitter or are familiar with knitting terms). I found a knit line in the ribbing and marked it down the fabric. I used this line as a reference for the grainline for the sleeve pattern. Then I used two quilting grid rulers, lined one along the grainline arrow on the pattern and the other along the yellow marked line on the fabric. It was a quick and handy way to get a reference to the grainline in the fabric before cutting it out.
I went with the Ecru color for this fabric and it’s really, really lovely. It has a complexity to it, more of a heathered look with multiple tones within the fabric. I love heather toned yarns so this was a nice surprise with the fabric color, when I saw it in person.
The stretch within the fabric is 55% Width and 20% length. The percentage of stretch called for in the pattern is 40% stretch. The fabric is also a 95% Cotton \ 5% Lycra base. I really enjoy working with natural fibers, when I can. This fabric base was a treat. I appreciate the Lycra content added in to help with the stretch recovery.
My body dimensions:
Bust - 34”
Natural Waist - 28”
Hips - 38.5”
Pattern size:
Bust - 4
Waist\Hips - 6 and 8
Below the armhole, I graded from a 4, to a 6 and then an 8 at the Waist down through the Waist and the Hips.
Neckband - 4
Sleeves - 4
Pattern Version:
View C, turtleneck tee, long sleeve, Pattern piece 4 (the open version of the tee vs the closed bodysuit, bottom version)
The seam allowance in the pattern is ¼”. I enjoyed this as I was able to use the serger for all of the construction except for the hems (however, you could only used a standard sewing machine if you don’t have a serger). For the neckband, I decided to Baste it first before adding it to the top. It’s an extra step but it can save me time if I don’t catch both layers of fabric as I stretch the neckband and sew it in place.
To stabilize the shoulder seams I tried including a piece of twill tape. It’s the grey portion in the seam, shown in the photo. I have used clear elastic in the past for shoulder seams but I haven’t loved this option. You can’t iron clear elastic, it tends to melt.
A tip I that I learned in this project, marking the grainline with the ribbing…I used a yellow Chaco pen to mark the fabric. This ribbing is a knit 1 purl 1 (if you’re a knitter or are familiar with knitting terms). I found a knit line in the ribbing and marked it down the fabric. I used this line as a reference for the grainline for the sleeve pattern. Then I used two quilting grid rulers, lined one along the grainline arrow on the pattern and the other along the yellow marked line on the fabric. It was a quick and handy way to get a reference to the grainline in the fabric before cutting it out.
Add all tagged items to your basket