



6 years ago
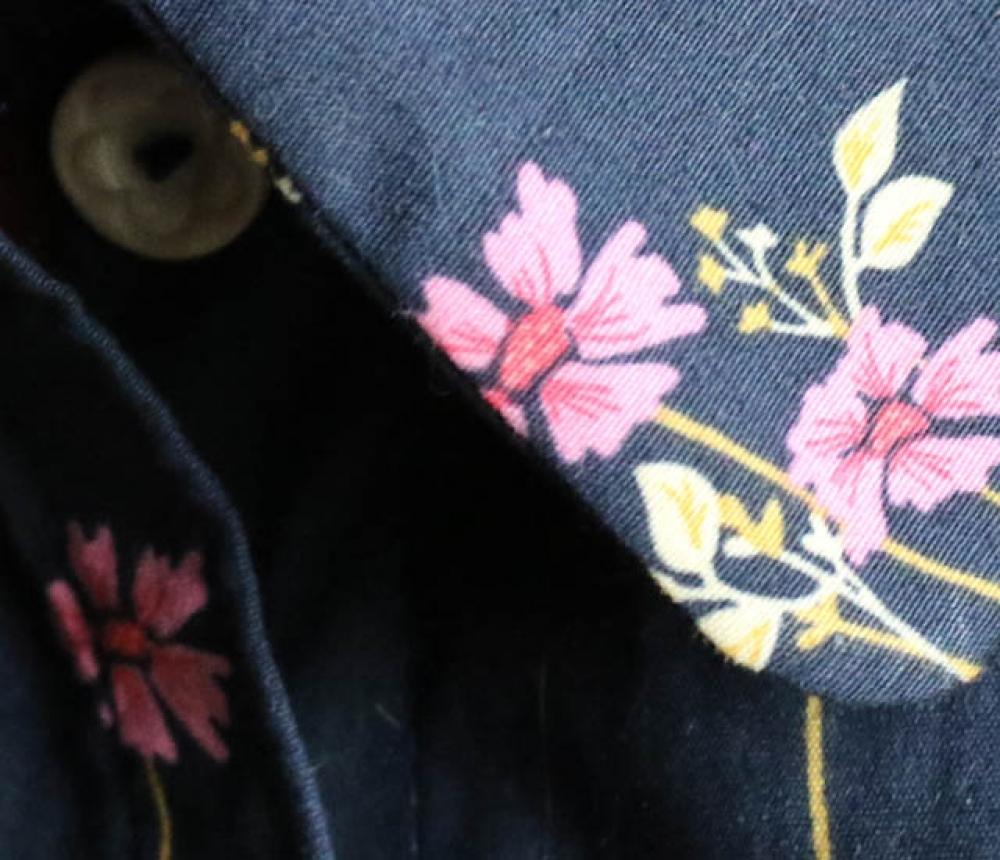
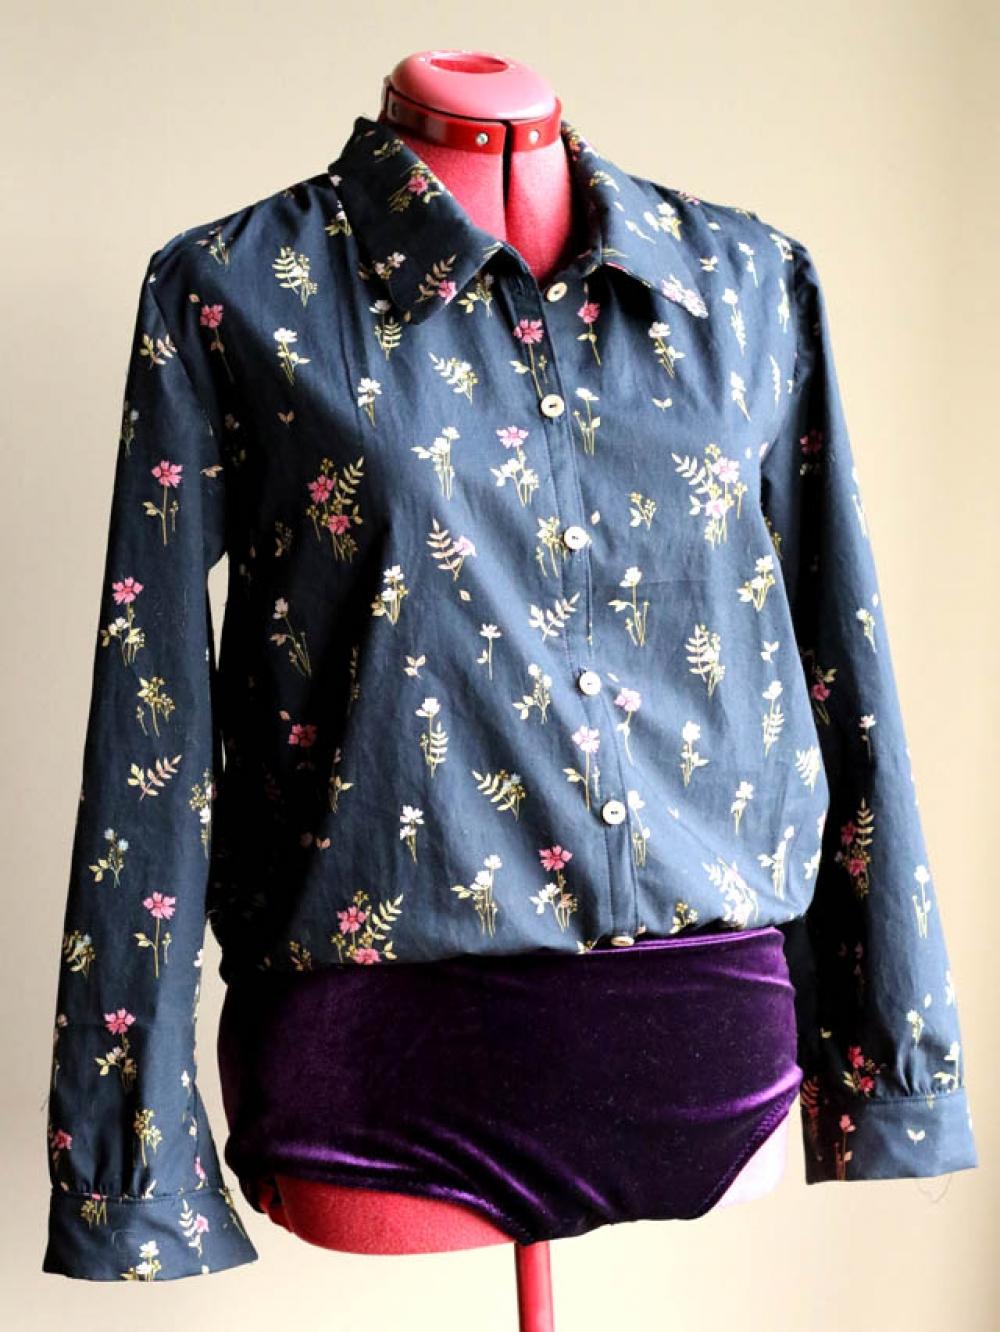
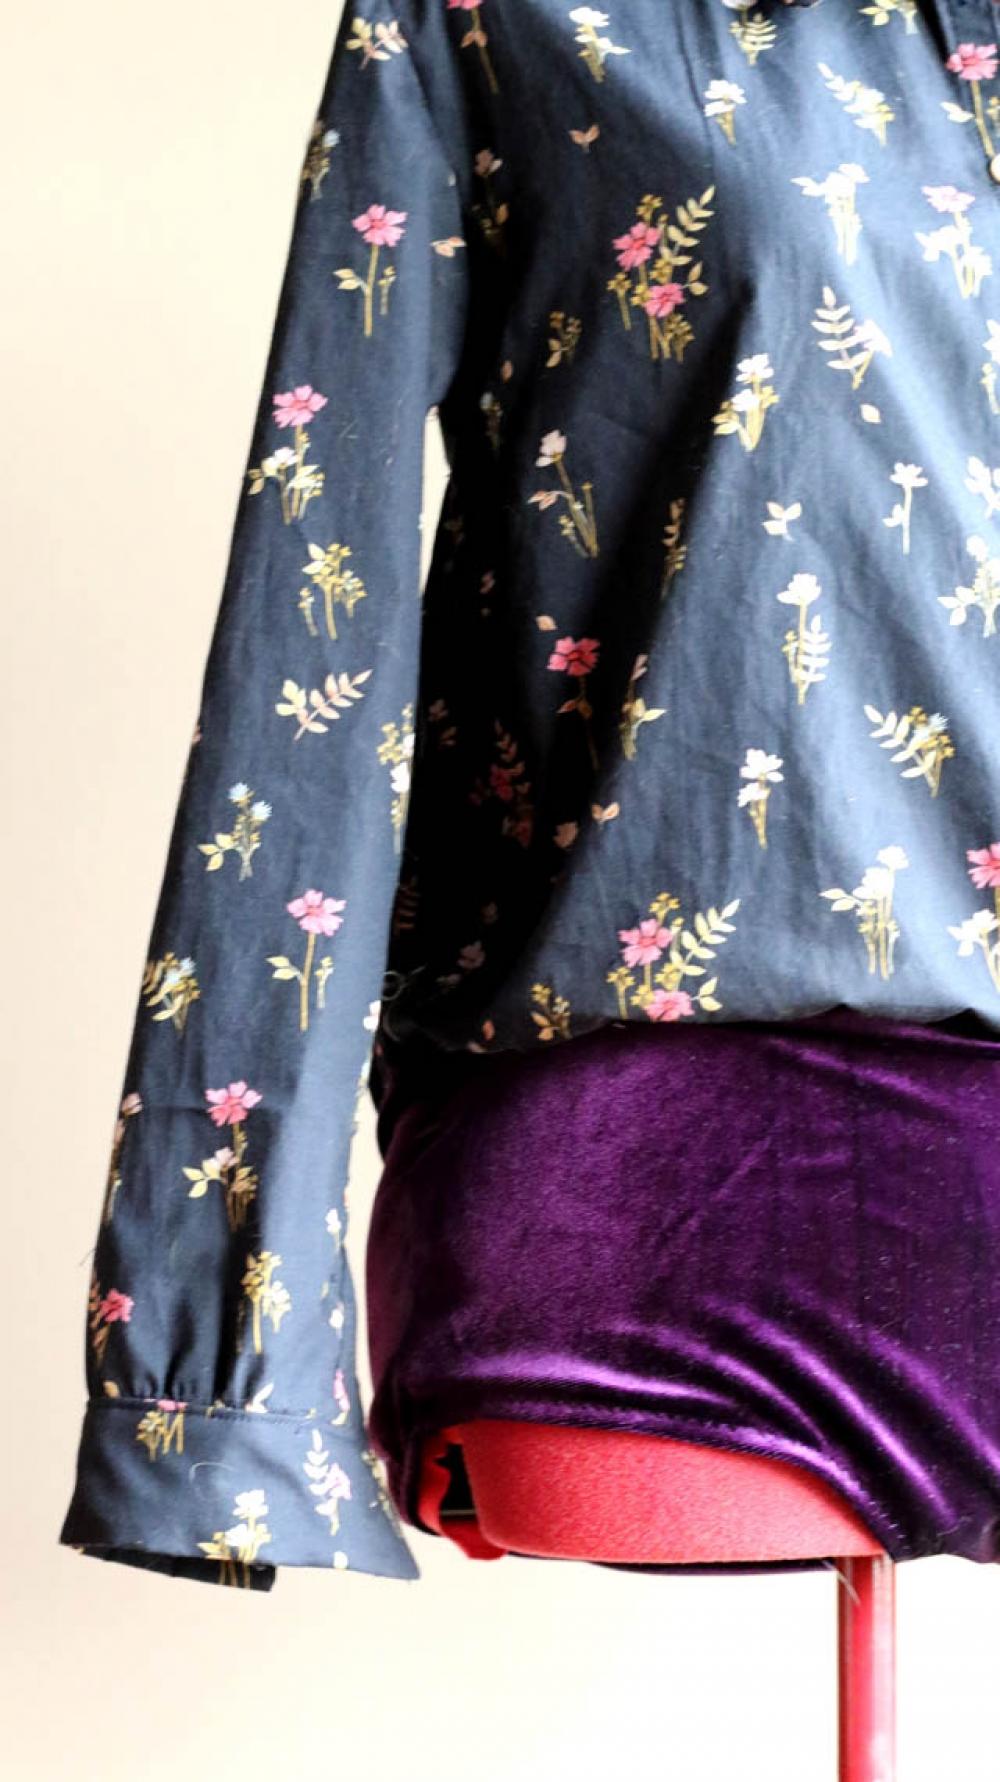
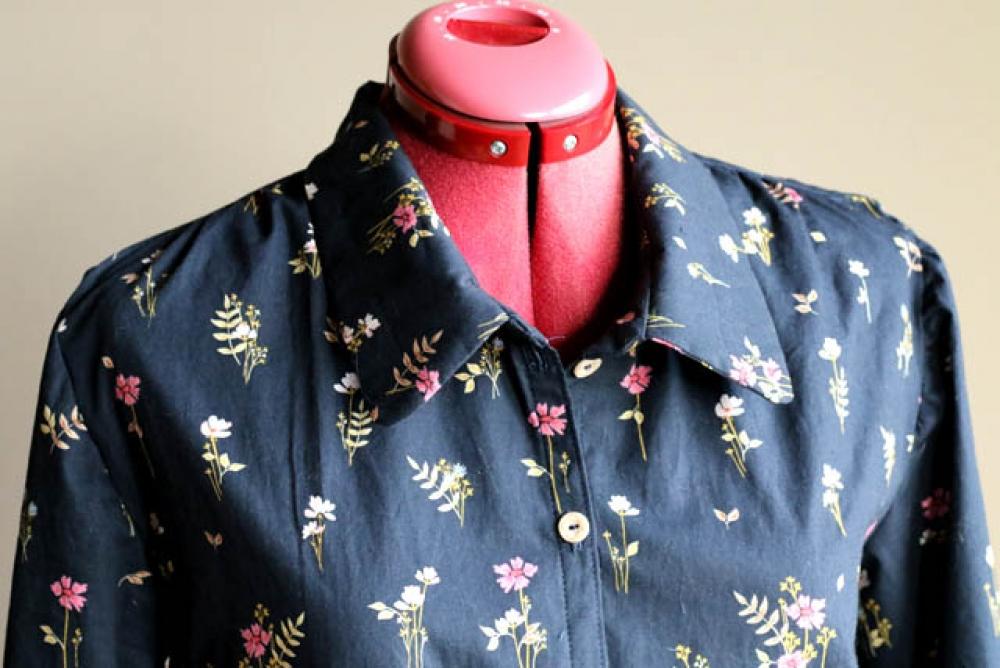
Let’s start this post by stating that what you will see is a big fail!
Sewing is not always successful, trust me. So far, I have very little fails, most of them had been of my own making: not following instructions (1/2” seam allowances instead of 3/8” anyone?), underestimating the stretch of knits, etc.
I really pondered if I would show this fail to you. But my mistakes may save one of your makes one day maybe!
Everything started so well. I had this lovely Art Gallery fabric. I thought that I could sew a shirt, but I had already sewn quite a number of shirts. Then, I thought I could sew some pm-patterns, but I had already sewn quite a number of them too.
I was chatting with a sewing friend and I told her that I wished I could sew a bodysuit with a woven top. She told me she had seen one, the Charlie, by Apolline Patterns.
I went online and found it so cute that I bought it straightaway.
The promises were great: a shirt or a bodysuit. Some options for the collar and sleeves. Nice gathers at the shoulders. Burrito roll technique for the yoke. Seems yummy to me!
I checked the size chart. I was at the end of it: I decided upon a size 44 for the bust and 46 for waist and hips. It was stated that it was designed for an average height of 168 cm. I’m 164 cm so no big deal.
I read the instructions and a nagging feeling of “well, that’s poorly written instructions” came to me. But I carried on…
I happily printed, taped, and blended my pieces. I cut into my lovely fabric…See the mistake coming? I didn’t sew a muslin.
And I started cringing when I noticed that the seams were not trued. Not a good sign, oh no.
And designing errors quickly escalated: from notches not matching to errors on their placement (e.g. placed on the wrong side of the collar stand). I’m no beginner fortunately and managed to find a way to correct most of the errors.
But then came the sleeves. You know if a pattern is well drafted with the way sleeves are designed. I was pretty sure they would be tricky to assemble. And I was RIGHT. Too much ease made them un-sewable. I even had a look at pictures on the designer’s website to see if they were gathered purposefully (side note: they weren’t). I decided to walk the seam lines to check if the notches match (side note: they didn’t). I was mad at that point and decided to ease the whole sleeve into the armscye. I could have shaved the cap sleeve, but I had already spent too many hours on a simple pattern.
The sleeve slit was another ‘duh’ moment. The idea was cute and rather easy to implement: a facing sewn to the slit. OK, but the facing itself was not finished. Who wants raw edges, even on the inside? I ended making a placket with the facing.
Sewing the knit bottom was easy in comparison to all of the above. I had some of this stretchy knit left from my loungewear make. Just perfect for bodysuits.
And last, but not least…I can’t even wear that garment!!!!
I usually need a narrow shoulder adjustment along with a small back. I did none of them and I’m just constricted at the back with shoulder seams hanging on my arms. The armholes are way higher than expected and just cutting into my skin. The sleeves are a bit too short (I usually have to shorten them…).
I can close the shirt part, but don’t ask me to breathe afterwards. And the back of the briefs is way too…I don’t know…but I can’t close the snaps.
So, what did I learn from this sewing fail? Well, trust your guts. I should have listened to my instinct and let this pattern down as soon as I read the instructions. I should have sewn a muslin too, especially with a new-to-me pattern designer. I also think that this pattern has not been tested properly for the end of the size chart.
Now, what I have in mind, is to use a trusted shirt pattern and alter it to add briefs and make my own bodysuit. Or if anyone has a trusted woven bodysuit pattern, please share!
#minervamakers #artgammeryfabrics #navy #floral #charliebodysuit #apollinepatterns
Sewing is not always successful, trust me. So far, I have very little fails, most of them had been of my own making: not following instructions (1/2” seam allowances instead of 3/8” anyone?), underestimating the stretch of knits, etc.
I really pondered if I would show this fail to you. But my mistakes may save one of your makes one day maybe!
Everything started so well. I had this lovely Art Gallery fabric. I thought that I could sew a shirt, but I had already sewn quite a number of shirts. Then, I thought I could sew some pm-patterns, but I had already sewn quite a number of them too.
I was chatting with a sewing friend and I told her that I wished I could sew a bodysuit with a woven top. She told me she had seen one, the Charlie, by Apolline Patterns.
I went online and found it so cute that I bought it straightaway.
The promises were great: a shirt or a bodysuit. Some options for the collar and sleeves. Nice gathers at the shoulders. Burrito roll technique for the yoke. Seems yummy to me!
I checked the size chart. I was at the end of it: I decided upon a size 44 for the bust and 46 for waist and hips. It was stated that it was designed for an average height of 168 cm. I’m 164 cm so no big deal.
I read the instructions and a nagging feeling of “well, that’s poorly written instructions” came to me. But I carried on…
I happily printed, taped, and blended my pieces. I cut into my lovely fabric…See the mistake coming? I didn’t sew a muslin.
And I started cringing when I noticed that the seams were not trued. Not a good sign, oh no.
And designing errors quickly escalated: from notches not matching to errors on their placement (e.g. placed on the wrong side of the collar stand). I’m no beginner fortunately and managed to find a way to correct most of the errors.
But then came the sleeves. You know if a pattern is well drafted with the way sleeves are designed. I was pretty sure they would be tricky to assemble. And I was RIGHT. Too much ease made them un-sewable. I even had a look at pictures on the designer’s website to see if they were gathered purposefully (side note: they weren’t). I decided to walk the seam lines to check if the notches match (side note: they didn’t). I was mad at that point and decided to ease the whole sleeve into the armscye. I could have shaved the cap sleeve, but I had already spent too many hours on a simple pattern.
The sleeve slit was another ‘duh’ moment. The idea was cute and rather easy to implement: a facing sewn to the slit. OK, but the facing itself was not finished. Who wants raw edges, even on the inside? I ended making a placket with the facing.
Sewing the knit bottom was easy in comparison to all of the above. I had some of this stretchy knit left from my loungewear make. Just perfect for bodysuits.
And last, but not least…I can’t even wear that garment!!!!
I usually need a narrow shoulder adjustment along with a small back. I did none of them and I’m just constricted at the back with shoulder seams hanging on my arms. The armholes are way higher than expected and just cutting into my skin. The sleeves are a bit too short (I usually have to shorten them…).
I can close the shirt part, but don’t ask me to breathe afterwards. And the back of the briefs is way too…I don’t know…but I can’t close the snaps.
So, what did I learn from this sewing fail? Well, trust your guts. I should have listened to my instinct and let this pattern down as soon as I read the instructions. I should have sewn a muslin too, especially with a new-to-me pattern designer. I also think that this pattern has not been tested properly for the end of the size chart.
Now, what I have in mind, is to use a trusted shirt pattern and alter it to add briefs and make my own bodysuit. Or if anyone has a trusted woven bodysuit pattern, please share!
#minervamakers #artgammeryfabrics #navy #floral #charliebodysuit #apollinepatterns
Add all tagged items to your basket