


4 years ago
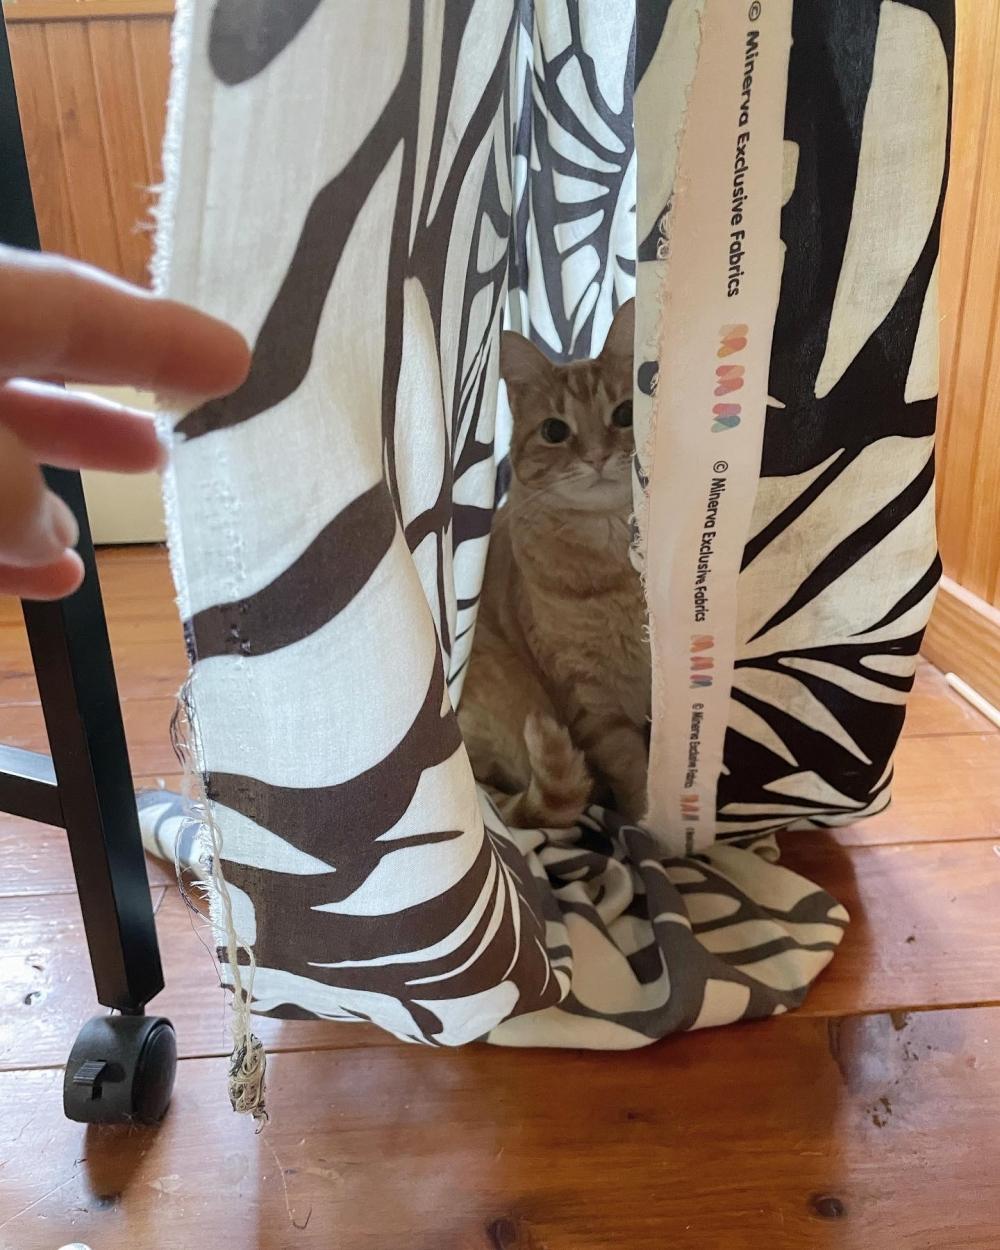
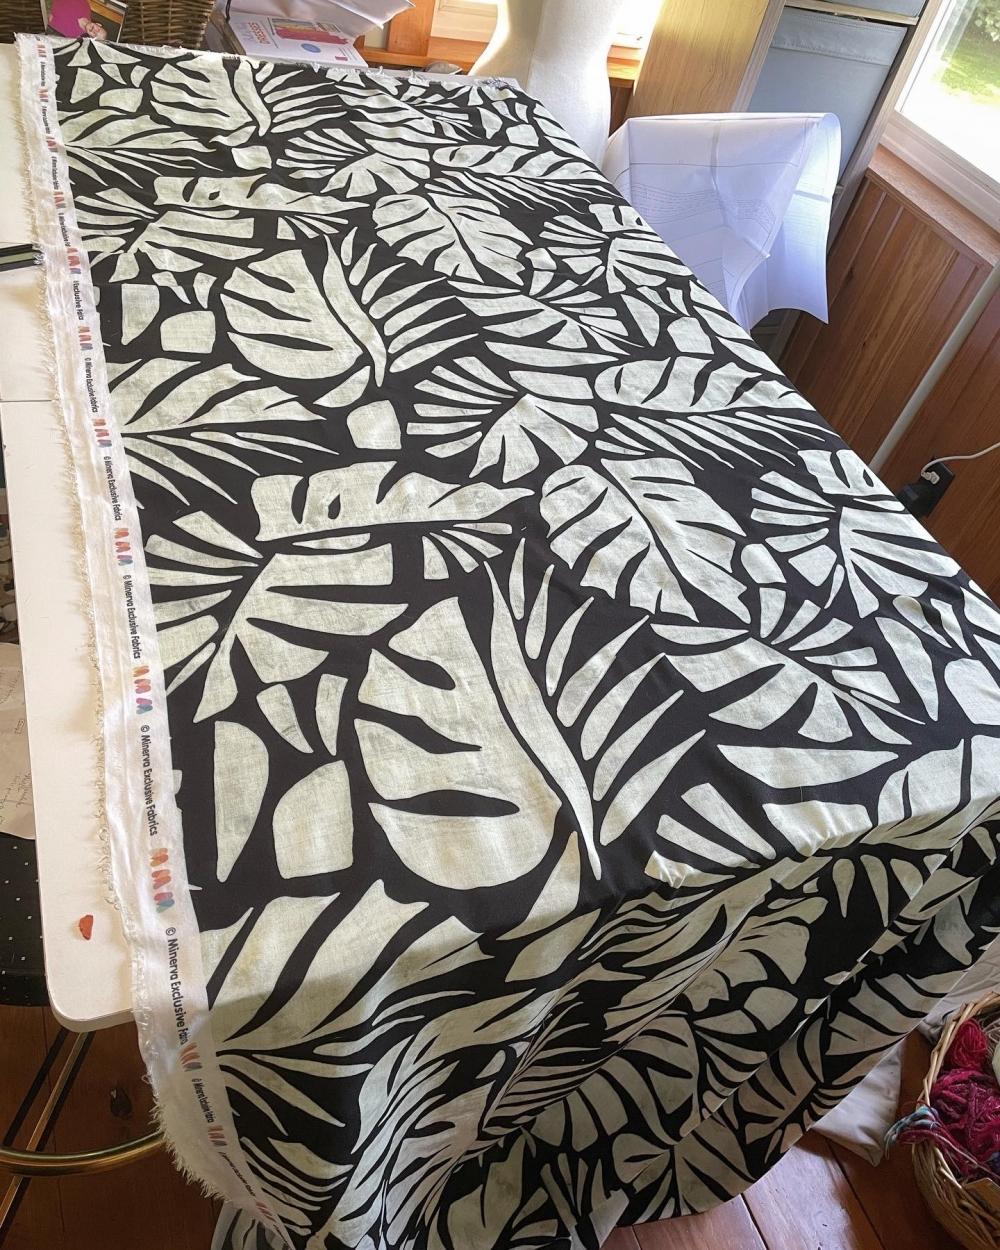
Hello! I’ve enjoyed working with a previous Minerva exclusive prints (in this post) and have another project to share with you. For the fabric with this project I used a fun large scale Monstera leaf print on a Viscose base. I love Monstera plants and was intrigued with the design on a viscose blend like this one. I’ve made a lot of fun dresses this year so I thought I’d change things up and make a pair of pants. I typically prefer to keep printed fabrics on the top half of my body and solid fabrics on the bottom but I thought I’d mix things up with this approach as welll.
If you’re curious about the top that I’m wearing, this is the Agnes Tee by Tilly and the Buttons. This is a tried and true pattern for me as I’ve made it multiple times. I love the fit and ruched detail included in the pattern at the bust. Funny enough, I wore the same top in my first version of the rose pants (a past project with Minerva).
https://www.minerva.com/posts/1021680
If you’re not familiar with the Rose pants, they are by the designer Made By Rae. They are a high waisted, flat front pant for woven fabrics with elastic gathering in the back. For my previous version of the Rose pants I went with the full length in a black linen. For this version I thought I would go with the cropped length to break up the print a little bit. I will say the pattern also include shorts so I may try the shorts in leftover scraps from this project in the future.
This is one of those patterns that you can easily enjoy as a tried and true pattern, Not only are there three different length options included but there are multiple options for the front detail as well. I tried the gathered option for these pants. The pattern includes the following variations: Inward facing pleats, combined pleats, inverted pleats, gathers instead of pleats, outward facing pleats. Here is a link including photos from the designer showing the pleats vs gathered front option:
https://www.made-by-rae.com/blog/2019/05/rose-pattern-preview-gathers-vs-pleats
The pants include pockets, which are a must for me. The pattern has you stitch in the ditch to finish the waistband. Recently I have been stitching finishing details by hand (rather then on the machine). I decided for these pants to stitch the finishing details on the machine.
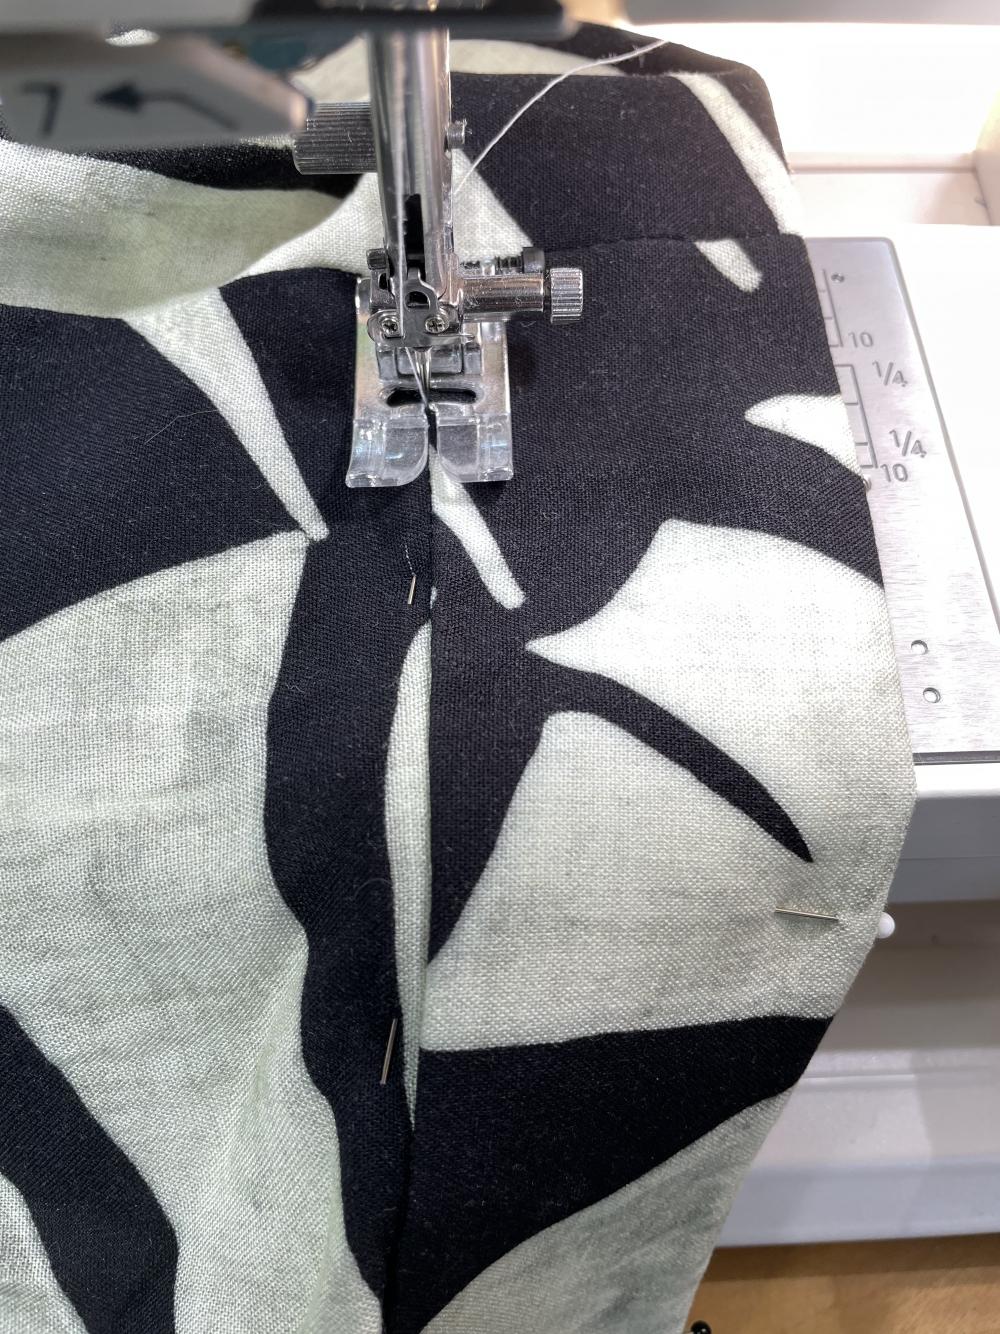
Here is an easy way I’ve found to quickly make sure you catch the inside of the waistband while stitching from the front:
I pin the waistband in place on the inside of the pants. I watch as I pin to make sure the folded edge of the inside waistband is below the front seam. Then as you “stitch in the ditch“ on the front side, you are making sure that you’re catching the fold of the inside of the waistband as you sew. Really this step is included in the pattern, I’m just sharing the extra step I do to watch the pins as I set them in the fabric.
At times I have added an extra step to baste the seam in place first and then sew the seam second. In this case, I liked skipping the baste step and just watch for the pin locations on the front side
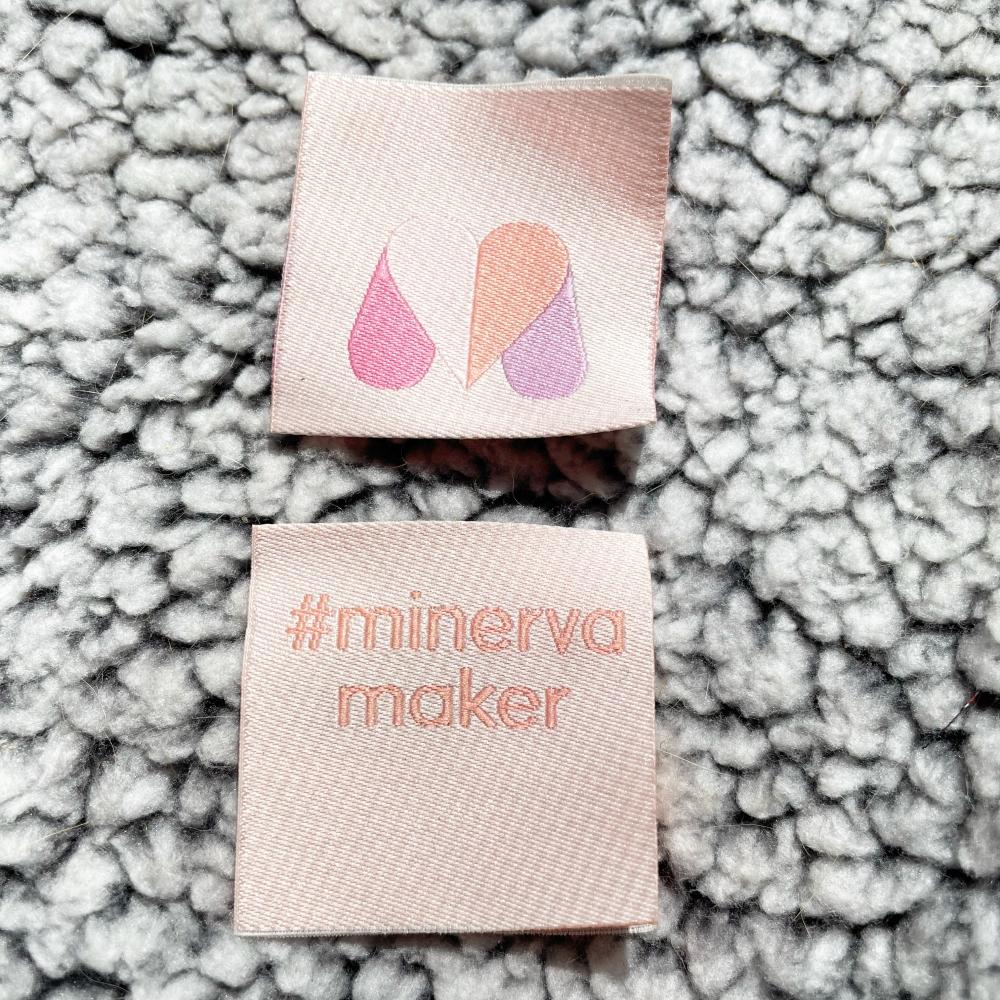
With the fabric I also received a new label that Minerva is offering. If you’ve not worked with woven labels yet for fabrics, they are such a treat. I think of them like a sticker for paper only they’re permanent and a fun way to add personality to your clothing. You can add the label in the center back (so you know the back of the garment). Another way I’ve enjoyed applying a woven tag is with knitting. You can add the label to the bottom outer hem of a garment. You wrap the label around the outside of the hem and then it becomes like a brand logo (like what you see often on commercial clothing, hats, or other items). This label has the Minerva brand logo M on one side and #MinervaMaker is printed on the other side. That hashtag is a fun one to search as well if you’re looking for lots of sewing inspiration.
I wanted to mention the color tones in this print. I had been curious about them before I received the fabric so I thought I’d write a little about it to share. The majority of the background is solid black. The leaves have some variations in the color which brings a complex depth to the color. For the leaves (depending on the lighting) the colors are cream, tan, and sometimes a light green. It’s not one tone but I think that makes the print fun. I would still call this a neutral and it can go with a lot of different fabrics.
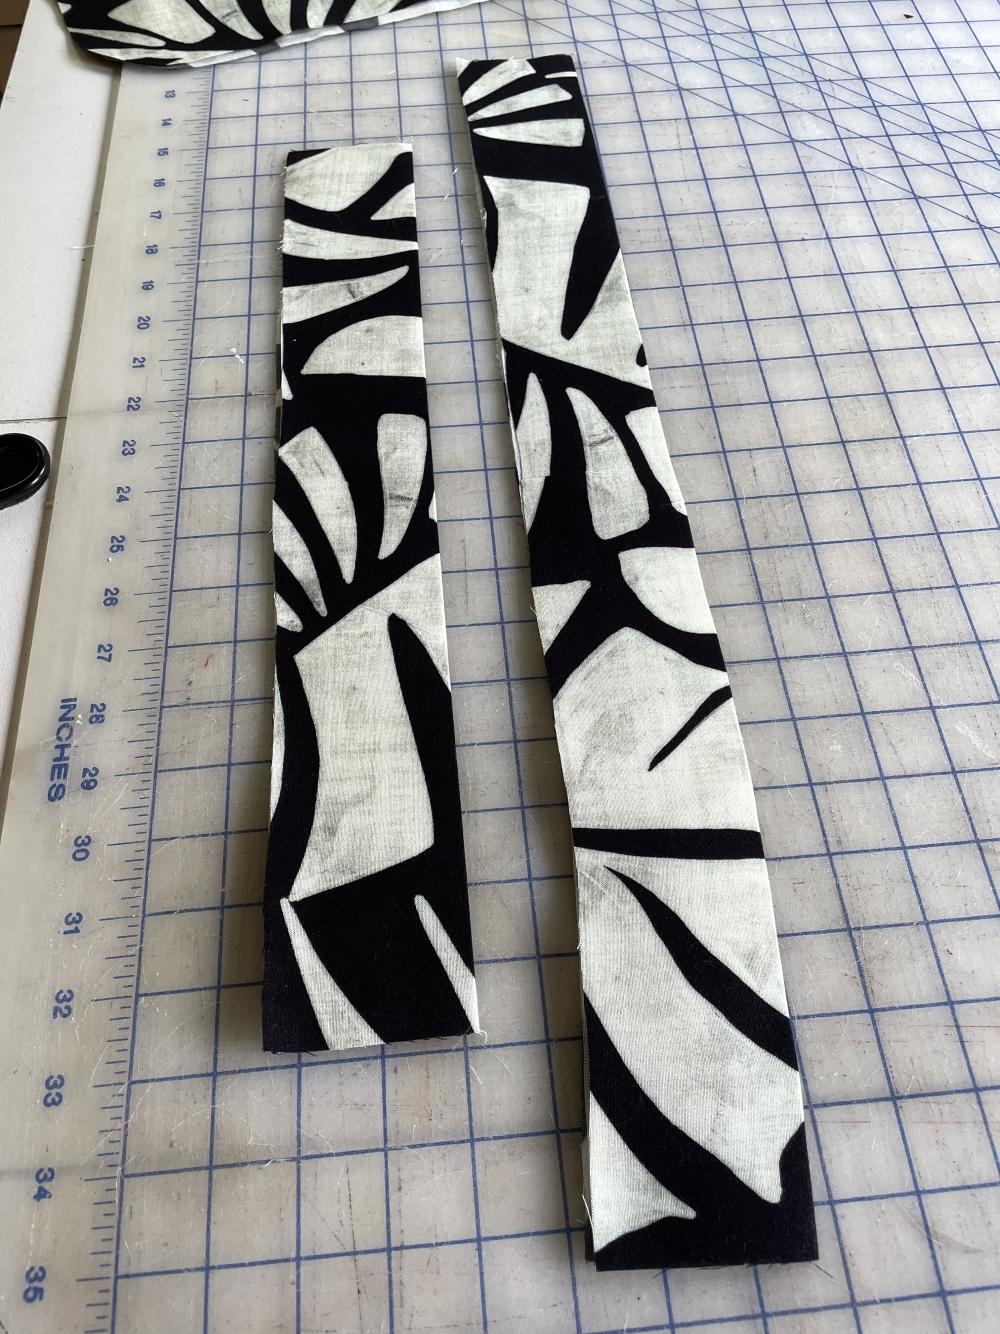
I liked, with this print, that you have options for what “look” you want to go for with the print scale. I included a picture of the front and back waistbands (prior to sewing them together). I decided to select the side facing out that included more of the background (black tones). I did not worry about matching the print at the seams. The print is a large scale so I felt you can get away with not matching the print at the seams.
If you’re curious about the top that I’m wearing, this is the Agnes Tee by Tilly and the Buttons. This is a tried and true pattern for me as I’ve made it multiple times. I love the fit and ruched detail included in the pattern at the bust. Funny enough, I wore the same top in my first version of the rose pants (a past project with Minerva).
https://www.minerva.com/posts/1021680
If you’re not familiar with the Rose pants, they are by the designer Made By Rae. They are a high waisted, flat front pant for woven fabrics with elastic gathering in the back. For my previous version of the Rose pants I went with the full length in a black linen. For this version I thought I would go with the cropped length to break up the print a little bit. I will say the pattern also include shorts so I may try the shorts in leftover scraps from this project in the future.
This is one of those patterns that you can easily enjoy as a tried and true pattern, Not only are there three different length options included but there are multiple options for the front detail as well. I tried the gathered option for these pants. The pattern includes the following variations: Inward facing pleats, combined pleats, inverted pleats, gathers instead of pleats, outward facing pleats. Here is a link including photos from the designer showing the pleats vs gathered front option:
https://www.made-by-rae.com/blog/2019/05/rose-pattern-preview-gathers-vs-pleats
The pants include pockets, which are a must for me. The pattern has you stitch in the ditch to finish the waistband. Recently I have been stitching finishing details by hand (rather then on the machine). I decided for these pants to stitch the finishing details on the machine.
Here is an easy way I’ve found to quickly make sure you catch the inside of the waistband while stitching from the front:
I pin the waistband in place on the inside of the pants. I watch as I pin to make sure the folded edge of the inside waistband is below the front seam. Then as you “stitch in the ditch“ on the front side, you are making sure that you’re catching the fold of the inside of the waistband as you sew. Really this step is included in the pattern, I’m just sharing the extra step I do to watch the pins as I set them in the fabric.
At times I have added an extra step to baste the seam in place first and then sew the seam second. In this case, I liked skipping the baste step and just watch for the pin locations on the front side
With the fabric I also received a new label that Minerva is offering. If you’ve not worked with woven labels yet for fabrics, they are such a treat. I think of them like a sticker for paper only they’re permanent and a fun way to add personality to your clothing. You can add the label in the center back (so you know the back of the garment). Another way I’ve enjoyed applying a woven tag is with knitting. You can add the label to the bottom outer hem of a garment. You wrap the label around the outside of the hem and then it becomes like a brand logo (like what you see often on commercial clothing, hats, or other items). This label has the Minerva brand logo M on one side and #MinervaMaker is printed on the other side. That hashtag is a fun one to search as well if you’re looking for lots of sewing inspiration.
I wanted to mention the color tones in this print. I had been curious about them before I received the fabric so I thought I’d write a little about it to share. The majority of the background is solid black. The leaves have some variations in the color which brings a complex depth to the color. For the leaves (depending on the lighting) the colors are cream, tan, and sometimes a light green. It’s not one tone but I think that makes the print fun. I would still call this a neutral and it can go with a lot of different fabrics.
I liked, with this print, that you have options for what “look” you want to go for with the print scale. I included a picture of the front and back waistbands (prior to sewing them together). I decided to select the side facing out that included more of the background (black tones). I did not worry about matching the print at the seams. The print is a large scale so I felt you can get away with not matching the print at the seams.
Add all tagged items to your basket