



5 years ago
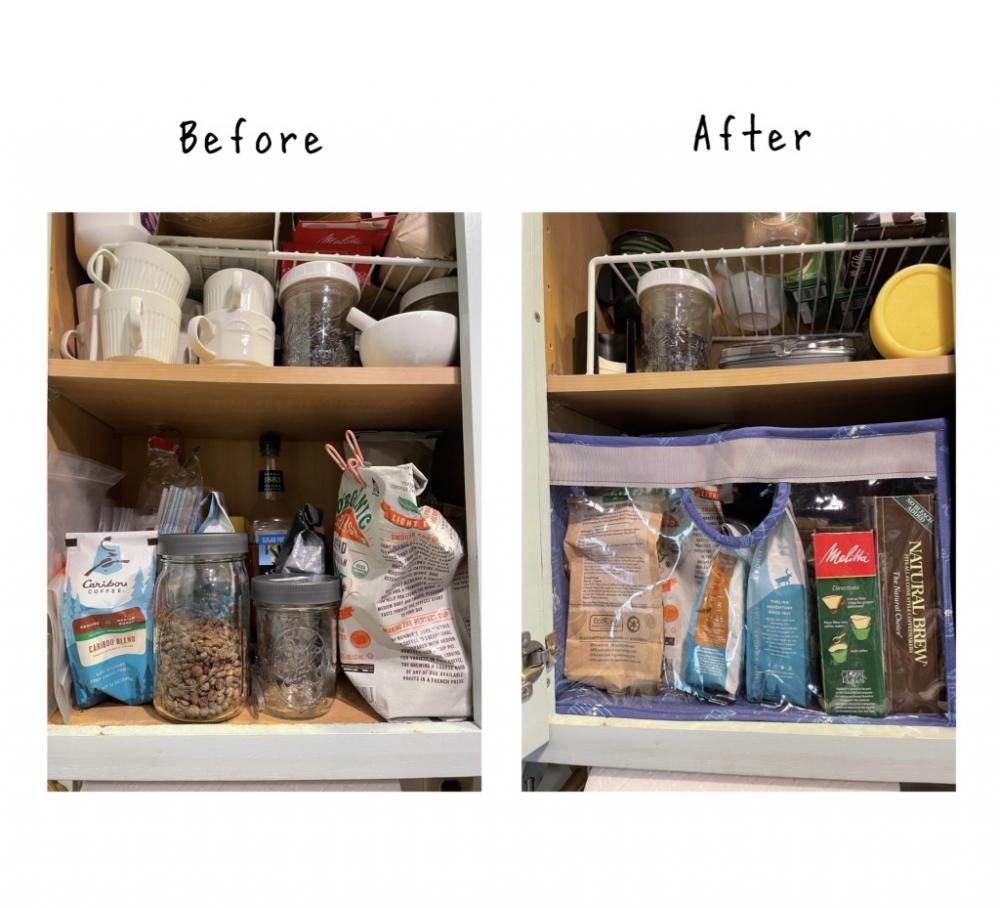
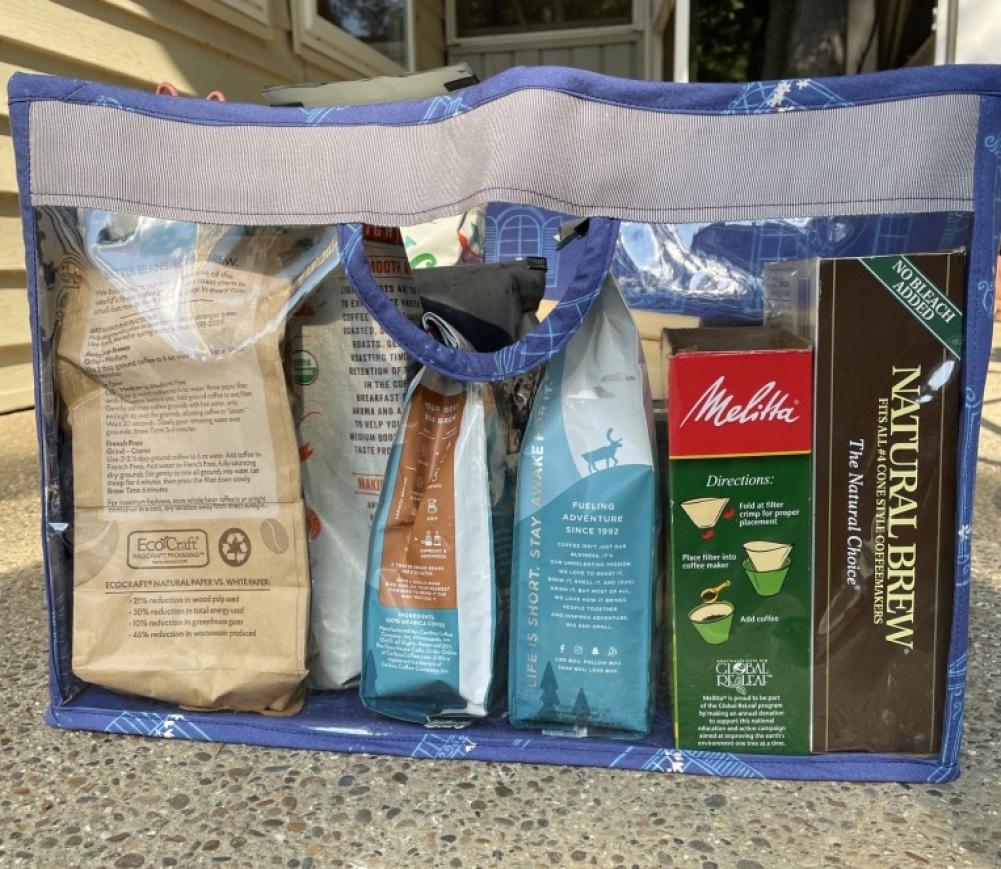
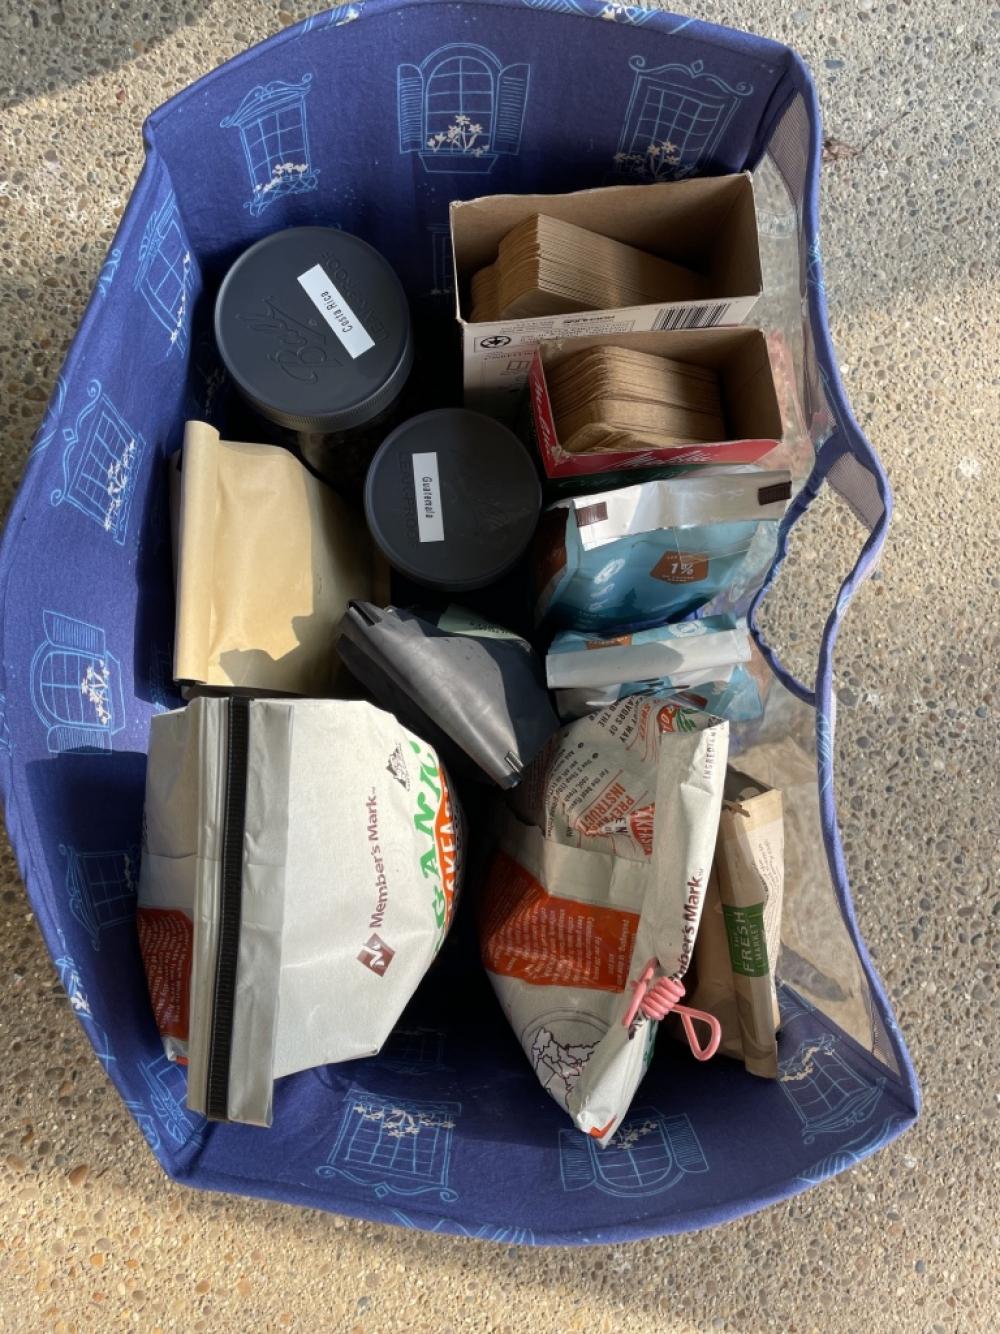
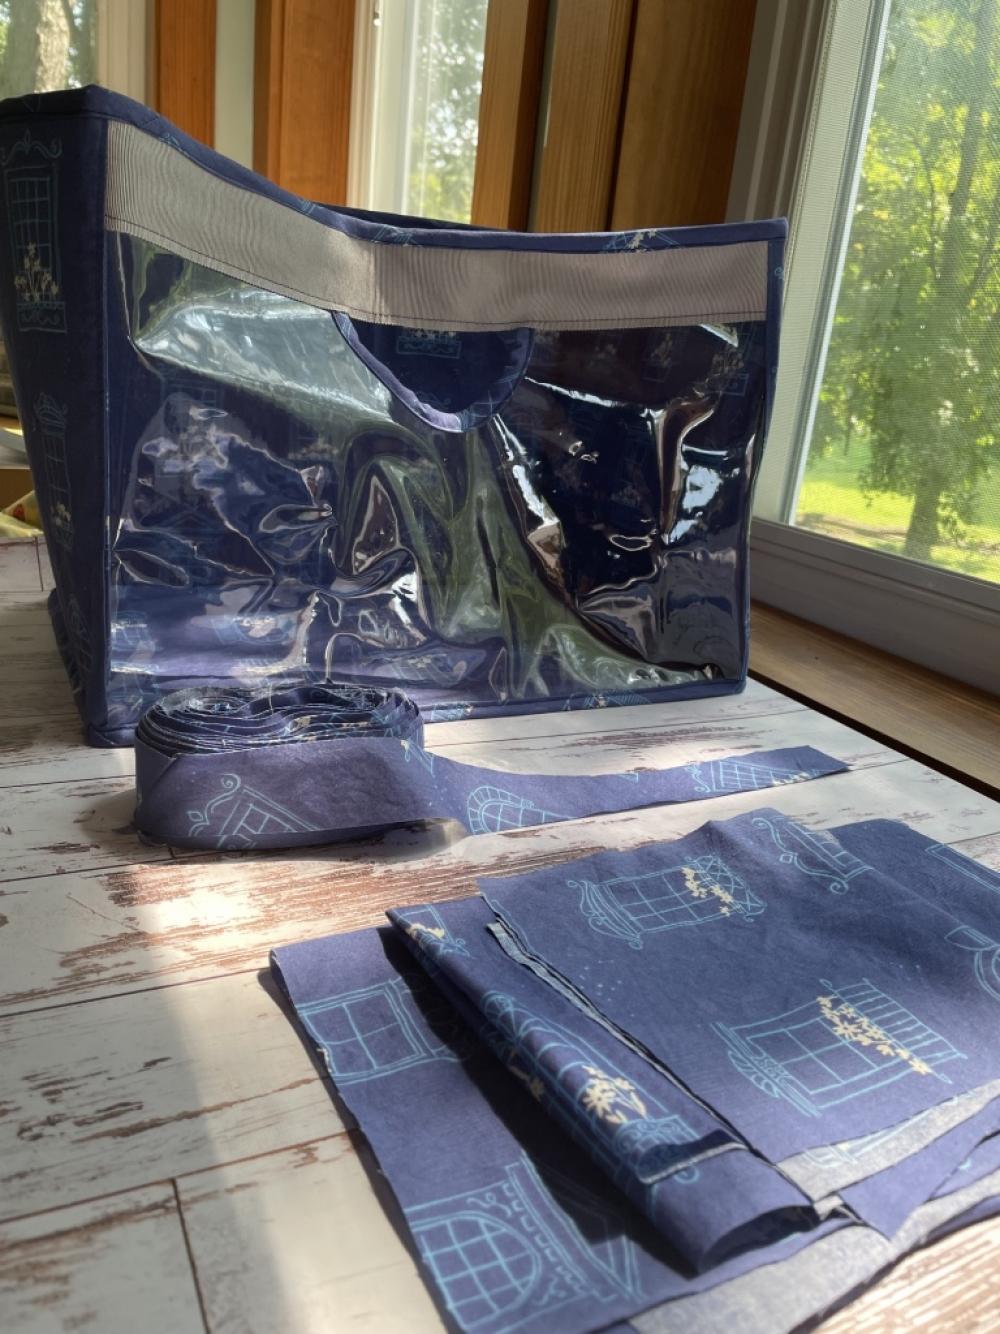
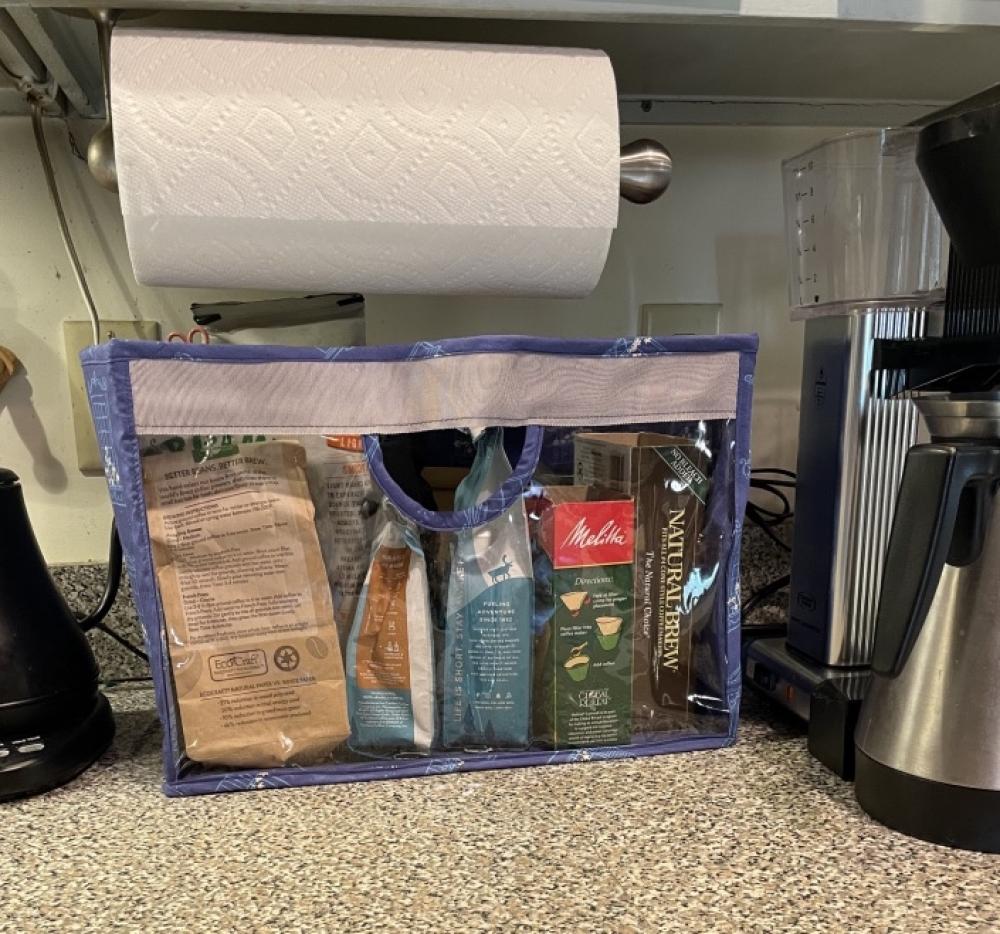
I love my finished coffee bin! I’ve been enjoying going through areas of our home that are cluttered and finding better ways to organize said area. We make coffee each morning so I thought organizing this area would help streamline our morning routines a bit.
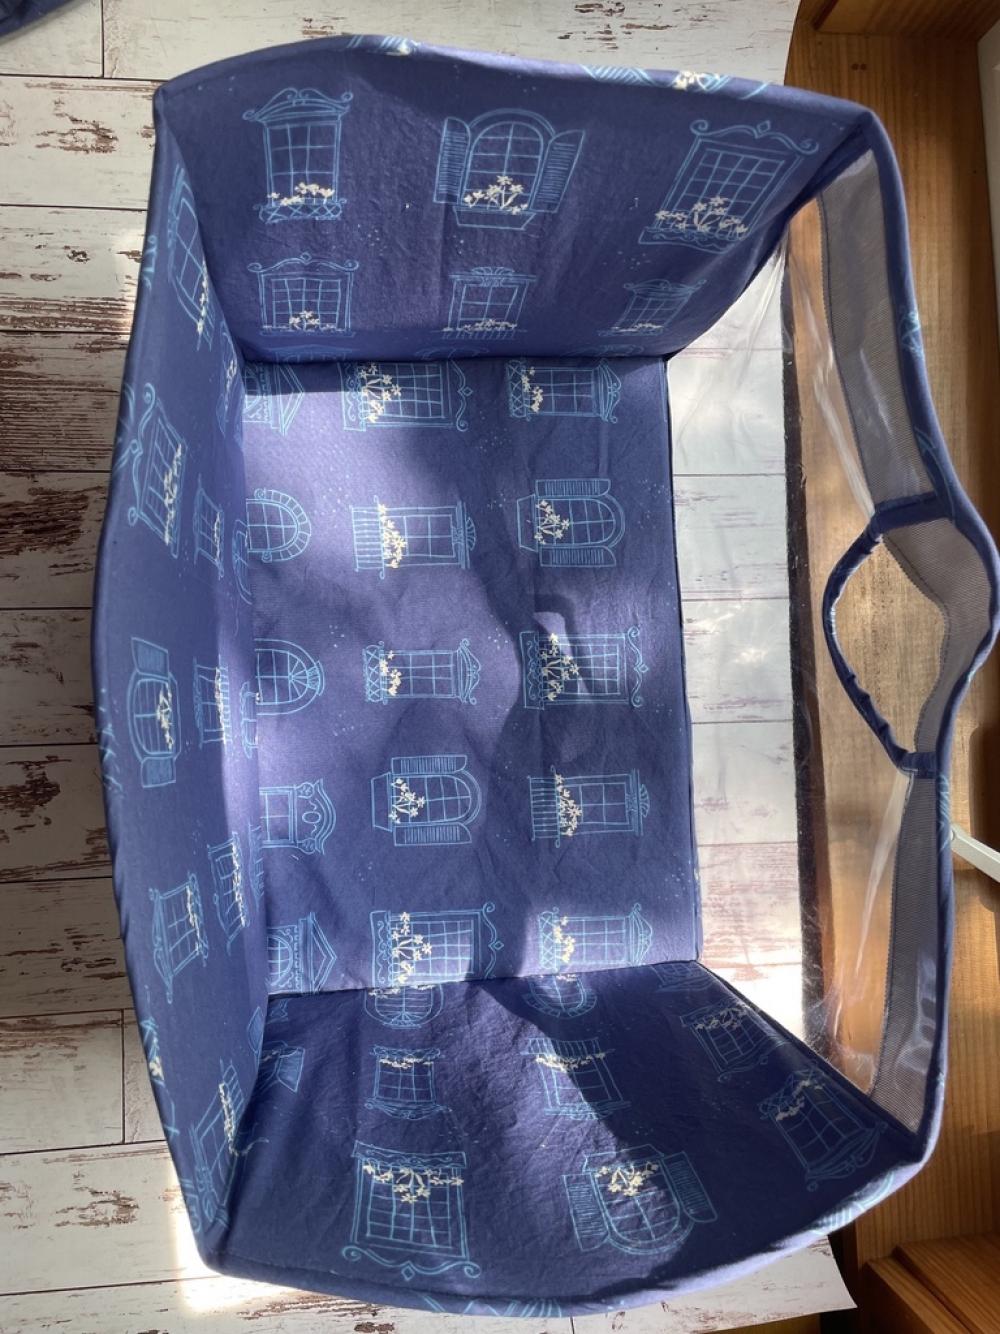
I used one fabric for this project (used for both the outer and lining elements). I found this choice made it easy to not accidentally put the lining fabric as the outer for the back, sides, or bottom elements in the bin. You could use commercial bias tape for this project (but I LOVE the fun look and flexible feature of handmade bias tape).
As I finished the bin, it fit well in our cabinet (yay!). That said, my husband enjoyed how this came together so much that he requested we leave the bin out on the counter. This was a surprise (as I wasn’t intending to place this bin out on the counter). We moved items that were on the counter to inside the cabinet, moved around our coffee grinder and coffee maker to have all these elements together on the counter.
I wanted to note that the amount I cut out for my handle may be larger than necessary. Removing more material from the front (as I did) does make the front slightly more floppy. I’m considering tacking the front two corners together with a needle and thread to help stabilize the bin front a tiny bit. This is just a small detail but I thought I’d mention this as the handle dimensions was an experiment that I tried (just as an FYI).
I purchased this pattern when it came out in 2020. My biggest regret with this project was that I wish I had made it sooner. I’d love to make lots more customized bins for our home. Some shallower, lidded bins would be really nice to stack and hold sewing WIPs in my sewing area (with label pockets added to the front of the bins so I know what’s inside of them). I think this is a super fun and useful project to make for your home or for a gift.
I used one fabric for this project (used for both the outer and lining elements). I found this choice made it easy to not accidentally put the lining fabric as the outer for the back, sides, or bottom elements in the bin. You could use commercial bias tape for this project (but I LOVE the fun look and flexible feature of handmade bias tape).
As I finished the bin, it fit well in our cabinet (yay!). That said, my husband enjoyed how this came together so much that he requested we leave the bin out on the counter. This was a surprise (as I wasn’t intending to place this bin out on the counter). We moved items that were on the counter to inside the cabinet, moved around our coffee grinder and coffee maker to have all these elements together on the counter.
I wanted to note that the amount I cut out for my handle may be larger than necessary. Removing more material from the front (as I did) does make the front slightly more floppy. I’m considering tacking the front two corners together with a needle and thread to help stabilize the bin front a tiny bit. This is just a small detail but I thought I’d mention this as the handle dimensions was an experiment that I tried (just as an FYI).
I purchased this pattern when it came out in 2020. My biggest regret with this project was that I wish I had made it sooner. I’d love to make lots more customized bins for our home. Some shallower, lidded bins would be really nice to stack and hold sewing WIPs in my sewing area (with label pockets added to the front of the bins so I know what’s inside of them). I think this is a super fun and useful project to make for your home or for a gift.