



5 years ago
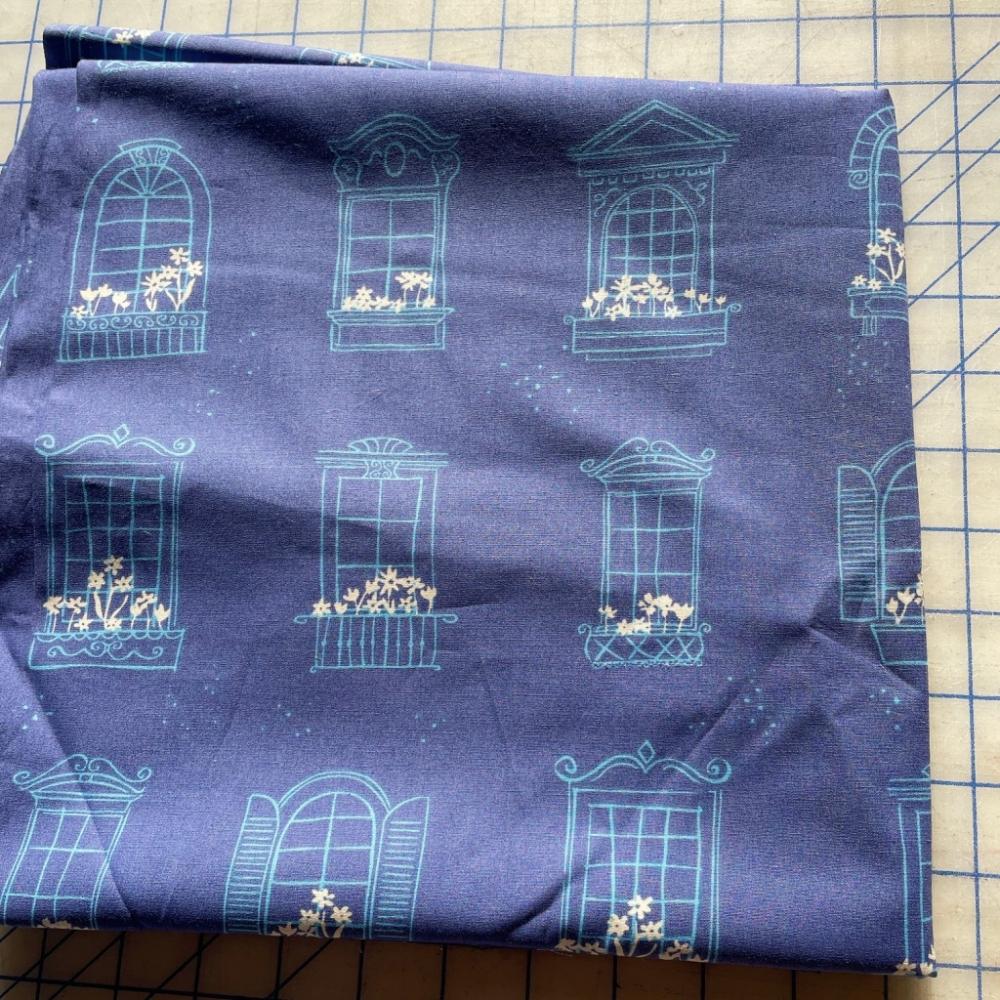
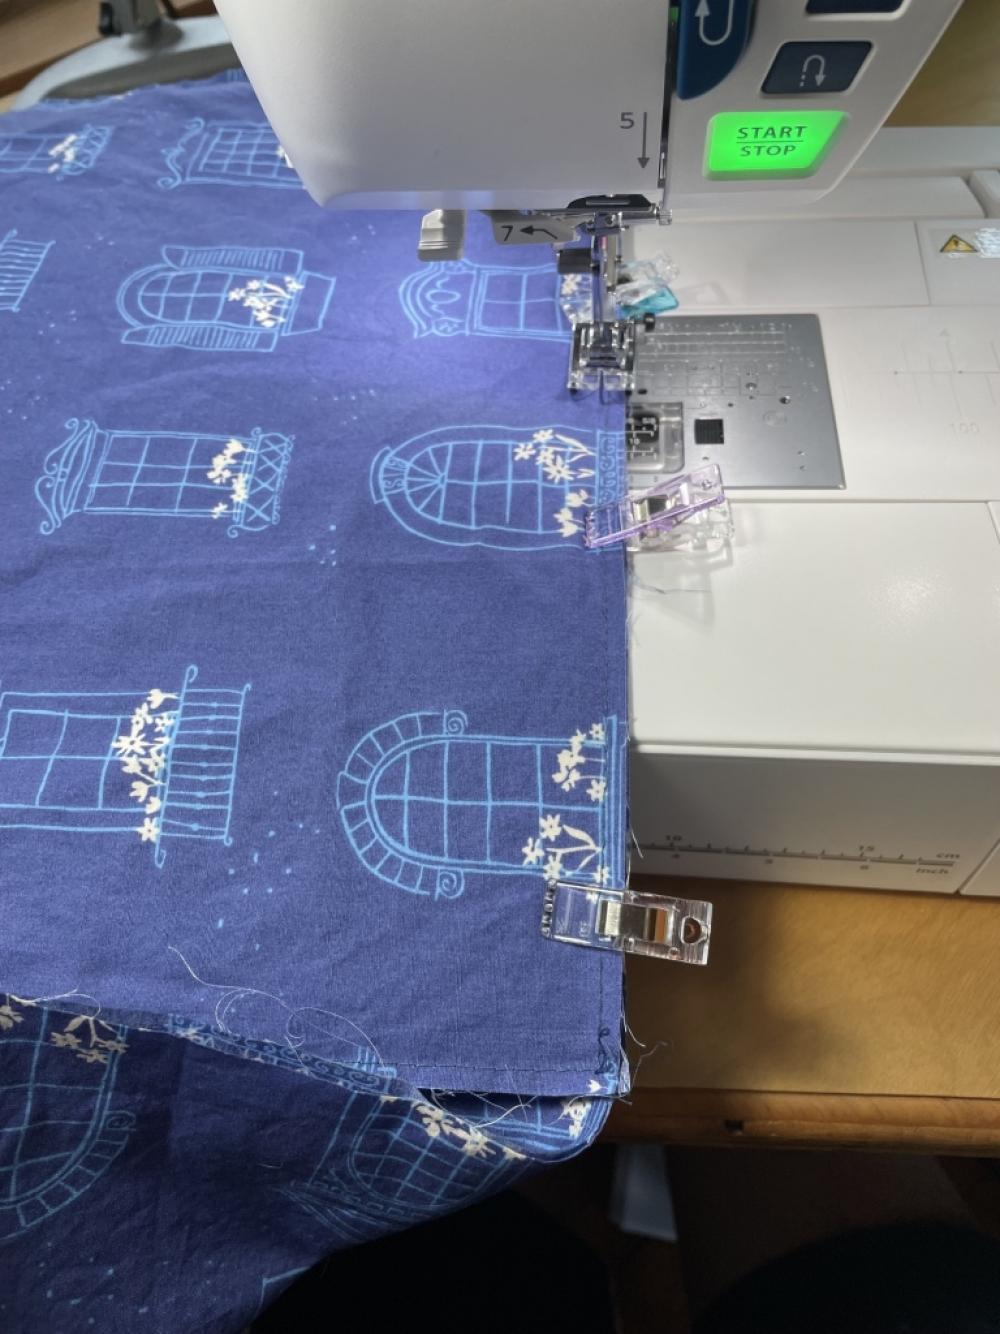
Hello! I’m excited to share about making a coffee bin to organize our coffee bean/accessory stash. For this project I’m using the Bin Bin pattern by Sew Sew Live Patterns. I used the Art Gallery Fabrics, Sonata Cotton Poplin (in the Moonlight color) for this project, from Minerva. I love this window print fabric that I got from Minerva in exchange for this post. I love fabric that has drawing/sketch elements included.
I have been wanting to re-organize our coffee cabinet. My husband and I love coffee. We have different tastes in coffee and he also enjoys roasting different beans at home in our oven. When you put all of that together, we have a lot of coffee bags, containers, jars of beans in our coffee cabinet. I have been wanting to re-organize this area so I very excitedly took this opportunity to make a customized bin.
There are so many options with this pattern! The premise is that you can make a “bin” of any size that you’d like. The pattern offers a PDF, videos (that walk you through sewing the bins with the designer), and Bonus details. Some of the extra features available with the pattern are a Lid (to fit on top of your bin), a handle, alternate front, and a label pocket. The four main construction options are:
Collapsible bin
Non-collapsible bin
Clear/Vinyl front
Fabric front
What was really helpful to me in making this pattern for the first time was to first pick a specific area in our home that I wanted to use a bin. I picked our coffee cabinet and then measured inside said cabinet. In the pattern there is an easy to use math worksheet to write down the width, length and height dimensions for your customized bin. For reference the dimensions of my coffee bin are: 15” wide x 10.5” long x 10.5” tall
The math worksheet included in the pattern helps you figure out the yardage of fabric you need for the outer and lining, the length of stiffener needed, and the length of bias tape that you’ll need as well. If you incorporate a handle (as I did for this project) you’ll need a little more bias tape (then is listed in the pattern worksheet) to finish the curve of the handle in the bin Front.
Supplies:
2m Art Gallery Fabrics Sonata Cotton Poplin Fabric
40cm x 27.5cm PVC Vinyl Fabric Clear
43 cm Berisfords Grace Ribbon, Silver
1m Vilene Vlieseline Decovil I Fabric
Sew Easy Quilting Ruler
Fabric clips
Initially, I thought I wanted to also make a Lid with this project. After more thought, I changed my mind on that feature. I love lids but this bin will get used on a daily basis. I decided to make a lid on a future, customized bin that won’t be used on a daily basis.
A clear front was an important feature to me for this project. As my husband and I will be using this bin, I wanted the contents to be visible to easily see inside the bin (from the front of the cabinet). I also knew that I wanted to include a handle. Because this bin will be stored inside a cabinet I decided to go with a D shaped cut out handle that will be flat/flush with the front of the bin.
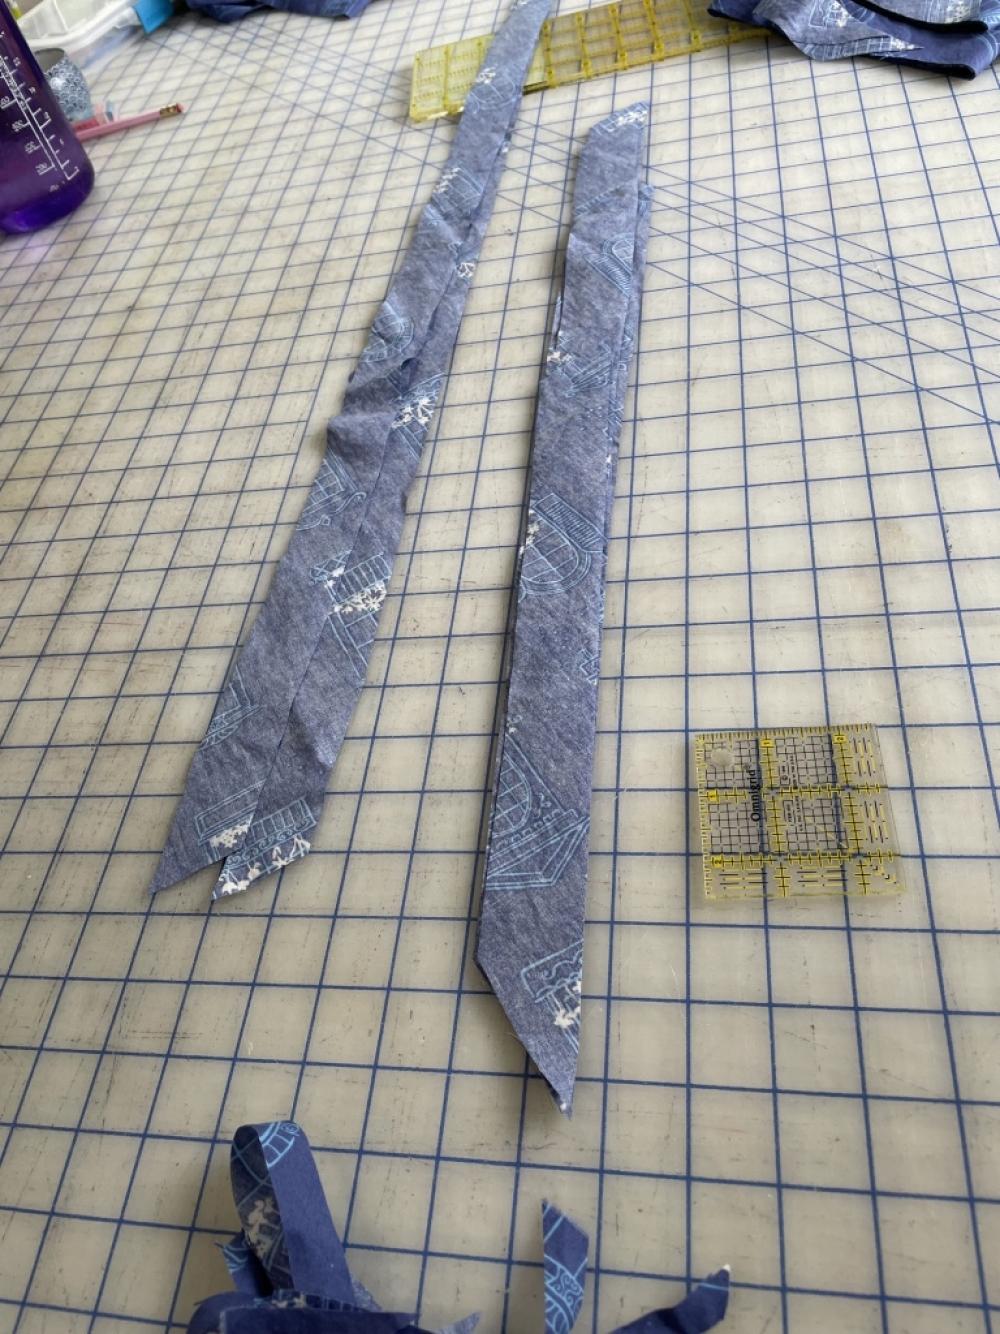
I had 2 meters of fabric for this project. Once I cut out fabric for the bin, I had 30.5” left of the fabric. I decided to cut all of this remaining fabric into bias tape. If you have not made your own bias tape, I highly recommend it! I followed Saremy‘s technique for a very quick and easy way to cut out bias tape from a large piece of fabric. I’ve made bias tape many times in the past but I had never used a technique that was as quick as her approach.
https://youtu.be/Zbet4u8Ov-g
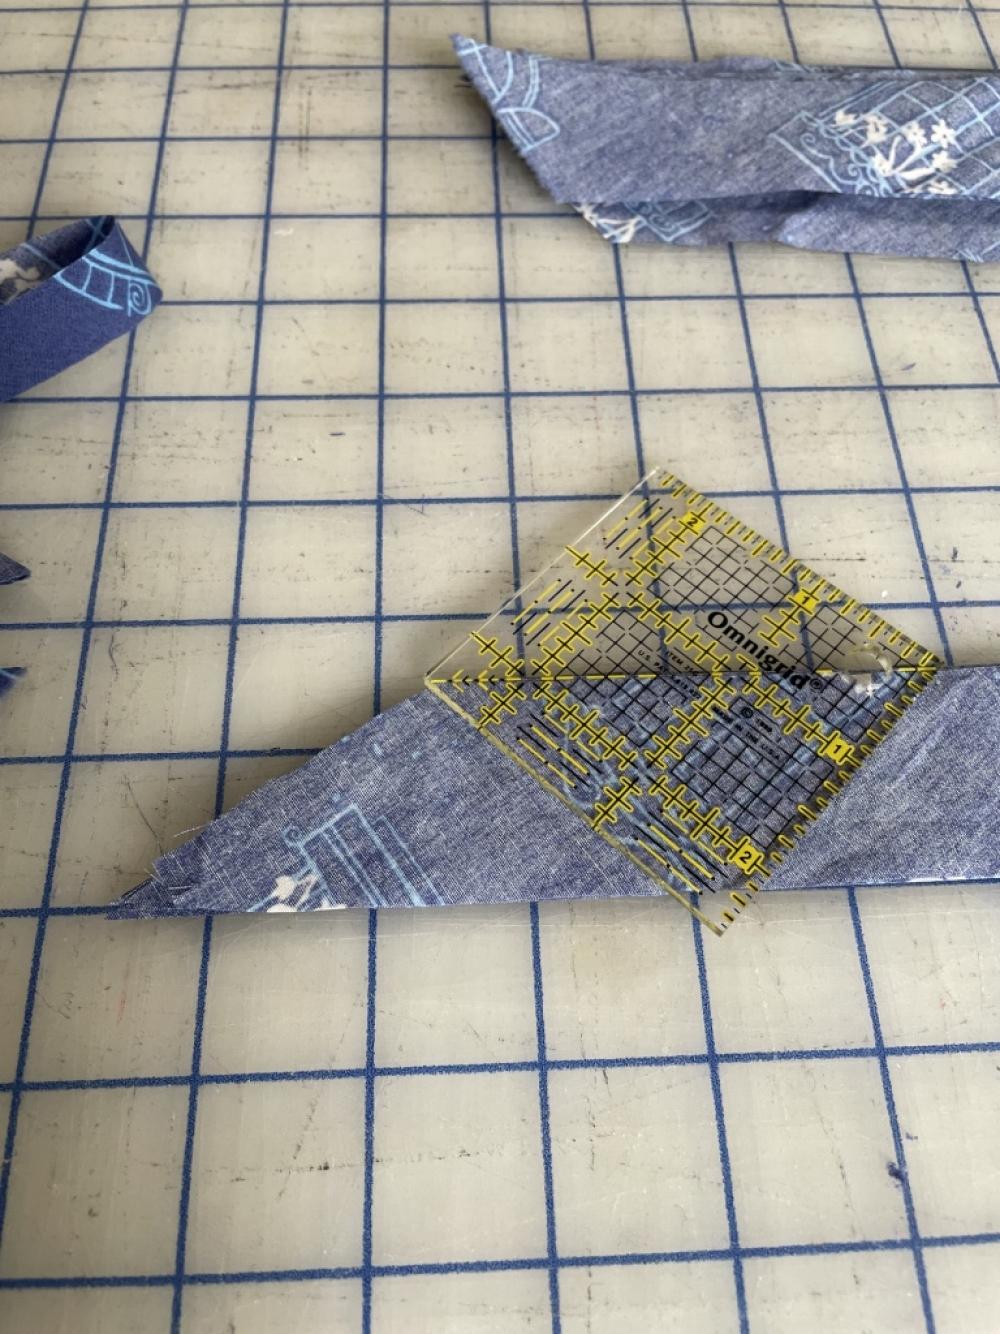
After I cut out the strips of bias tape, I lay each strip out on my cutting table into two piles. The bias tape strips should look like a parallelogram. Some of my cut pieces look like perfect parallelograms and are ready to use. I lay these pieces in a pile with one of the ends lined up. Other pieces look like a trapezoid (and will need a quick trim). I lay the trapezoid pieces in a pile as well with one of the ends lined up. I then used a small square ruler to cut a triangle off one end. With the ends lining up together, I can cut a pile of bias strips at one time and quickly correct lots of pieces at one time. The bias strips can then be quickly stitched together and ready to use. There is a second video from Sew Sew Live with help on how to sew the bias tape strips together as well.
https://youtu.be/ofGoNtABdj8
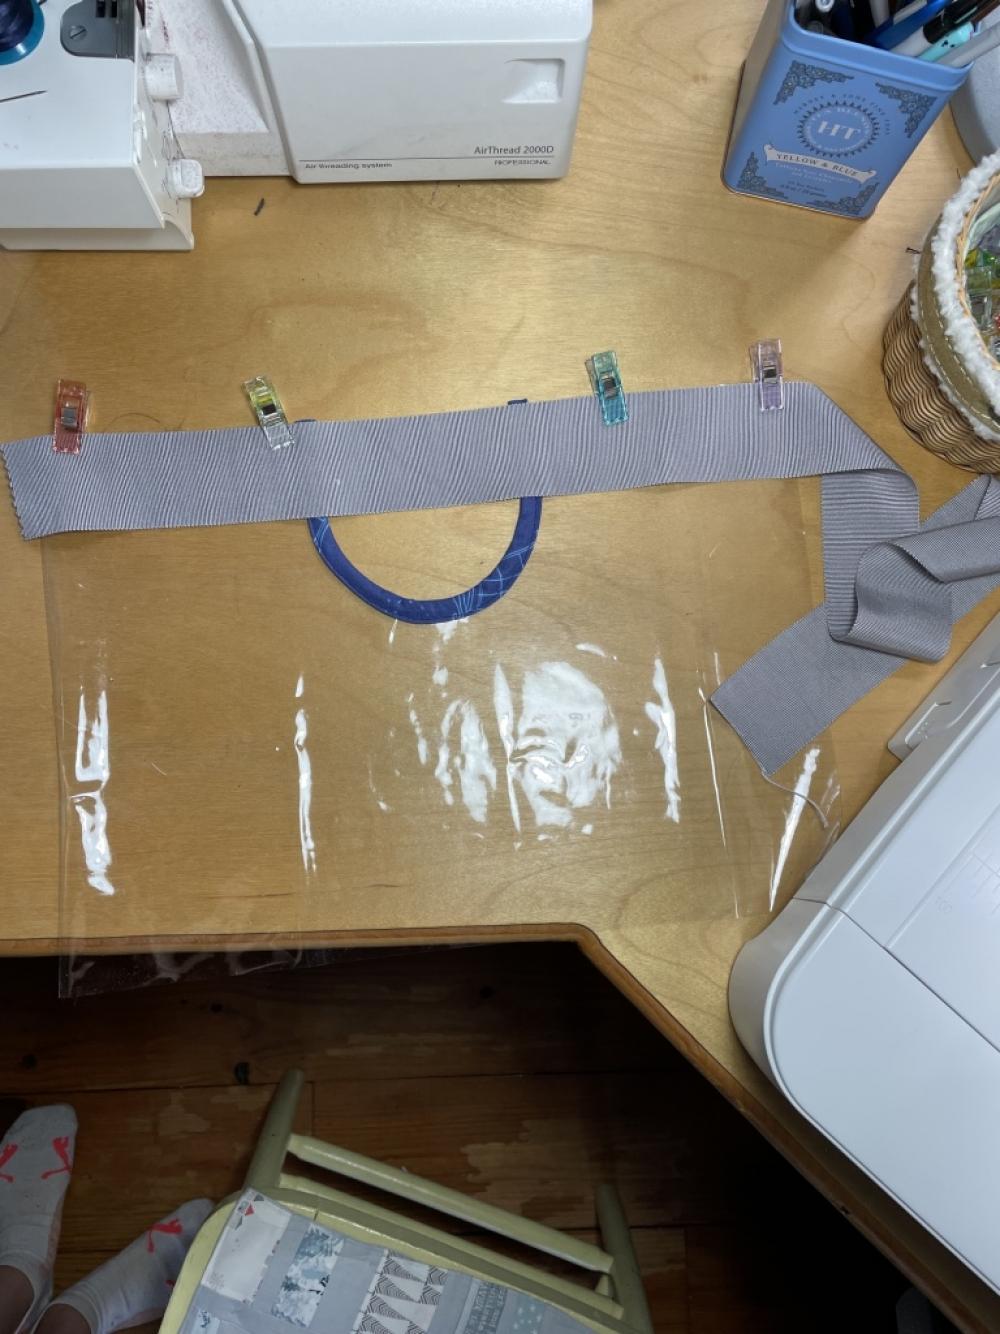
For the handle feature, I measured the width of four of my fingers and cut out a piece from the front that was approximately 4” wide and 4” tall. I drew a curve by connecting the bottom and side edges of this feature. To stabilize across the top of the cut out I sewed a 17” long and 2” wide of Petersham ribbon that I had in my stash. This was a recommendation from the designer to use a ribbon to stabilize across the top of this cut out, handle feature. I loved this option because the Petersham ribbon that I’ve had in my stash has been too small for me to use otherwise. I sewed bias binding around the cut out handle curve first. Then I added the Petersham ribbon across the top of the bin (you could use any ribbon that is wide enough to stabilize). Then the front piece is ready to assemble to the bin.
When attaching the bottom to the sides, I basted this assembly first prior to applying bias tape. It is quicker to sew this step with the bias tape at one time but I didn’t mind adding the basting step to make sure I included all of the fabric edges in the seams.
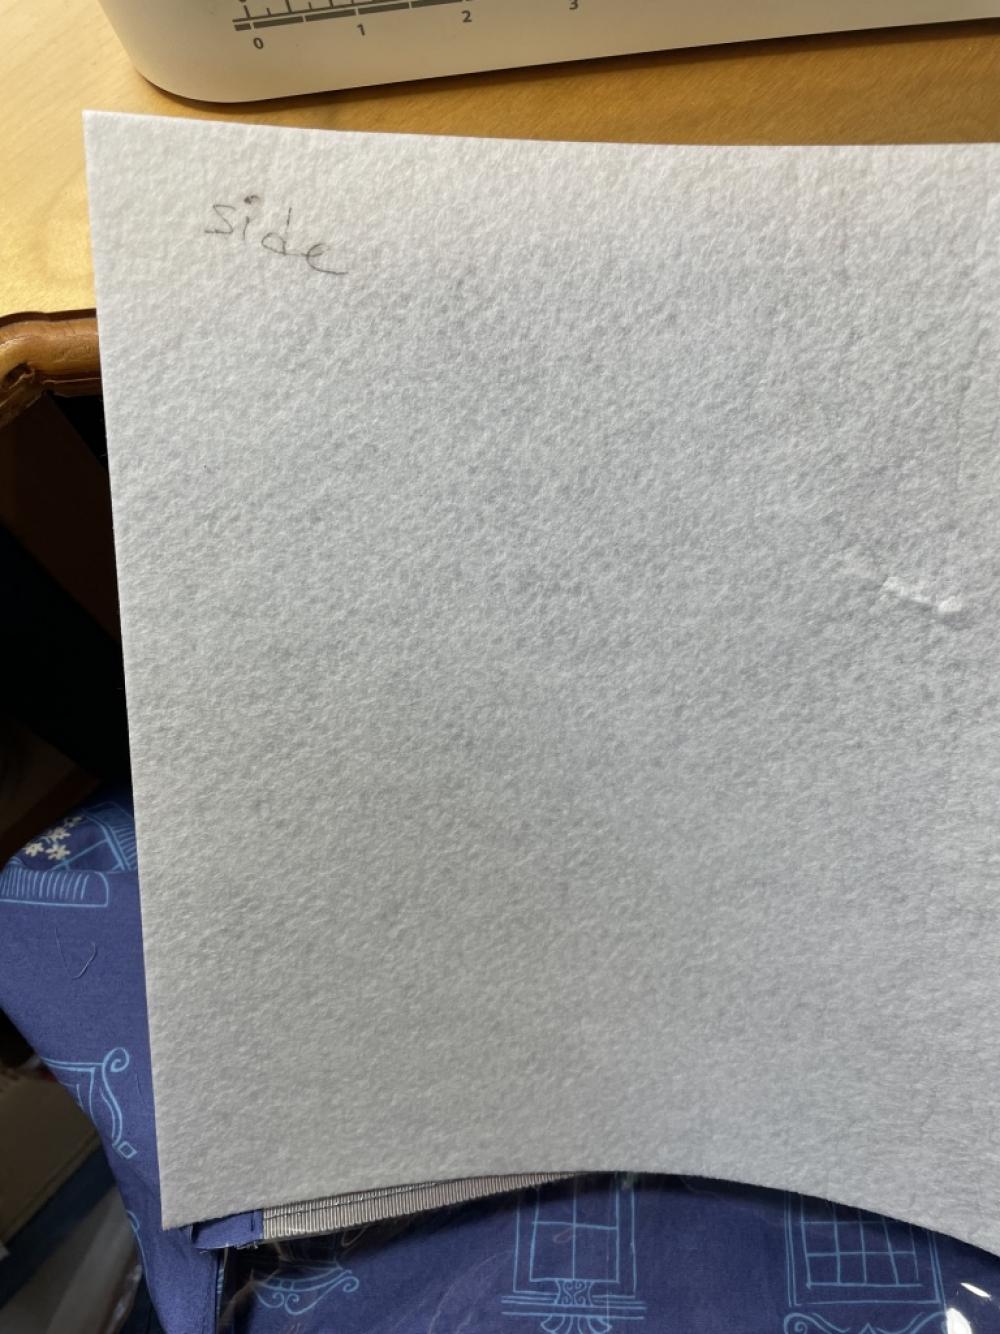
After I cut the interfacing pieces, I labeled them with “side”, “back”, and “bottom”. This helped me to quickly identify the pieces. I didn’t make this project in one go (but instead broke up each step across a few weeks as I had time).
I have been wanting to re-organize our coffee cabinet. My husband and I love coffee. We have different tastes in coffee and he also enjoys roasting different beans at home in our oven. When you put all of that together, we have a lot of coffee bags, containers, jars of beans in our coffee cabinet. I have been wanting to re-organize this area so I very excitedly took this opportunity to make a customized bin.
There are so many options with this pattern! The premise is that you can make a “bin” of any size that you’d like. The pattern offers a PDF, videos (that walk you through sewing the bins with the designer), and Bonus details. Some of the extra features available with the pattern are a Lid (to fit on top of your bin), a handle, alternate front, and a label pocket. The four main construction options are:
Collapsible bin
Non-collapsible bin
Clear/Vinyl front
Fabric front
What was really helpful to me in making this pattern for the first time was to first pick a specific area in our home that I wanted to use a bin. I picked our coffee cabinet and then measured inside said cabinet. In the pattern there is an easy to use math worksheet to write down the width, length and height dimensions for your customized bin. For reference the dimensions of my coffee bin are: 15” wide x 10.5” long x 10.5” tall
The math worksheet included in the pattern helps you figure out the yardage of fabric you need for the outer and lining, the length of stiffener needed, and the length of bias tape that you’ll need as well. If you incorporate a handle (as I did for this project) you’ll need a little more bias tape (then is listed in the pattern worksheet) to finish the curve of the handle in the bin Front.
Supplies:
2m Art Gallery Fabrics Sonata Cotton Poplin Fabric
40cm x 27.5cm PVC Vinyl Fabric Clear
43 cm Berisfords Grace Ribbon, Silver
1m Vilene Vlieseline Decovil I Fabric
Sew Easy Quilting Ruler
Fabric clips
Initially, I thought I wanted to also make a Lid with this project. After more thought, I changed my mind on that feature. I love lids but this bin will get used on a daily basis. I decided to make a lid on a future, customized bin that won’t be used on a daily basis.
A clear front was an important feature to me for this project. As my husband and I will be using this bin, I wanted the contents to be visible to easily see inside the bin (from the front of the cabinet). I also knew that I wanted to include a handle. Because this bin will be stored inside a cabinet I decided to go with a D shaped cut out handle that will be flat/flush with the front of the bin.
I had 2 meters of fabric for this project. Once I cut out fabric for the bin, I had 30.5” left of the fabric. I decided to cut all of this remaining fabric into bias tape. If you have not made your own bias tape, I highly recommend it! I followed Saremy‘s technique for a very quick and easy way to cut out bias tape from a large piece of fabric. I’ve made bias tape many times in the past but I had never used a technique that was as quick as her approach.
https://youtu.be/Zbet4u8Ov-g
After I cut out the strips of bias tape, I lay each strip out on my cutting table into two piles. The bias tape strips should look like a parallelogram. Some of my cut pieces look like perfect parallelograms and are ready to use. I lay these pieces in a pile with one of the ends lined up. Other pieces look like a trapezoid (and will need a quick trim). I lay the trapezoid pieces in a pile as well with one of the ends lined up. I then used a small square ruler to cut a triangle off one end. With the ends lining up together, I can cut a pile of bias strips at one time and quickly correct lots of pieces at one time. The bias strips can then be quickly stitched together and ready to use. There is a second video from Sew Sew Live with help on how to sew the bias tape strips together as well.
https://youtu.be/ofGoNtABdj8
For the handle feature, I measured the width of four of my fingers and cut out a piece from the front that was approximately 4” wide and 4” tall. I drew a curve by connecting the bottom and side edges of this feature. To stabilize across the top of the cut out I sewed a 17” long and 2” wide of Petersham ribbon that I had in my stash. This was a recommendation from the designer to use a ribbon to stabilize across the top of this cut out, handle feature. I loved this option because the Petersham ribbon that I’ve had in my stash has been too small for me to use otherwise. I sewed bias binding around the cut out handle curve first. Then I added the Petersham ribbon across the top of the bin (you could use any ribbon that is wide enough to stabilize). Then the front piece is ready to assemble to the bin.
When attaching the bottom to the sides, I basted this assembly first prior to applying bias tape. It is quicker to sew this step with the bias tape at one time but I didn’t mind adding the basting step to make sure I included all of the fabric edges in the seams.
After I cut the interfacing pieces, I labeled them with “side”, “back”, and “bottom”. This helped me to quickly identify the pieces. I didn’t make this project in one go (but instead broke up each step across a few weeks as I had time).